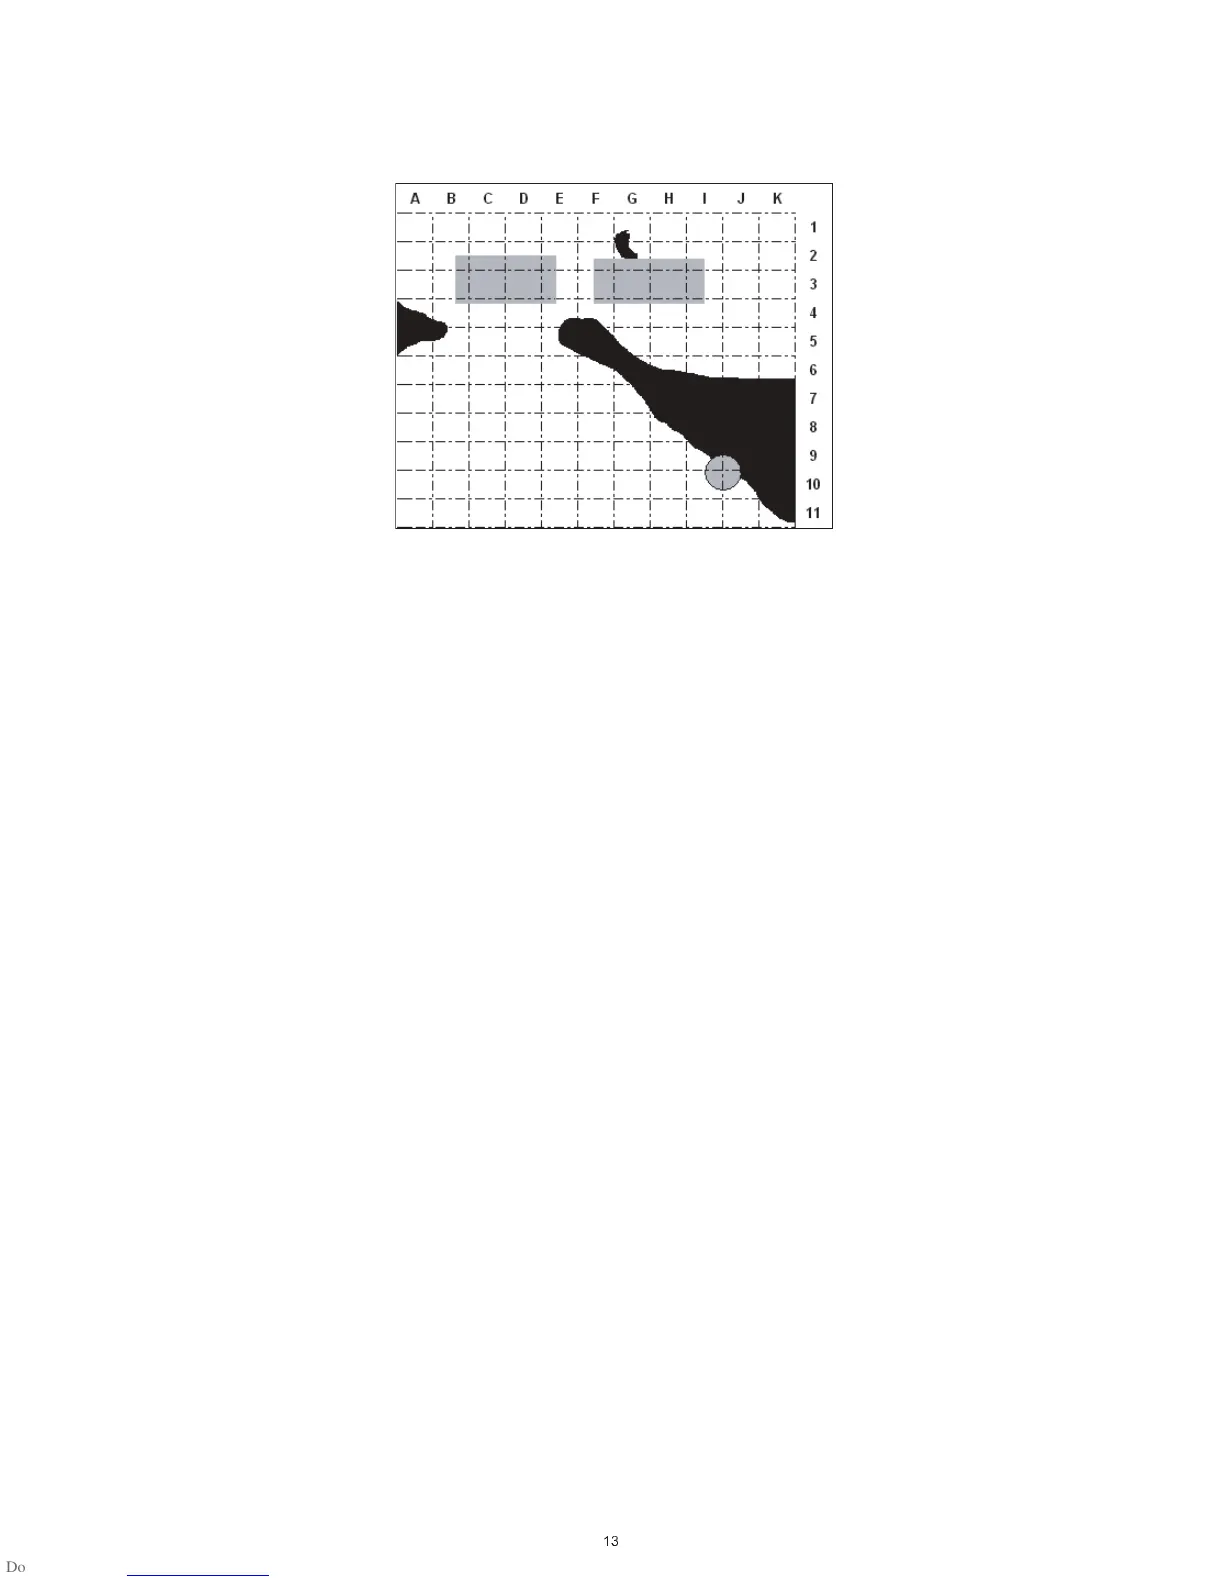
Fig. 5. Roof Grid Sketch
In Fig 5., position A4 is the first point of moisture con-
tact. A telescopic aluminium handle can be attached to
the RWS when carrying out a moisture survey on a hor-
izontal surface to avoid having to bend down when tak-
ing readings.
As the survey continues, a moisture profile will build
up, indicating areas which require attention.
4. On single ply roofing, particular attention must be
paid to laps and seams.
5. Should a precise moisture percentage be required, a
sample can be removed from the site, sealed in a
plastic bag and checked in a laboratory, by weigh-
ing, drying and reweighing, to calculate the exact
amount of moisture present.
6. It is important also to examine the plies of the
waterproofing layers after taking a test cut, as mois-
ture may be present between the plies or within the
fibre of the felt.
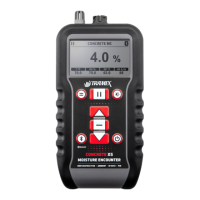
7. Areas of elevated moisture can be quantity checked
with a probe type moisture meter such as the
Compact pin type meter with deep wall insulated
probes.
Tracing A Leak And Checking Suspected Trouble
Areas
If, for instance, a leak has been noticed in a built-up-
roof, it may be easy to identify where the water is drip-
ping into the building, but difficult to locate the point of
ingress in the waterproof layer.
Take your RWS to the general area of the roof over the
leak. Switch on to activate the RWS and select the
desired range. Turn the sensitivity knob to 10 and place
the RWS on the roof surface. (If no reading is received,
the insulation directly beneath the instrument is dry).
Take point readings around the area until moisture is
located.
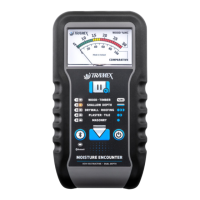
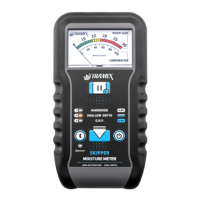
R.W.S.
User Guide
 Loading...