16 18-BC120D1-1A-EN
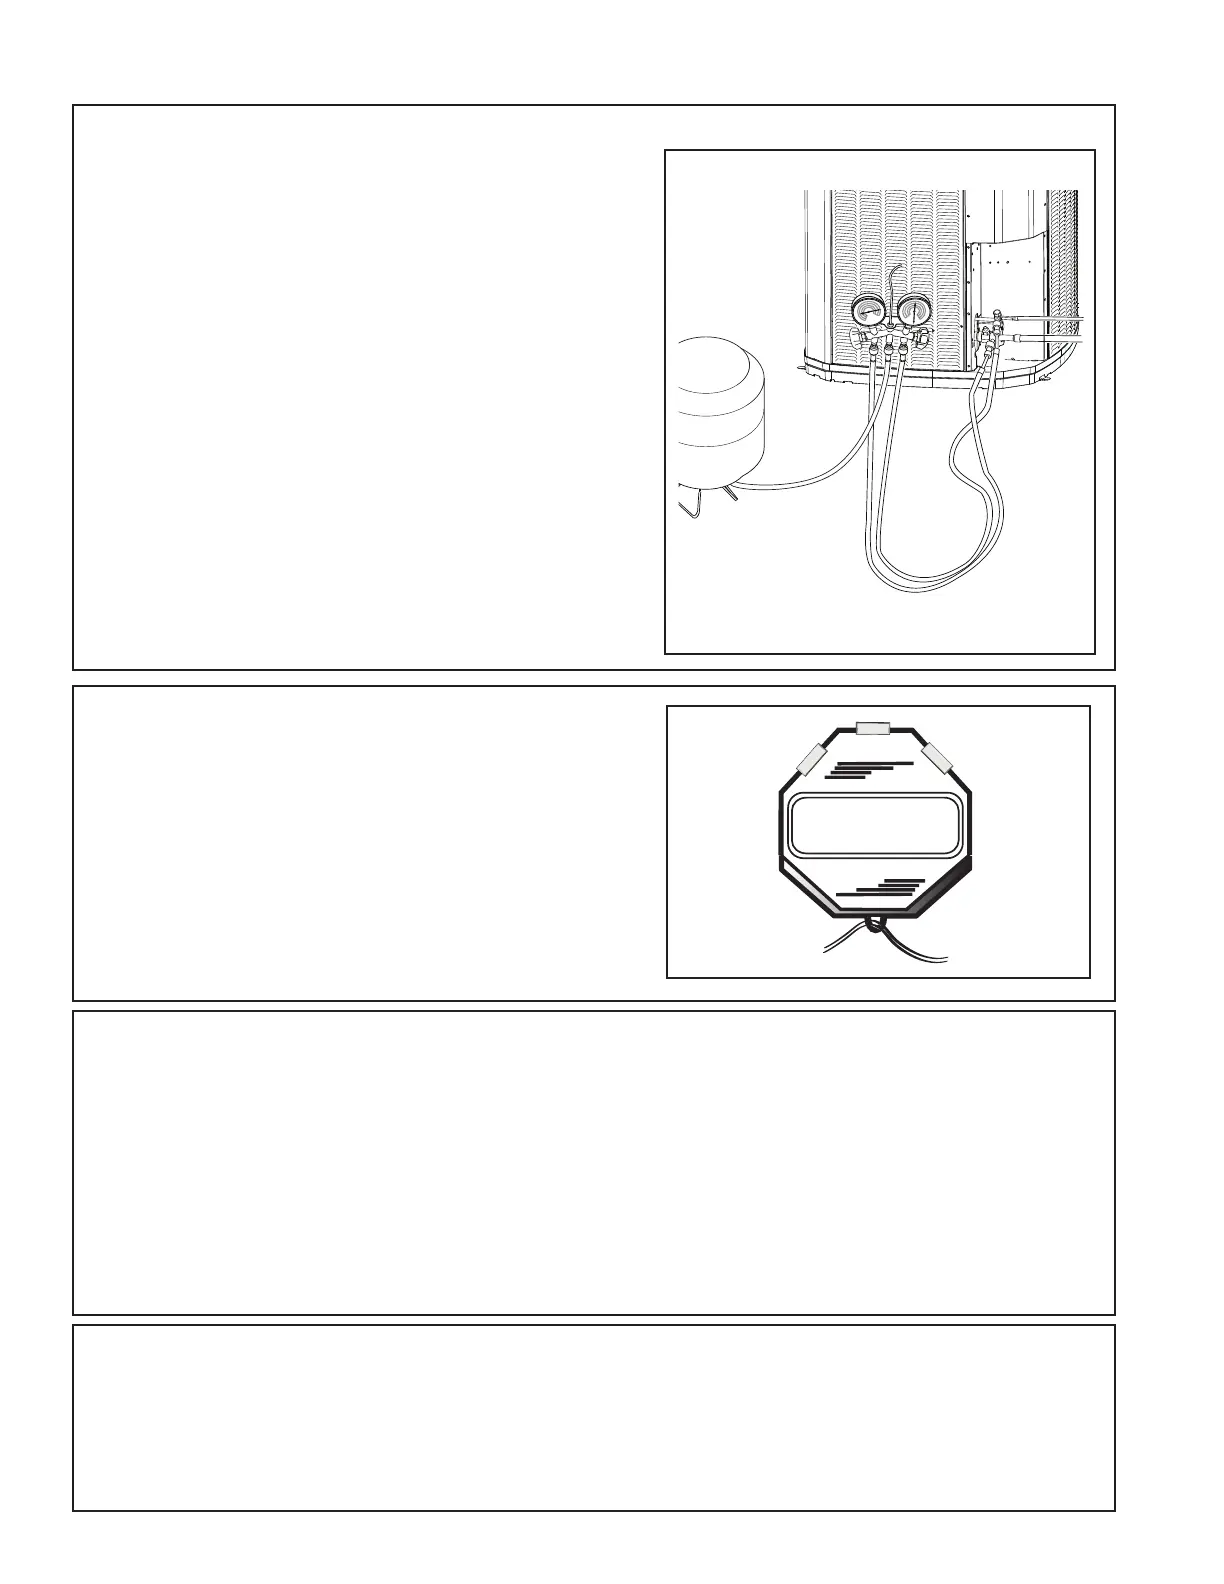
STEP 1 - Attain Proper Gauge Pressure.
Using the Standard R-454B Subcool Charging Chart,
adjust refrigerant level to attain proper gauge pressure.
Note: Use bubble point, per the included chart, for
calculating subcooling.
Add refrigerant in the Liquid Gauge Pressure is lower
than the chart value.
1. Connect gauges to refrigerant bottle and unit are
illustrated.
2. Purge all hoses.
3. Place refrigerant bottle on a scale and then open
bottle.
4. Stop adding refrigerant when liquid line refrigerant
and Liquid Gauge Pressure match the charging
chart.
Note: Recover refrigerant if the Liquid Gauge Pressure
is higher than the chart value.
Note: Ensure that contamination of different refrigerants
does not occur when using charging equipment.
Cylinders shall be kept in an appropriate position
according to the instructions. Ensure that the
REFRIGERATION SYSTEM is earthed prior to charging
the system with refrigerant.
20 MIN.
STEP 2 - Stabilize the system.
1. Wait 20 minutes for the system condi-
tion to stabilize between adjustments.
Note: When the Liquid Line Temperature and
Gauge Pressure approximately match the chart,
the system is properly charged.
2. Remove gauges.
3. Replace service port caps to prevent
leaks. Tighten nger tight plus an ad-
ditional 1/6 turn.
STEP 3 - Record System Information for reference.
Record system pressures and temperatures after
charging is complete.
Outdoor model number = _________________
Measured Outdoor Ambient = __________ º F
Measured Indoor Ambient = __________ º F
Measured Liquid Line Temp = __________ º F
Measured Suction Line Temp = __________ º F
Liquid Gauge Pressure = __________ PSI
Suction Gauge Pressure = __________ PSI
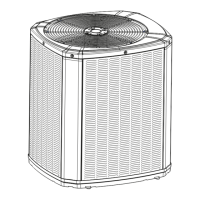
STEP 4 - Complete the ‘Total System Charge’ charge rating label below and label located on the outside of the
unit with a permanent marker.
a. Charge added at Factory = ___________ lb/oz
b. Charge added at install = ___________ lb/oz
c. Total System Charge (a + b) = ___________ lb/oz
14.4 Charging the Unit