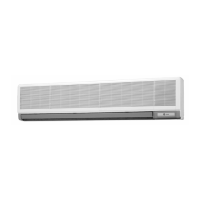
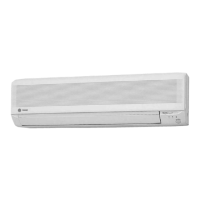
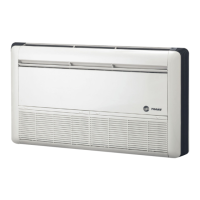
6 MCC-SVN01A
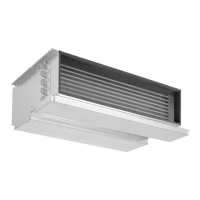
Indoor Unit Installation
150
150
150
AH*
> 2
> (2)
Unit (cm)
(16)
Caution :
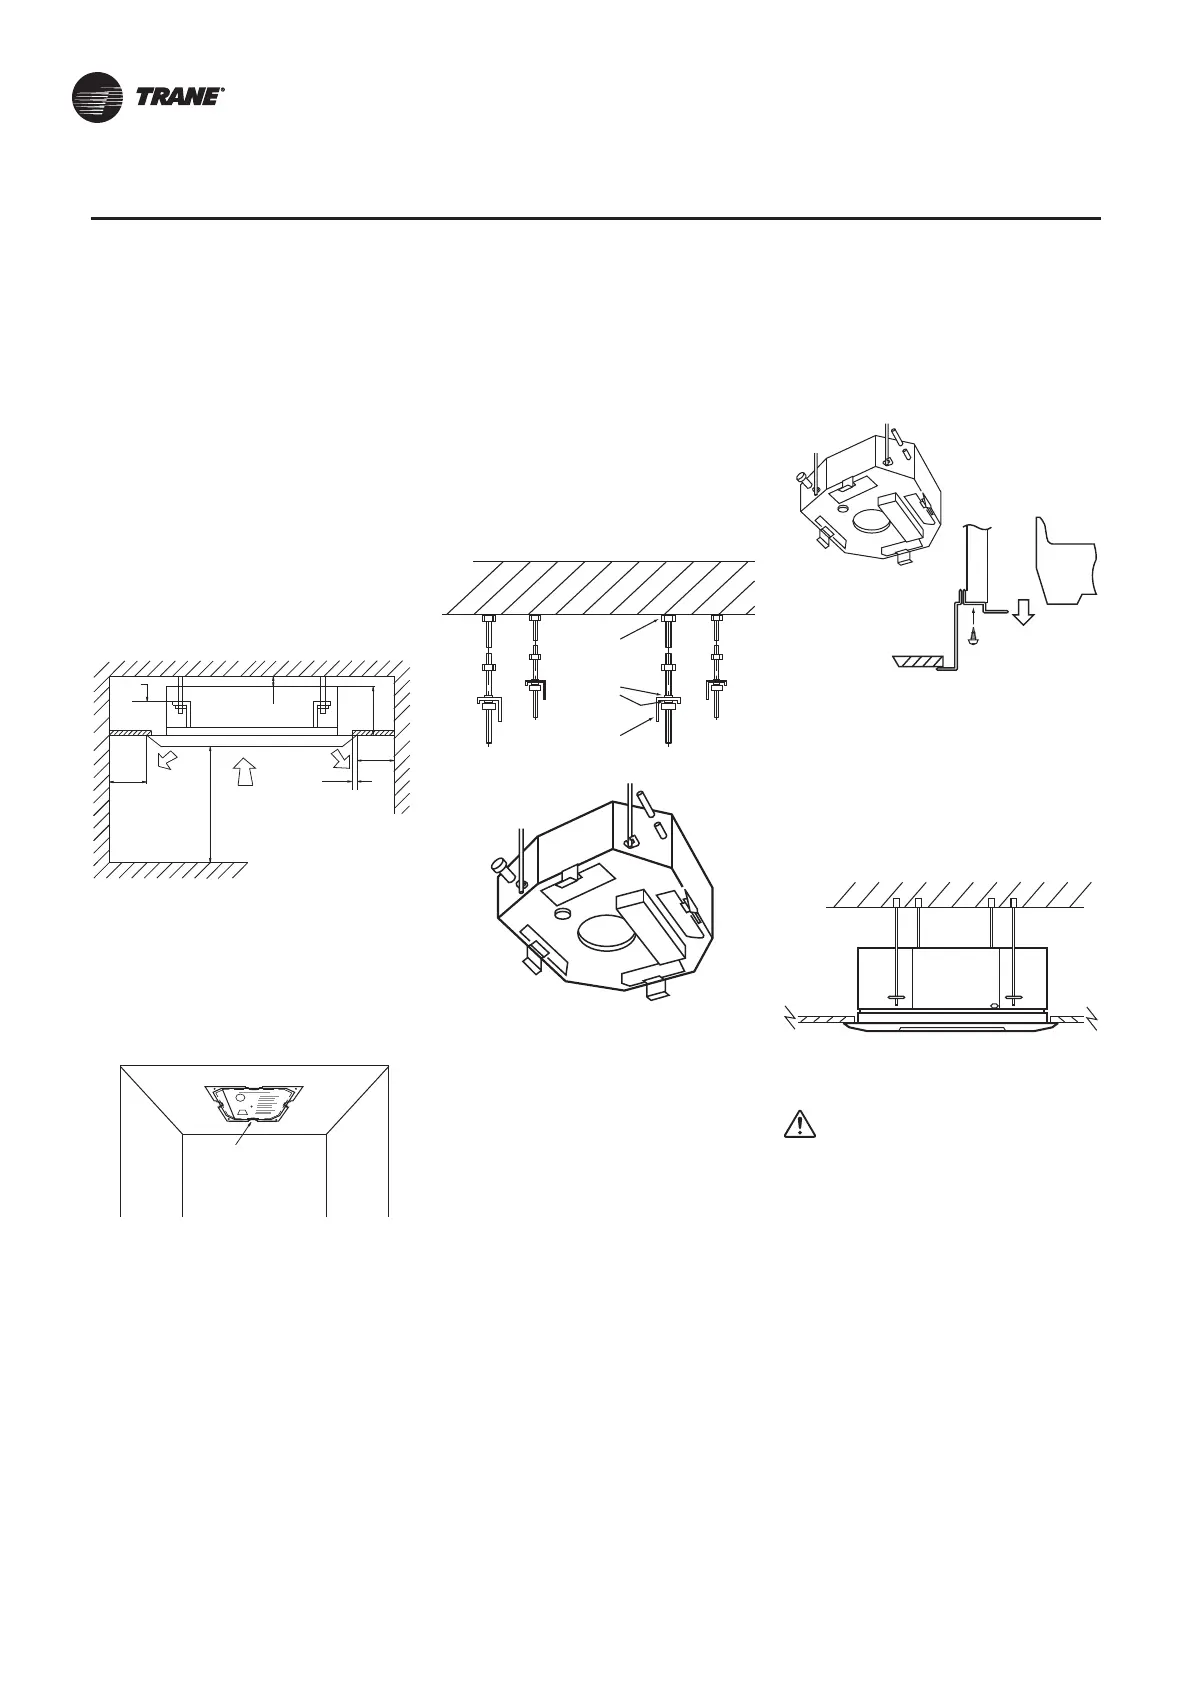
Where to Install Indoor Unit
There should not be any heat source
or steam near the unit.
Hang the four mounting rods to the
positions marked as picture shown
in figure 3 (using twelve nuts and
eight washers to support the
suspension brackets). Suspend the
unit to the mounting rod. Lock the
nuts, ensure for good drainage,
and check whether the unit is on
horizontal level by using leveling
gauge.
Install the leveling metal plate to
adjust the gap between the unit
and a ceiling, fixing the screws
following paper pattern.
Remove four screws (M8). Fix the
front panel with the units by tighten
up four screws (M8).
Over tightening the screws will
distort the front panel.
•
There should not be any obstacles
to prevent the air circulation.
•
A place where air circulation in the
room will be good.
•
A place where drainage can be
easily obtained.
•
A place where noise prevention is
taken into consideration.
•
Do not install the unit near the door
way.
•
Determine the mounting position
on ceiling by using position in the
paper pattern
•
• •
•
•
Figure 1
Figure 2
Figure 3
Figure 4
Figure 5
*
Note
Find the height of A
at the table from
Dimensional data page
Paper pattern
Lock Nut
Washers
Suspension
Bracket
Cross Section
of Air Outlet
www.ttair.co.th | Tel : 02-385-0728 | E-mail : sales@ttair.co.th | LINE ID : @ttair