Traulsen Refrigeration
SERVICE MANUAL #01
Instructions For The Troubleshooting And
Repair Of Traulsen Compact Undercounter
Refrigerator, Freezer & Prep Table Models
FORM NUMBER TR35751 - REV. 5/03
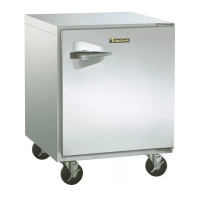
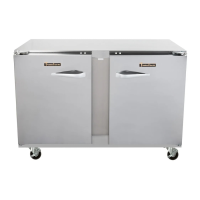
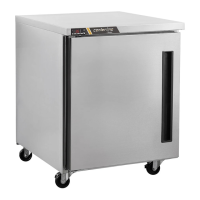
27”, 48” & 60” Compact Undercounter Refrigerator Models
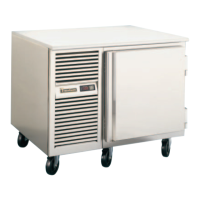
27”, 48” & 60” Compact Undercounter Freezer Models
27”, 48” & 60” Compact Prep Table Models
-NOTICE-
This Manual is prepared for the use of trained Authorized Traulsen Service Agents and should not be used
by those not properly qualified, nor should the equipment for which it is prepared be adjusted or repaired by
anyone except properly qualified personnel. This manual is not intended to be all encompassing, but is
written to supplement the formal training, on-the-job experience and other product knowledge acquired by
Authorized Traulsen Service Agents. Reproduction or other use of this Manual, without the express written
consent of Traulsen & Co., Inc. is prohibited.
Traulsen
4401 Blue Mound Road Fort Worth, TX 76106
Phone: (800) 825-8220 Fax-Svce: (817) 740-6757
Website: www.traulsen.com
HOURS OF OPERATION:
Monday thru Friday 7:30 am - 4:30 pm CST
Quality Refrigeration
VI. TROUBLESHOOTING
WARNING: CERTAIN PROCEDURES IN THIS SECTION REQUIRE ELECTRICAL AND REFRIGERATION SYS-
TEM TEST OR MEASUREMENTS WHILE POWER IS APPLIED TO THE MACHINE. EXERCISE EXTREME CAU-
TION AT ALL TIMES. IF TEST POINTS ARE NOT EASILY ACCESSIBLE, DISCONNECT POWER, ATTACH TEST
EQUIPMENT AND REAPPLY POWER TO TEST.
Compressor will not run, no current draw. 1. Compressor circuit breaker open.
2. Cabinet temperature satisfied.
3. Wired wrong or faulty connection.
4. Start component malfunction.
5. Compressor motor windings open.
6. Thermostat malfunction.
7. High pressure control tripped.
Compressor will not run, current draw and trips overload. 1. Low voltage.
2. Start component malfunction.
3. Compressor windings shorted.
4. Locked rotor.
5. Excessive head pressure.
Defrost time too long. 1. Defrost timer malfunction.
Compressor short cycles on overload. 1. Low voltage.
2. Improper air flow over condenser.
3. Low refrigerant charge.
4. Compressor electrical component malfunction.
5. High head pressure.
Compressor short cycles on thermostat. 1. Improper air flow over evaporator coil.
2. Low ambient conditions.
3. Thermostat bulb improperly located.
4. Thermostat malfunction.
Continuous unit operation. 1. Loss of refrigerant.
2. Excessive door openings.
3. Thermostat malfunction.
4. Compressor inoperative.
Compressor run time lengthy. 1. Partial loss of refrigerant.
2. High ambient conditions.
3. Improper air flow over condenser coil.
4. Excessive product load.
5. Excessive door openings.
6. Door gasket inoperative.
7. Contaminates in refrigeration system.
8. Compressor malfunction.
Low suction pressure. 1. Restriction in drier.
2. Loss of refrigerant.
3. Poor air flow.
High head pressure. 1. Improper air flow across condenser.
2. Extreme ambient conditions.
3. Overcharge of refrigerant.
4. Air in system.
Will not defrost. 1. Defrost heater malfunction.
2. High limit thermostat open.
3. Defrost timer inoperative.
4. Wired wrong or faulty connection.
Coil icing. 1. Gasket leaking.
2. Drain tube plugged.
3. Non-frozen product in freezer.