17
IP 360 S8
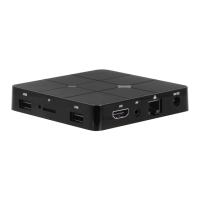
CONNECTIONS
Installation
• To turn on the device, connect the power adapter supplied to the power socket DC (8)
of the IP 360 S8 and the other end to the wall outlet;
• Connect one end of the HDMI cable to socket (5), connect the other end to the HDMI
socket of your TV;
• Turn on the TV and press
power button (9) on the remote control;
• Wait a few seconds for the device loads the operating system.
WARNING: The unit is factory set with video output on HDMI, if you want to use the
composite AV output (cable not included), first connect the unit to a TV via HDMI and
then from the menu Apps”/“Droid Setting”/“Display”/“Screen resolution”, select the
video resolution to 480 or 576.
Shutdown:
• To completely switch off the device press and hold for a few seconds the
power button
(9) on the remote control, select Shutdown with the navigation keys (11) and press OK
(19) to confirm. Wait a few seconds the Blue Led on the front panel becomes Red.
Regulation framework:
At first power you need to set some parameters such as language, the connection to the
network and regulation of the framework.
Adjust the image according to your TV; to adjust the picture, select “Apps”/“Droid
Setting”/“Display”/“Screen position”. Select “Zoom out” to tighten, select “Zoom in” to
enlarge.
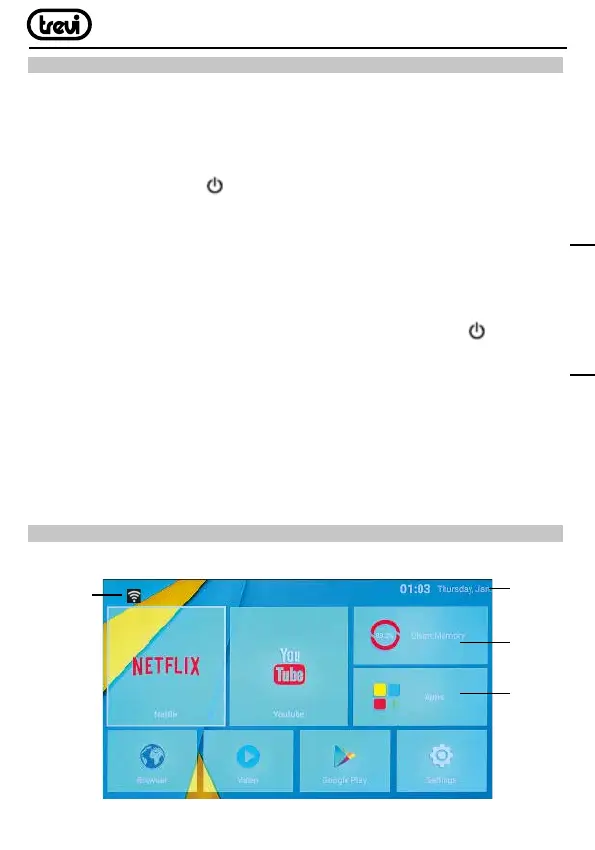
HOME PAGE
HOME menu
Data and
Clock
Connection
to the
network
indicator
Installed
applications
Clean
Memory
ENGLISH