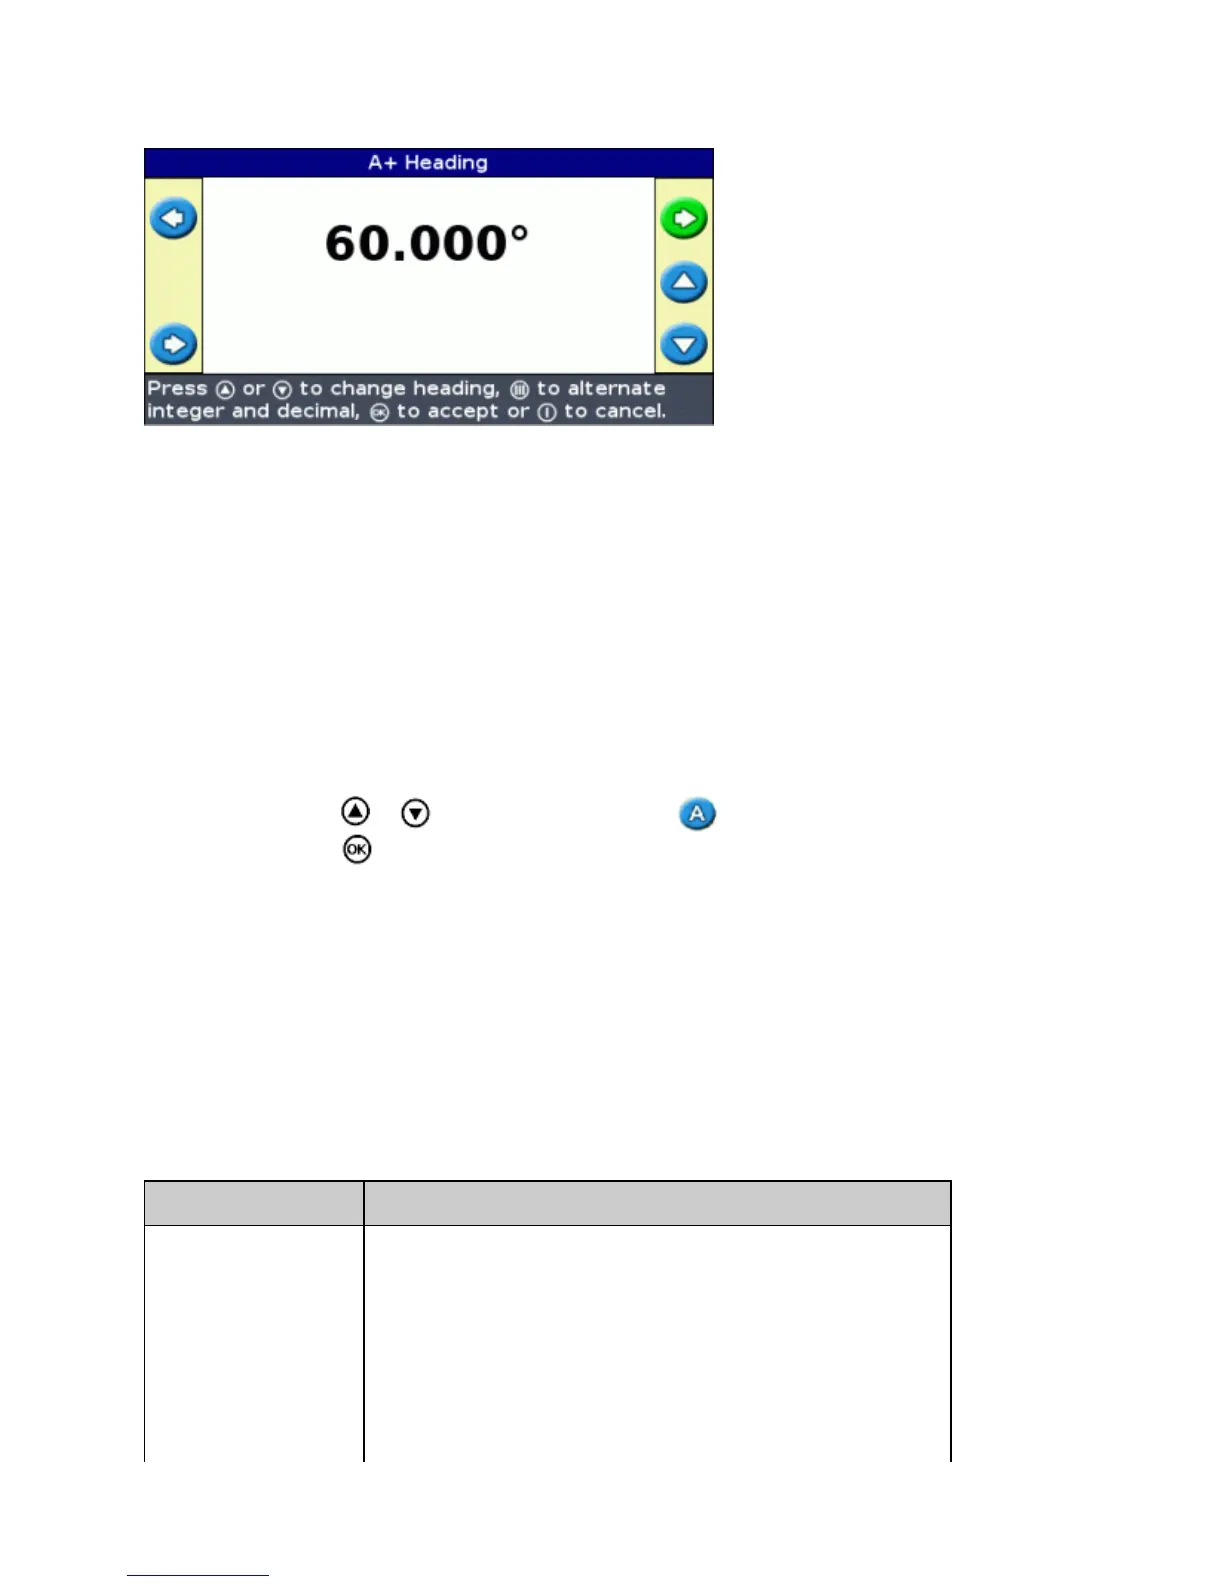
When you choose to create an A+ line, you enter the heading.
The default heading is the same as the previous AB Line. This pattern is useful for when you need guidance
exactly parallel to the last AB Line, for example when:
driving adjacent fields•
mapping the AB Line on a road down the side of the field•
skipping an access road in a field•
The A+ line extends 1 km (0.6 miles) before and after the A point.
Mapping an A+ Line
Drive to the start point of the master line.1.
Set the A point:2.
Press or until you have selected the icon.a.
Press . The A point is set. Because you have already set the line heading, your master AB
Line appears on the screen.
b.
Follow the AB Line for guidance down the first swath.3.
Turn left or right for the next swath. As you move toward the next swath, it appears on the screen and
turns orange to show that it is selected.
4.
Identical curve
The identical curve pattern records your exact route between the A and B points, instead of a straight line.
All of the guidance lines will match the master curve, regardless of where the vehicle has driven. Use the curve
pattern when you want to work the field with gentle curves.
PATTERN EXAMPLE
21