If you want a space between your passes, press to enter a skip distance.♦
Press . The Forward/Back Offset screen appears.3.
Enter the distance that the implement is offset back from the antenna and then press . The Left/Right
Offset screen appears.
4.
Enter the distance that the implement is offset to the left or right of the antenna and then press . The
Pattern Type screen appears.
5.
Step 3: Select the pattern type
Select which of the seven guidance patterns you want to base guidance on. For a description of the different field
patterns, see Guidance Patterns.
Some guidance patterns require additional information:
IF YOU SELECTED... YOU NEED TO...
A+ define the heading.
Headlands
define the number of
circuits.
When you have entered any additional pattern information, the main guidance screen appears.
Step 4: Driving and defining the guidance line
Depending on the pattern type that you selected, one of the following icons is now available:
(start AB Line, A+, Identical Curve, Adaptive Curve, or Pivot)•
(start Headland)•
(not currently recording FreeForm curve − select to start recording)•
Drive to the start point and then select this icon to begin defining guidance.
For more information about the various field patterns, see Guidance Patterns.
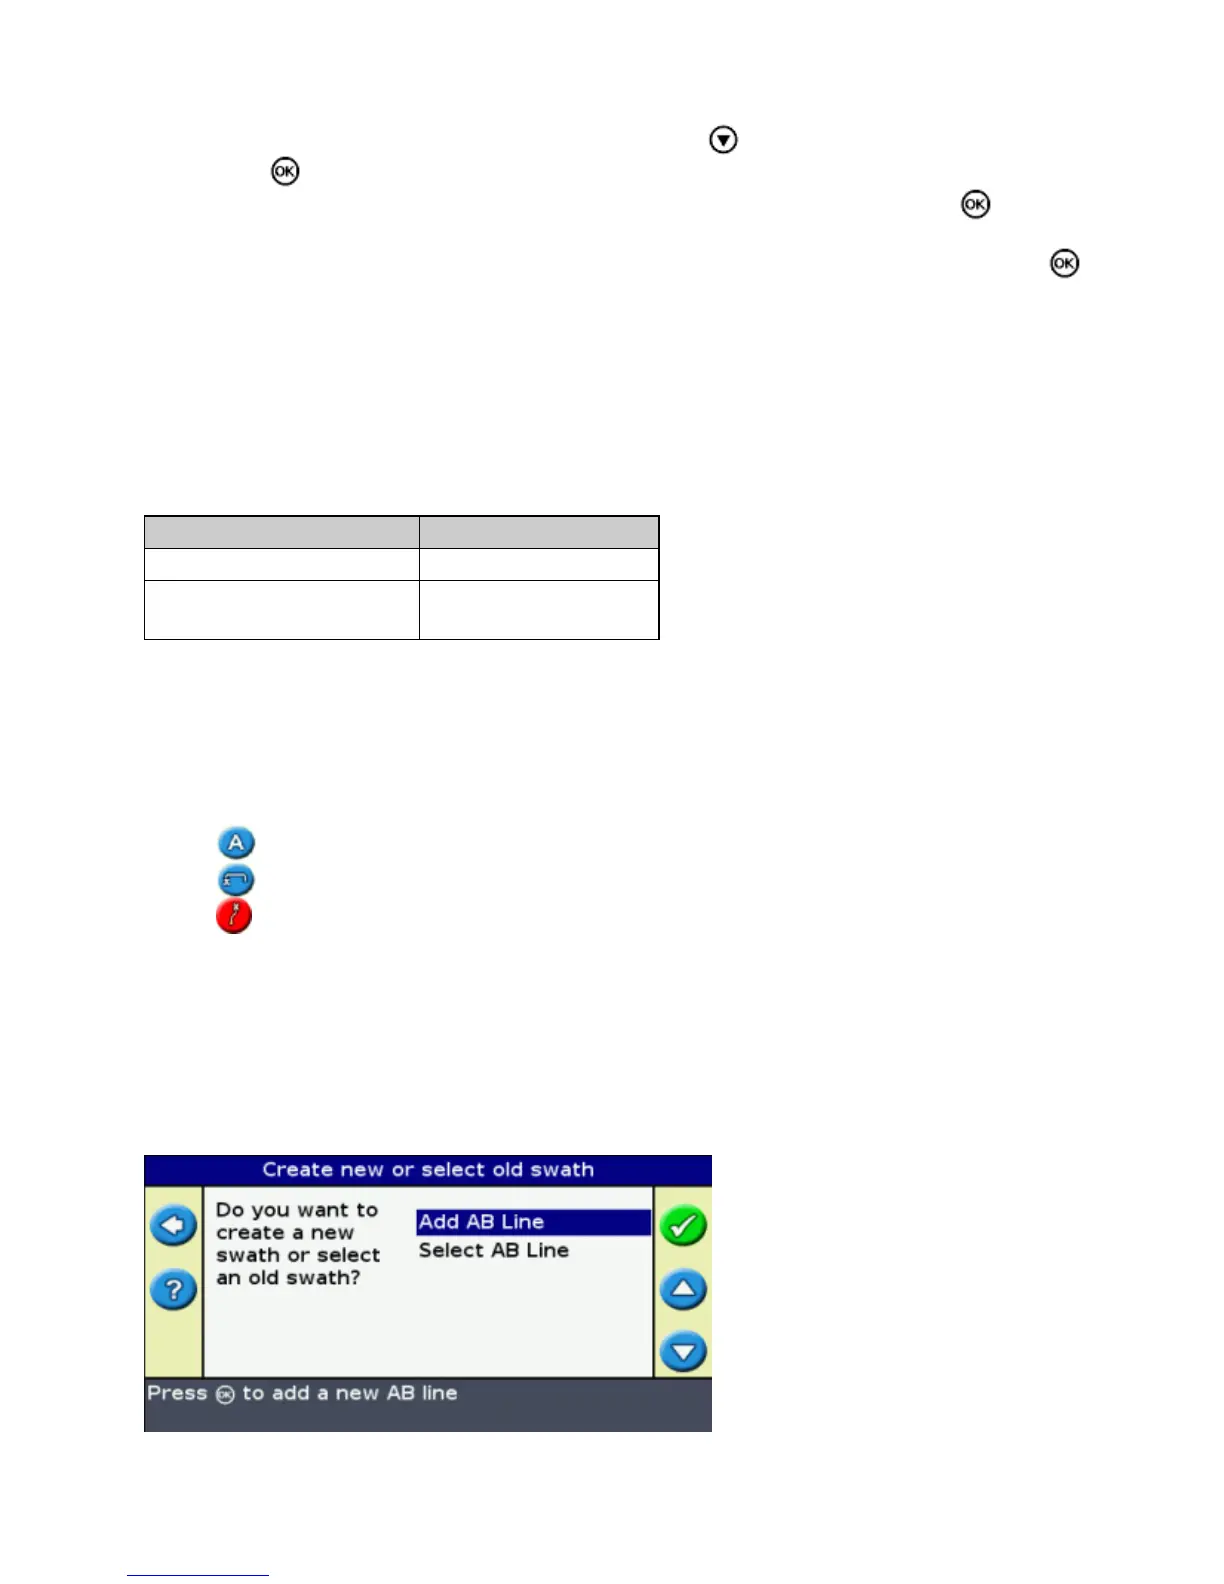
Creating a new line
38