3
2. On the Home screen, tap Data Transfer.
3. On the Data Transfer screen
• The left side of the screen (labeled Internal) shows the
data les currently available on the XCN-1050 display.
• The right side of the screen (labeled USB) shows the data
les of the USB drive.
4. From the USB region, tap Fields to expand the menu and
display all available elds.
5. Tap the select box for the Fields category to transfer all elds or
tap the select box for each eld to transfer individually. Then
tap the left transfer icon in the center of the screen to
complete the transfer.
6. Tap Home or the Android Back button to return to the Home
screen.
Caution - Take care when setting up these details. The
values you set in these steps are critical for the data
integrity recorded for the Run screen.
BEFORE YOU BEGIN - SELECTION PROCESS
Before you can enter the Run screen, you must select the items
that have been previously set up and select a valid task.
Note - The GNSS is already selected for this process.
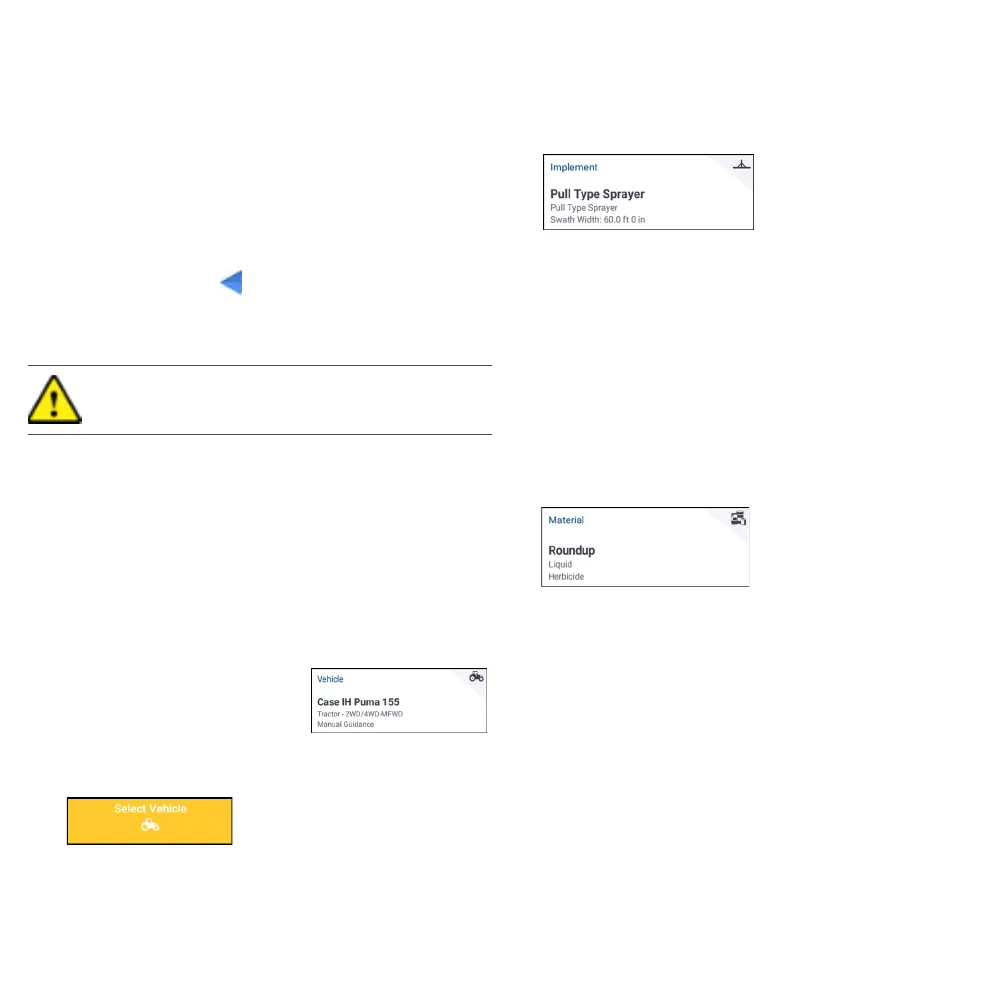
Select a Vehicle
By default, the last vehicle added is selected. If you need to select a
dierent vehicle:
1. From the Home screen, tap the
Vehicle tile:
2. Tap a vehicle from the selection list.
The Vehicle screen will update to
show the relevant details about the vehicle.
3. Tap Select Vehicle:
Allow up to 45 seconds for the vehicle prole to be updated.
During this time, some functions will be disabled.
4. Tap Home or the Android Back button to return to the Home
screen.
Select an Implement
To select an implement:
1. From the Home screen, tap the Implement tile:
2. Tap an implement from the list of implements that have been
previously set up. The Implement screen will update to show
details about the selected implement.
3. Tap Home or the Android Back button to return to the Home
screen.
Note - You must select an implement before you can select a
material or task.
Select a Material
To select a material:
1. From the Home screen, tap the Material tile:
Note - If the selected implement does not apply a material (for
example, tilling or subsurface drainage implements), then no
material will appear on the Materials screen. For these types of
implements, you can skip this section.
2. From the list of available channels, Channel 1 is selected by
default.
3. From the list of available materials, tap a material to select it.
The Materials screen will update to show details about the
selected material.
4. Tap Home or the Android Back button to return to the Home
screen.
 Loading...