5
GUIDANCE MAPPING
The following sections show some common guidance mapping
procedures. For a full list of guidance options, see the reference
manual.
Auto Close
To use auto close for boundaries and headlands:
1. On the Home screen, tap Settings and then tap Patterns.
2. At the Boundaries and Headlands sections, turn on auto close.
You can also set the auto close distance in these sections.
Create a Boundary
This pattern lets you dene the boundary of the eld, which can
contain a variety of guidance lines within it.
1. In the Run screen tool bar, tap .
2. Tap .
3. When you are ready to begin recording the boundary, tap .
4. Drive the boundary of your eld.
5. To complete the boundary:
• Drive within auto-close distance. The system
automatically closes the area if you have auto-close
turned on.
• Drive to the end of the boundary and tap if you do not
have auto-close turned on.
Create a Headland
Use the Headland pattern to complete the ineld and to give you
room to turn.
1. In the Run screen tool bar, tap .
2. Tap . A popup displays indicating circuit and inll options.
3. Set or accept the number of circuits you want.
4. Optionally, indicate the type of guidance line you want for inll.
5. Tap to begin recording the headland.
If you are creating an inll pattern, refer to the AB, A+ or curved
line sections.
6. To close the headland area:
• Drive within auto-close distance. The system
automatically closes the area if you have auto-close
turned on.
• Drive to the ending boundary of the headland and tap
if you do not have auto-close turned on.
Create a Pivot
Use the Pivot pattern on elds that are irrigated using a center
pivot. With this pattern, you can drive concentric circles around the
center pivot.
1. Tap .
2. When you are ready to begin recording the pivot, tap .
3. Drive the boundary of your pivot area.
4. Tap .
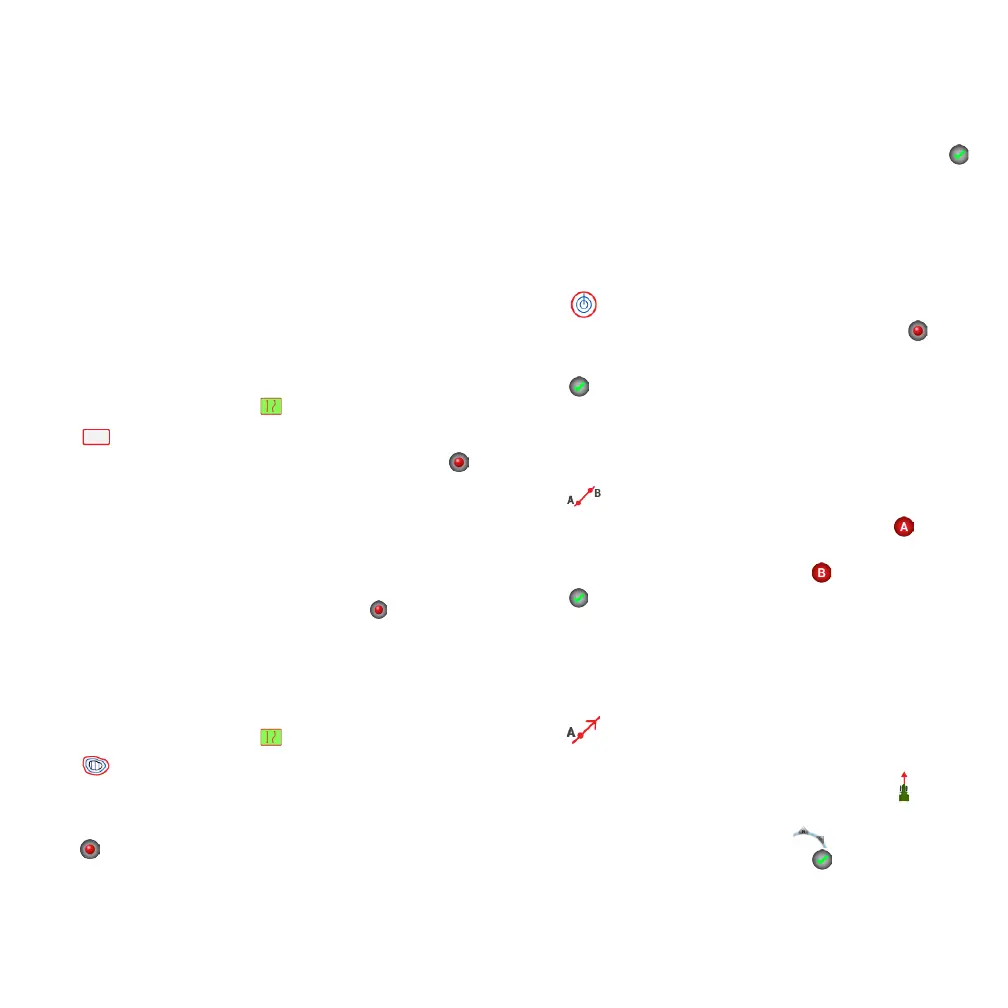
Create an AB Guidance Line
The simplest form of line, use it when you do not need to dene
headlands and you want to drive the eld in parallel straight lines.
1. Tap .
2. When you are ready to begin recording the line, tap and
begin driving.
3. When you are at the end of the line, tap to stop recording.
4. Tap to save the line.
Create an A+ Directional Guidance Line
Similar to the AB guidance line. Useful for when you need guidance
exactly parallel to the last AB line (for example, driving adjacent
elds, skipping and access road in a eld).
1. Tap .
2. To set the direction of the line, you can do any of the following:
• Lock the vehicle's current direction by tapping .
• Enter degrees for the direction.
• Tap a direction on the compass .
3. When the direction you want is set, tap .
 Loading...