TrinityHighway.com 40 Revision A November 2021
Appendix D: Base Plated Post Assembly
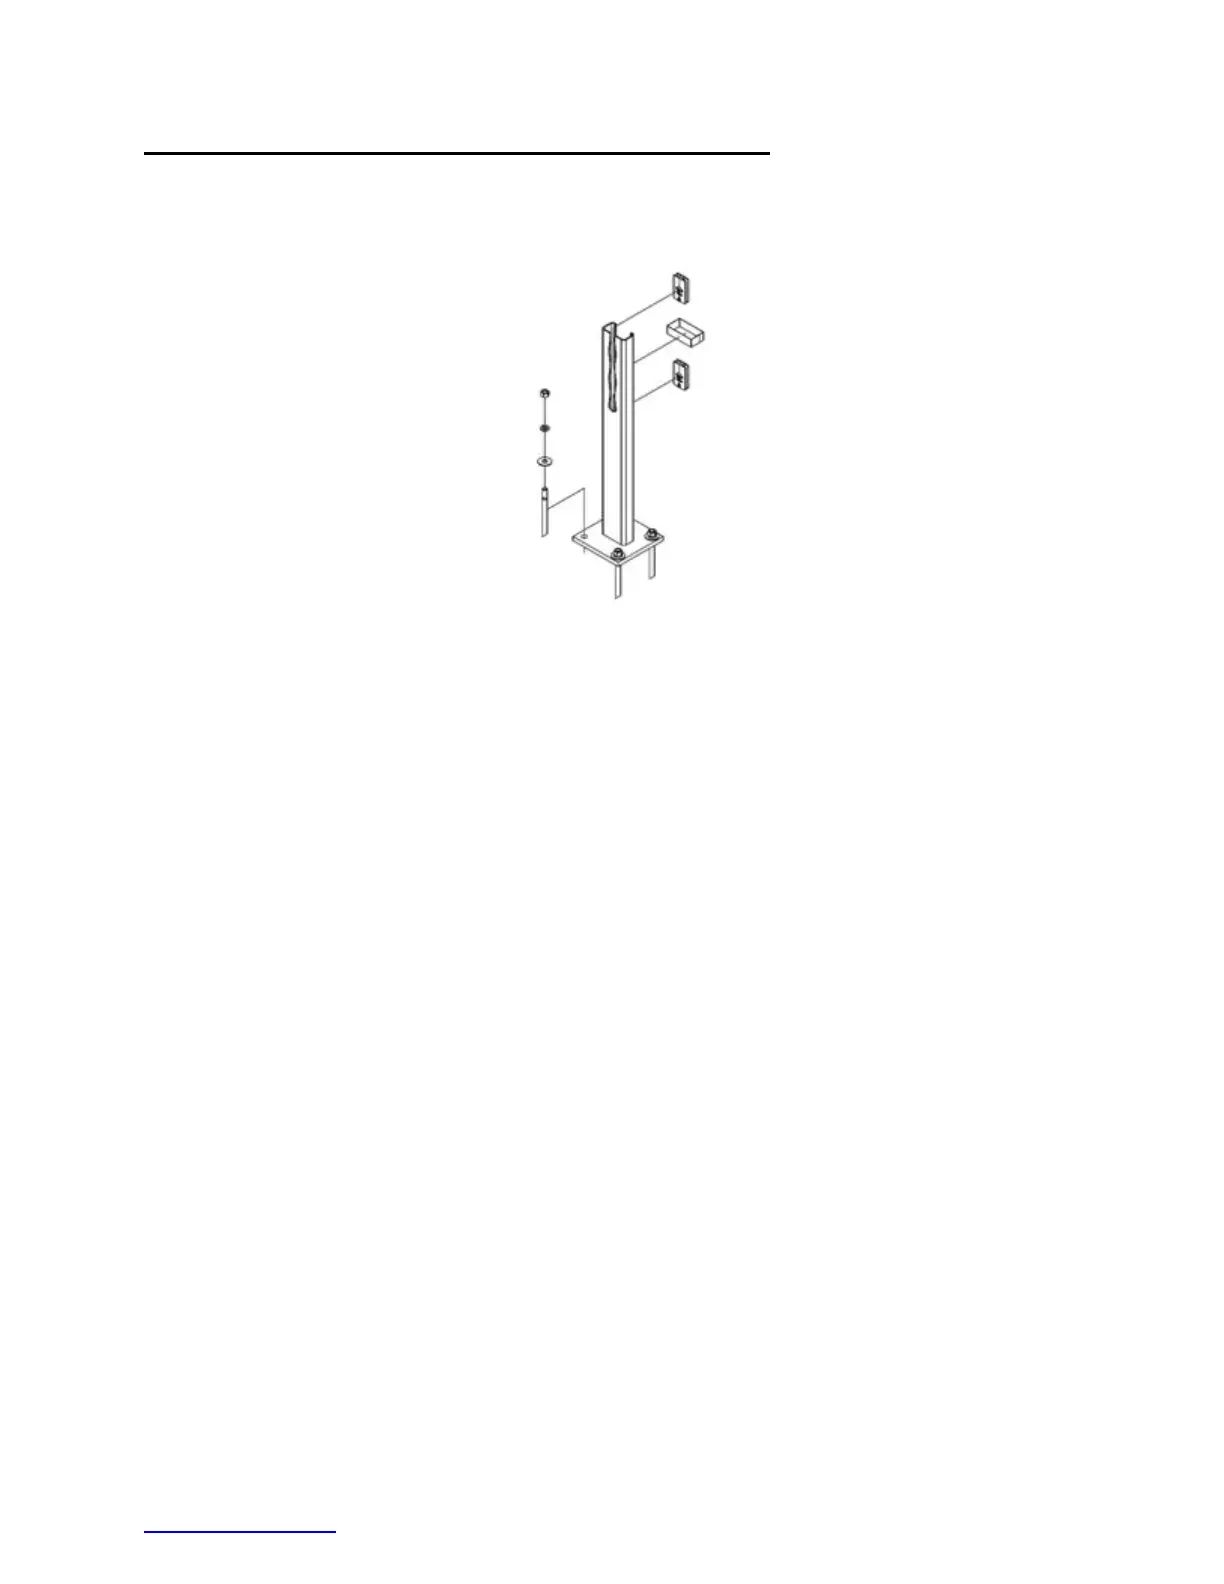
The base plated post (PN-33915A) must be placed on a concrete surface 6” [150 mm] or more
in depth (See Figure 12). The post length varies per concrete elevation.
Complete the following steps for the base plated post assembly.
1.
Drill four (4) 3/4” [19 mm] holes, 6” [150 mm] deep for the rod (PN-5225G or PN-6722G).
2.
Clean the holes according to the adhesive manufacturer’s recommendations.
3.
Place the rods and adhesive in the holes according to the manufacturer’s
recommendations.
Note: A 5/8” [16 mm] mechanical anchor with a pull out strength of 10,000 lbs. [4,536 kg] can
also be used.
4.
Allow the adhesive to cure according to the manufacturer’s recommendations.
5.
Place the base plated post on the rods.
6.
Place flat washer (PN-3300G) and lock washer (PN-3310G) between the hex nut (PN-
3361G) and the plate (See Figure 12).
7.
Tighten the nuts to a snug position with an appropriately sized wrench or socket and the
lock washer is flat with a minimum of two (2) threads showing.
Note: Base plated post assembly for below grade applications, contact Trinity Highway.
Figure 12
Base Plated Post