INSTALLATION INSTRUCTIONS – On Wire Rack
4
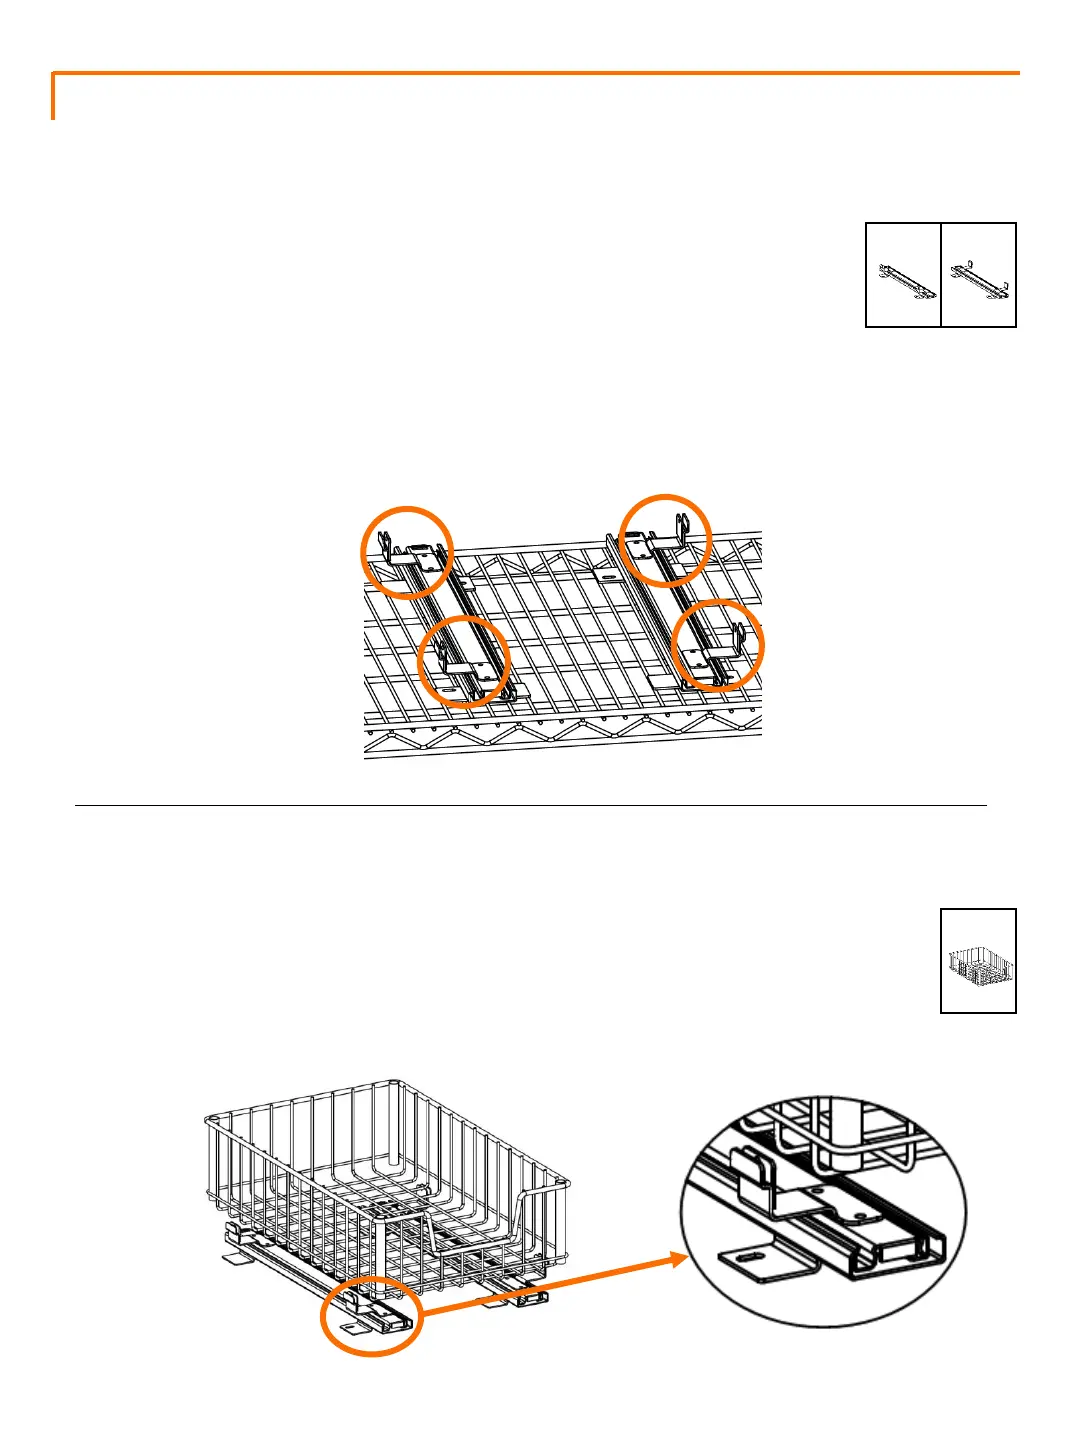
Rest WIRE DRAWER (A) on top of the CLIPS to ensure proper SLIDE
spacing.
• Note: For ease of installation, do NOT clip the WIRE DRAWER (A)
into the LEFT & RIGHT SLIDES (B) & (C) until Step 4.
Position as such:
Identify LEFT & RIGHT SLIDES (B) & (C).
• Note that the BACK end of each SLIDE (B) & (C) has a black tip and the
FRONT end does NOT.
Place SLIDES (B) & (C) on desired wire shelf. Make sure the FRONT of the
SLIDES (B) & (C) is lined up with the FRONT of the shelf.
Line up the slides along the wires in the wire shelf to ensure they are
straight. Make sure the front edge of the WIRE DRAWER (A) lines up to
the edge of the shelf so they are flush.
B (1) C (1)
A (1)
STEP 1
STEP 2
CLIPS should be
on the OUTSIDE.
FRONT
BACK