Self-Tapping Screw
Vertical
Window
Opening
Horizontal Window
Opening
1
Self-Tapping Screw
Vertical
Window
Opening
Horizontal Window
Opening
Self-Tapping Screw
Vertical
Window
Opening
Horizontal Window
Opening
2
3
TO EXTERNAL
DRAIN
1
2 & 3
7
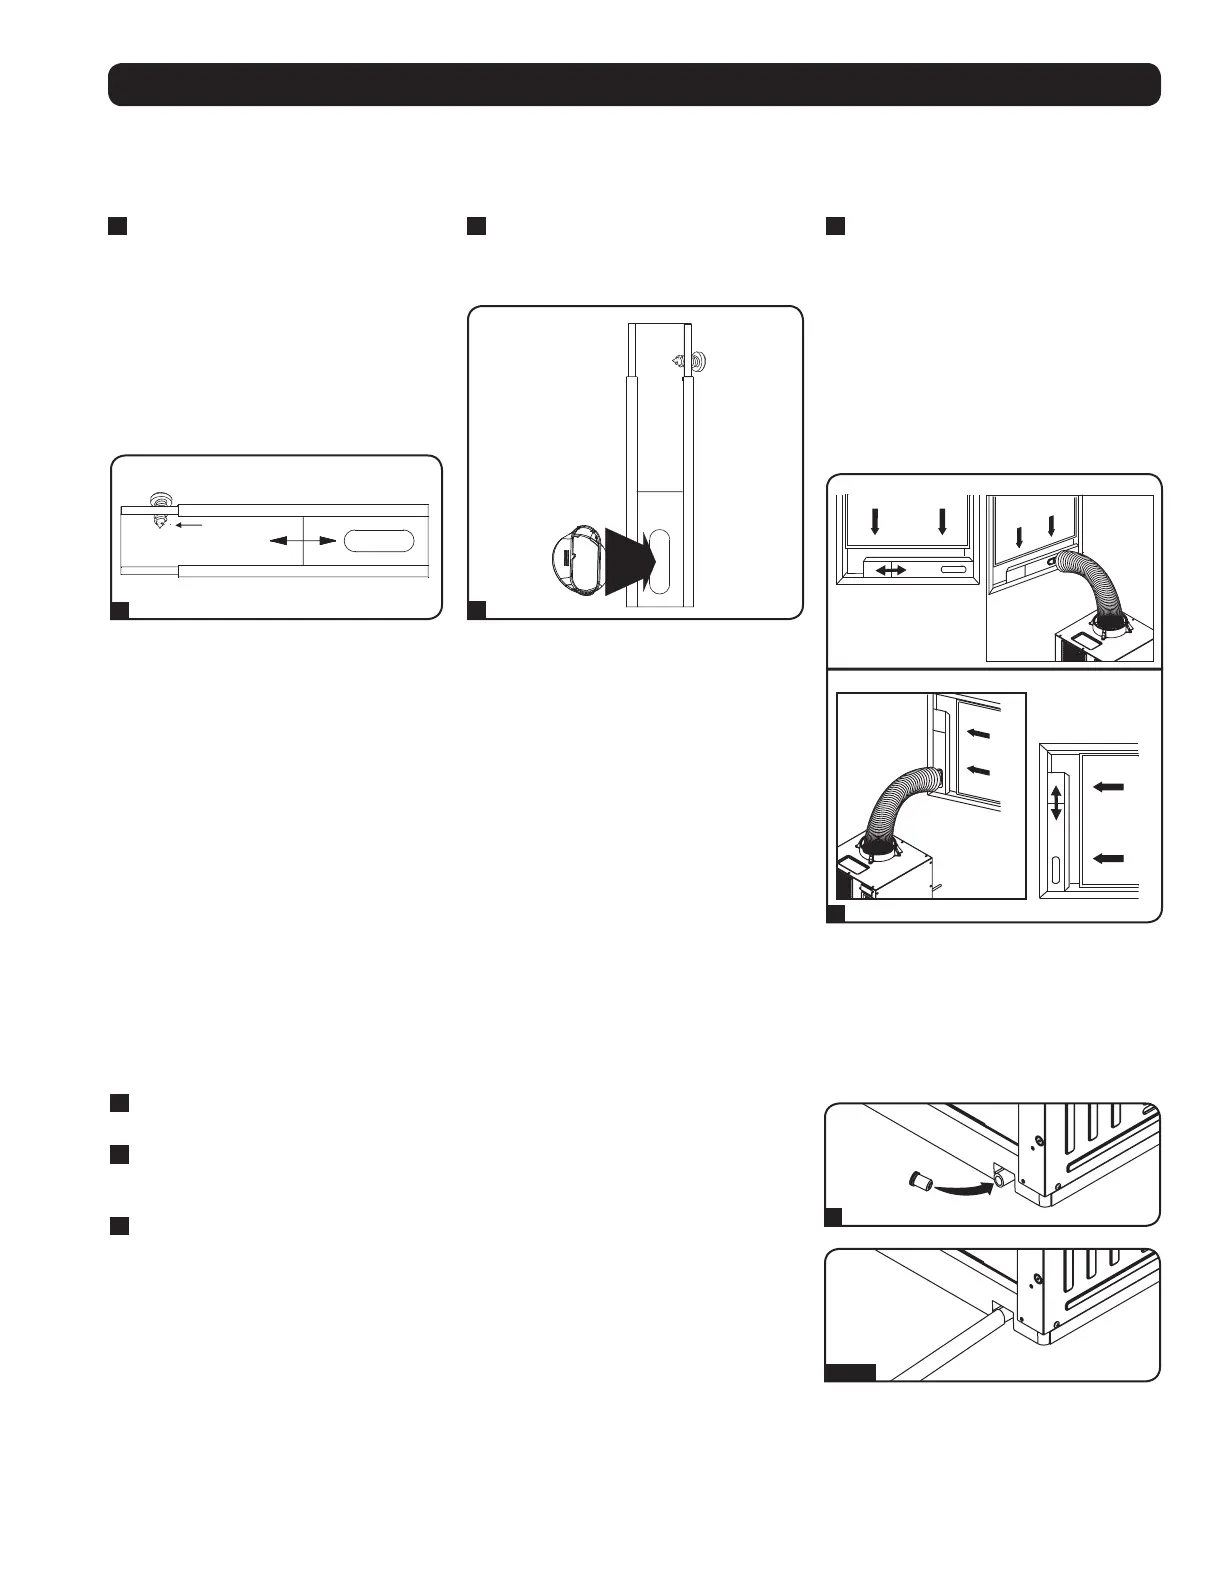
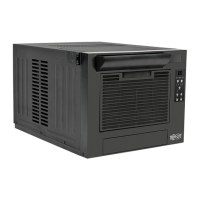
Installation
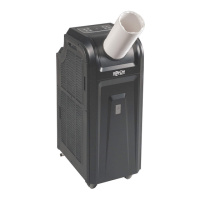
Window Exhaust Connection
Warning: Some windows may require modified installation procedures. The user must determine the fitness of hardware and
procedures before installing. The procedures described in this manual may not be appropriate for all applications.
1
Measure the window opening. Combine
the two sections of the adjustable
exhaust panel, then adjust the exhaust
panel to match the width of the window
opening. After the exhaust panel is set to
the correct width, use the included self-
tapping screw to lock it in place.
Note: The exhaust panel can adjust from
20.5 to 49.2 inches (52.1 to 104.1 cm).
It is compatible with vertical and horizontal
mounting.
2
Insert the exhaust duct adapter into the
oblong hole in the adjustable exhaust
panel. The adapter will snap into place.
3
Insert the exhaust panel into the window
opening, then close the window against
the exhaust panel. A tight seal will permit
maximum cooling efficiency. Note: There
must be at least 10 inches (25.4 cm) of
open space behind the exhaust panel to
allow adequate airflow.
Note: The flexible exhaust duct can extend to
a maximum length of 118 inches (300 cm).
Provide the straightest, shortest path available.
Excessive bending or stretching of the duct will
reduce cooling efficiency.
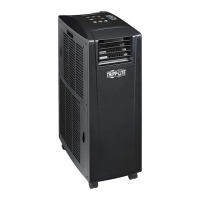
Drainage Plug
Warning: The unit’s built-in re-evaporator will not function unless the drainage plug is installed in the drainage outlet.
The SRCOOL2KWM ships with the drainage plug pre-installed. When the unit cools or dehumidifies, condensation forms. The unit has a built-in
re-evaporator that allows it to expel condensation through the warm air exhaust stream. This feature allows the unit to operate indefinitely without
requiring you to empty a water collection tank.
1
Cooling Mode with Re-Evaporation
The drainage plug must remain installed to enable re-evaporation of condensation.
2
Cooling Mode without Re-Evaporation
To use Cooling mode without re-evaporating condensation, remove the drain plug and route
a user-supplied drain line to external drainage.
3
Dehumidify Mode
When using the unit in Dehumidify mode, you must remove the drain plug and route a user-
supplied drain line to external drainage. This is required because the water removed from
the air would otherwise be evaporated back into the room.
Note: If the drainage system becomes clogged, a small internal reservoir will collect condensation. If the
drainage system is not cleared before the internal reservoir fills, the unit will shut down automatically.
Warning: Before connecting the unit to a dedicated drainage system, turn it off and
unplug it. There is a risk of electric shock while the unit is plugged in.