B
A
A
B
1
2
C
C
A
1
1
2
3
A
B
A
B
5
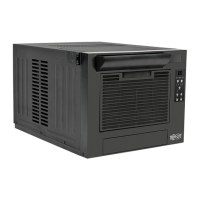
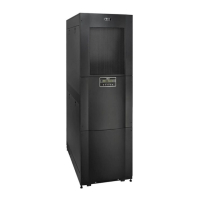
Installation (continued)
Threaded-Hole Rack Installation
1
Align the mounting rail
A
along the inside surface of the
rack posts
B
so that the flanges on the ends of the rail wrap
around to the front and rear surfaces of the posts and the rail
holes meet the threaded holes on the rack post.
2
Secure the shelves
A
to the
mounting rails permanently using
user-supplied screws and washers
C
for your rack as shown.
Place 6 screws total at the front and 4 screws total at the
back.
Tighten all screws before proceeding.
Warning: Do not attempt to install the SRCOOL7KRM
until you have inserted and tightened the required
screws.
3
Follow steps
3
and
4
of the Square-Hole Rack Installation
instructions to securely mount the SRCOOL7KRM.
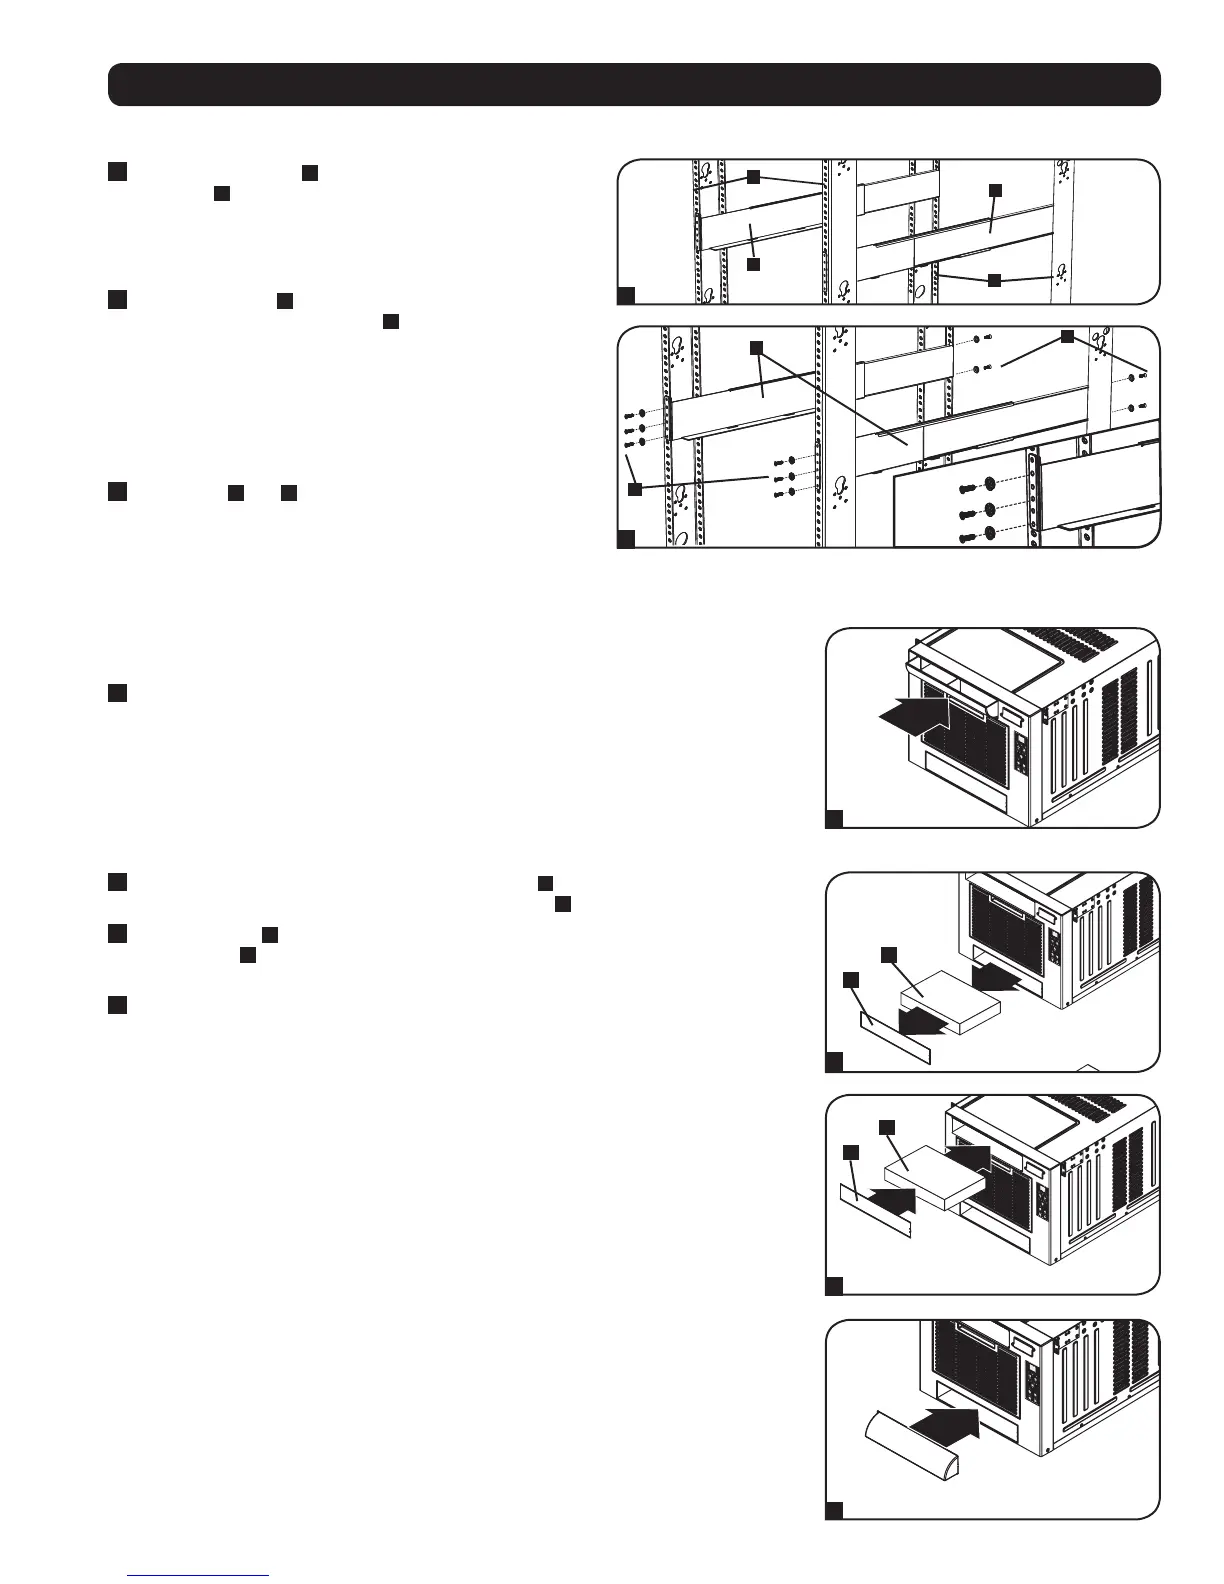
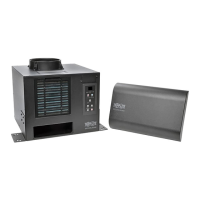
Directional Vent Installation
The directional vent can be installed to provide downward or upward airflow.
For Upward Airflow
1
Make sure the opening on the directional vent is facing upward. Align the vent with top
opening on the front face of the SRCOOL7KRM and push it in firmly.
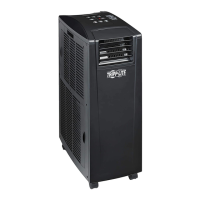
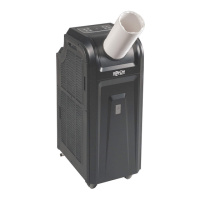
For Downward Airflow
1
Using a flathead screwdriver, remove the blocking plate
A
from the SRCOOL7KRM. It’s
located below the air filter cover. Take out the foam insert
B
.
2
Push foam insert
B
into the top opening on the front face of the SRCOOL7KRM. Align the
blocking plate
A
with the top opening on the front face of the SRCOOL7KRM and push it in
firmly.
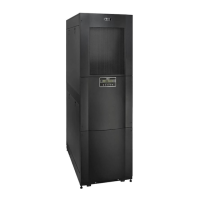
3
Make sure the opening on the directional vent is facing downward. Align the vent with the
bottom opening on the front face of the SRCOOL7KRM and push it in firmly.