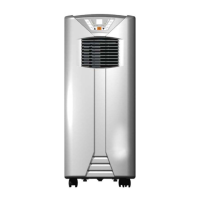
10Tristar Europe B.V. | Air Conditioner | PD-3821
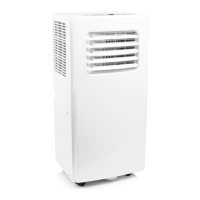
INSTALLATION
• The air-conditioner should be installed on a flat and stable surface. Do not block the air outlet and allow
at least 30cm around the unit.
• Socket wiring should be in accordance with the local electric safety requirements.
Exhaust Hose Installation (see image D)
• Twist both ends of the hot-air exhaust hose A
9
into the hose connector (window end) A
8
and the
hose connector (air conditioner end) A
q
.
• Insert the hose connector (air conditioner end) A
q
into the openings at the back of the air conditioner.
• Fix the hose connector (window end) A
8
to the nearest windowsill.
Universal Window Kit Installation (see image E)
• Clean the window and window frame with soap or detergent and make sure the entire window frame is
dust and grease free.
• Cut the Velcro to the dimensions of the window with scissors.
• Attach the Velcro around the entire window. Note: don’t stick the Velcro onto the glass.
• Attach the cloth to the Velcro tape. Start with the narrow part and work from the center towards the rest of
the Velcro tape, which is attached on the window frame and around the window.
• It may be useful to open the window while attaching the cloth. Make sure to leave enough room in the
corners so the cloth won’t get stuck in the window.
• Open the window kit’s zipper by about 50centimeters.
• Place the air conditioning hose in the opening of the cloth. After that, close the zipper until the air
condition hose is placed.
BEFORE FIRST USE
Before starting operations in this section:
• Find a place where there is power supply nearby.
• Install the exhaust hose and adjust the window position well.
• Insert the power cord into a grounded AC220~240V/50Hz socket.
• Press the power button to turn on the air-conditioner.
• Check whether the exhaust hose has been mounted properly.
• Set the temperature range: 16°C-31°C.
• When using functions on cooling and dehumidifying, allow at least 3 minutes between powering off and
powering on.
Remote control (see image C)
• 2xAAA size batteries are required.
• Ensure batteries are inserted in the correct direction.
• When replacing, ensure both batteries are changed simultaneously.
• Press the corresponding buttons as explained in the control panel part to operate the fan.
USE
Manual use
Cooling operation
• Press the “Mode“ button till the “Cool“ icon appears.
• Press the + or - button to select a desired room temperature.
• Allow around 5 minutes for the cooling to start.
• Press the “Fan speed” button to adjust airflow speed.