Lubrication
Oil Tank
Removal
1.
Remove the throttle bodies
as
described
on
page
11.121.
2.
Drain the
oil
tank
as
described
on
page
9.
7.
3.
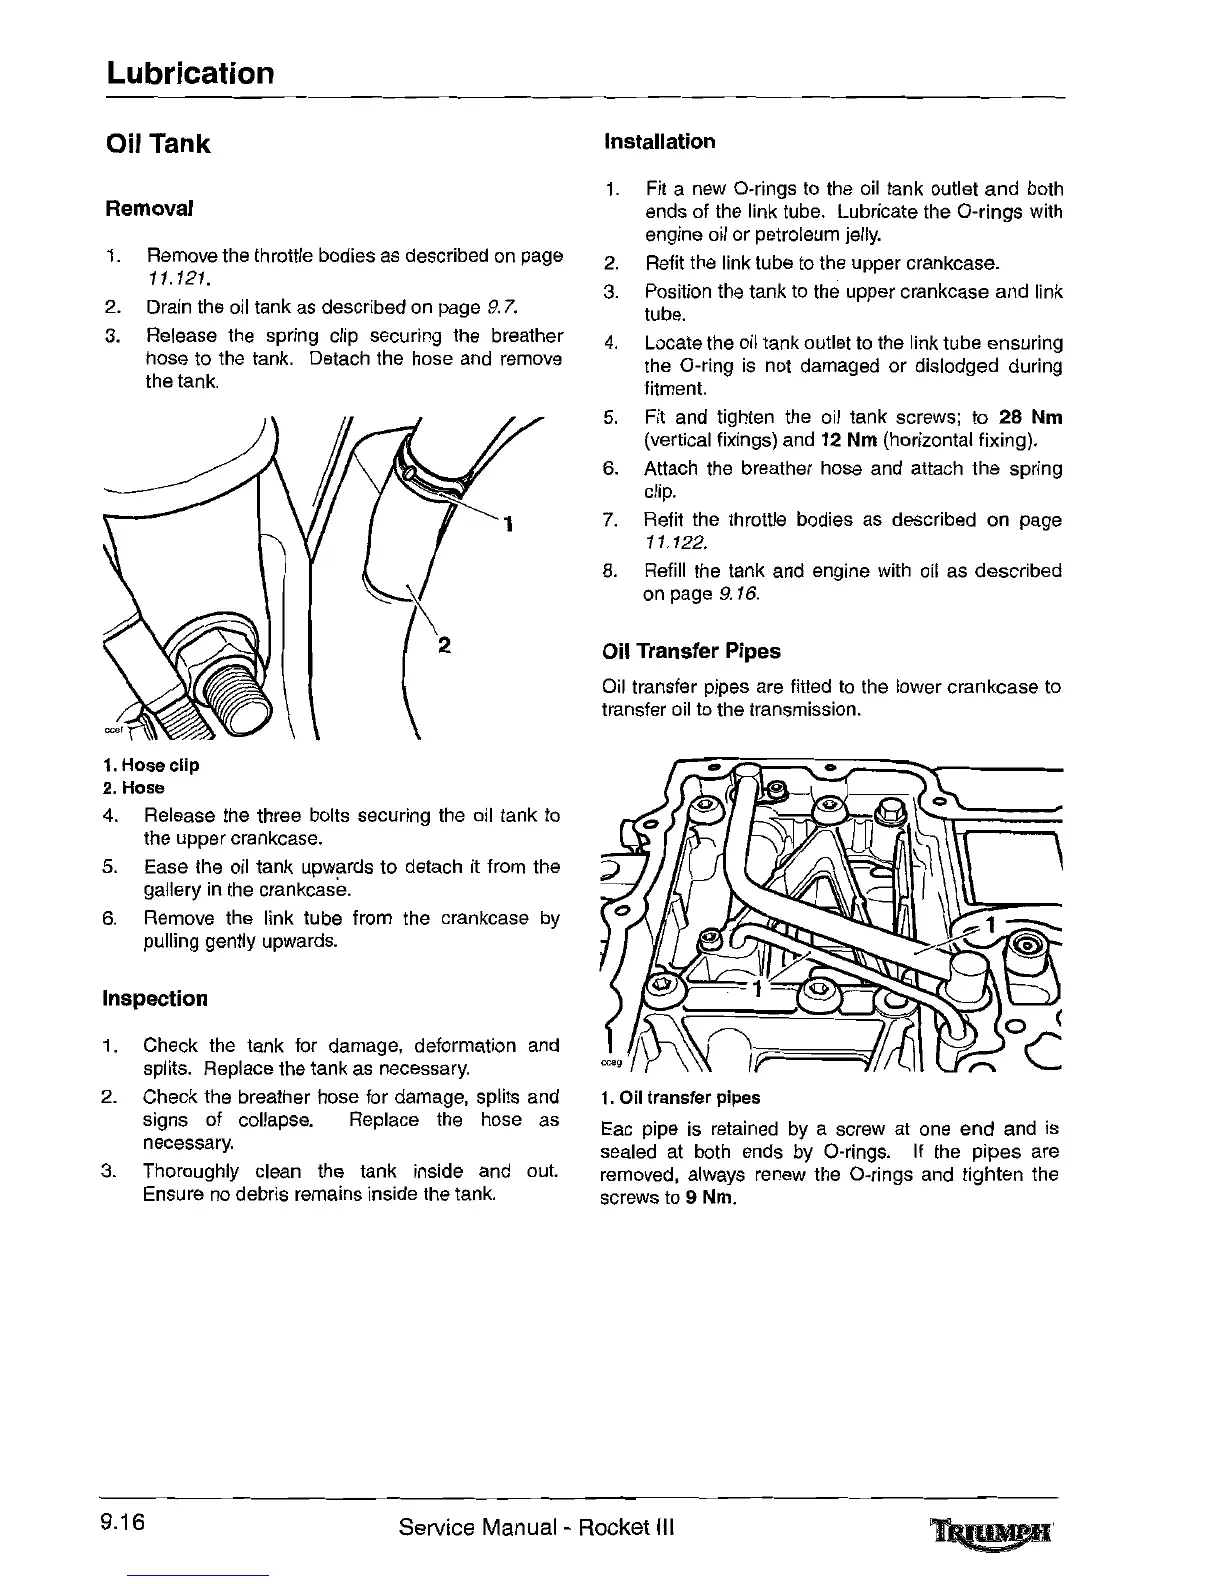
Release the spring clip securing the breather
hose to the tank. Detach the hose and remove
the tank.
1.
Hose
clip
2.
Hose
4.
Release the three bolts securing the oil tank to
the upper crankcase.
5.
Ease the
oil
tank upwards to detach it from the
gallery
in
the crankcase.
6.
Remove the link tube from the crankcase
by
pulling gently upwards.
Inspection
1. Check the tank for damage, deformation and
splits. Replace the tank
as
necessary.
2.
Check the breather hose for damage, splits and
signs of collapse. Replace the hose as
necessary.
3.
Thoroughly clean the tank inside and out.
Ensure
no
debris remains inside the tank.
Installation
1.
Fit a new O-rings to the
oil
tank outlet and
both
ends of the link
tUbe.
Lubricate the O-rings with
engine oil or petroleum jelly.
2.
Refit the link tube to the upper crankcase.
3.
Position the tank to the upper crankcase and link
tube.
4.
Locate the oii tank outlet to the link tube ensuring
the O-ring
is
not damaged or dislodged during
fitment.
5.
Fit and tighten the oil tank screws; to
28
Nm
(vertical lixings) and 12 Nm (horizontal fixing).
6.
Attach the breather hose and attach the spring
clip.
7.
Refit the throttle bodies as described on page
11.122.
8.
Refill the tank and engine with
oil
as described
on
page
9.
16.
Oil Transfer Pipes
Oil
transfer pipes are fitted to the lower crankcase to
transfer
oil
to the transmission.
1.
Oil
transfer pipes
Eac pipe is retained
by
a screw at one end and is
sealed at both ends
by
O-rings. II the pipes are
removed, always renew the O-rings and tighten the
screws to 9 Nm.
9.16
Service Manual - Rocket III
Tb_v'
..
~

 Loading...