ELECTRICAL SY
STEM-Lamps, etc.
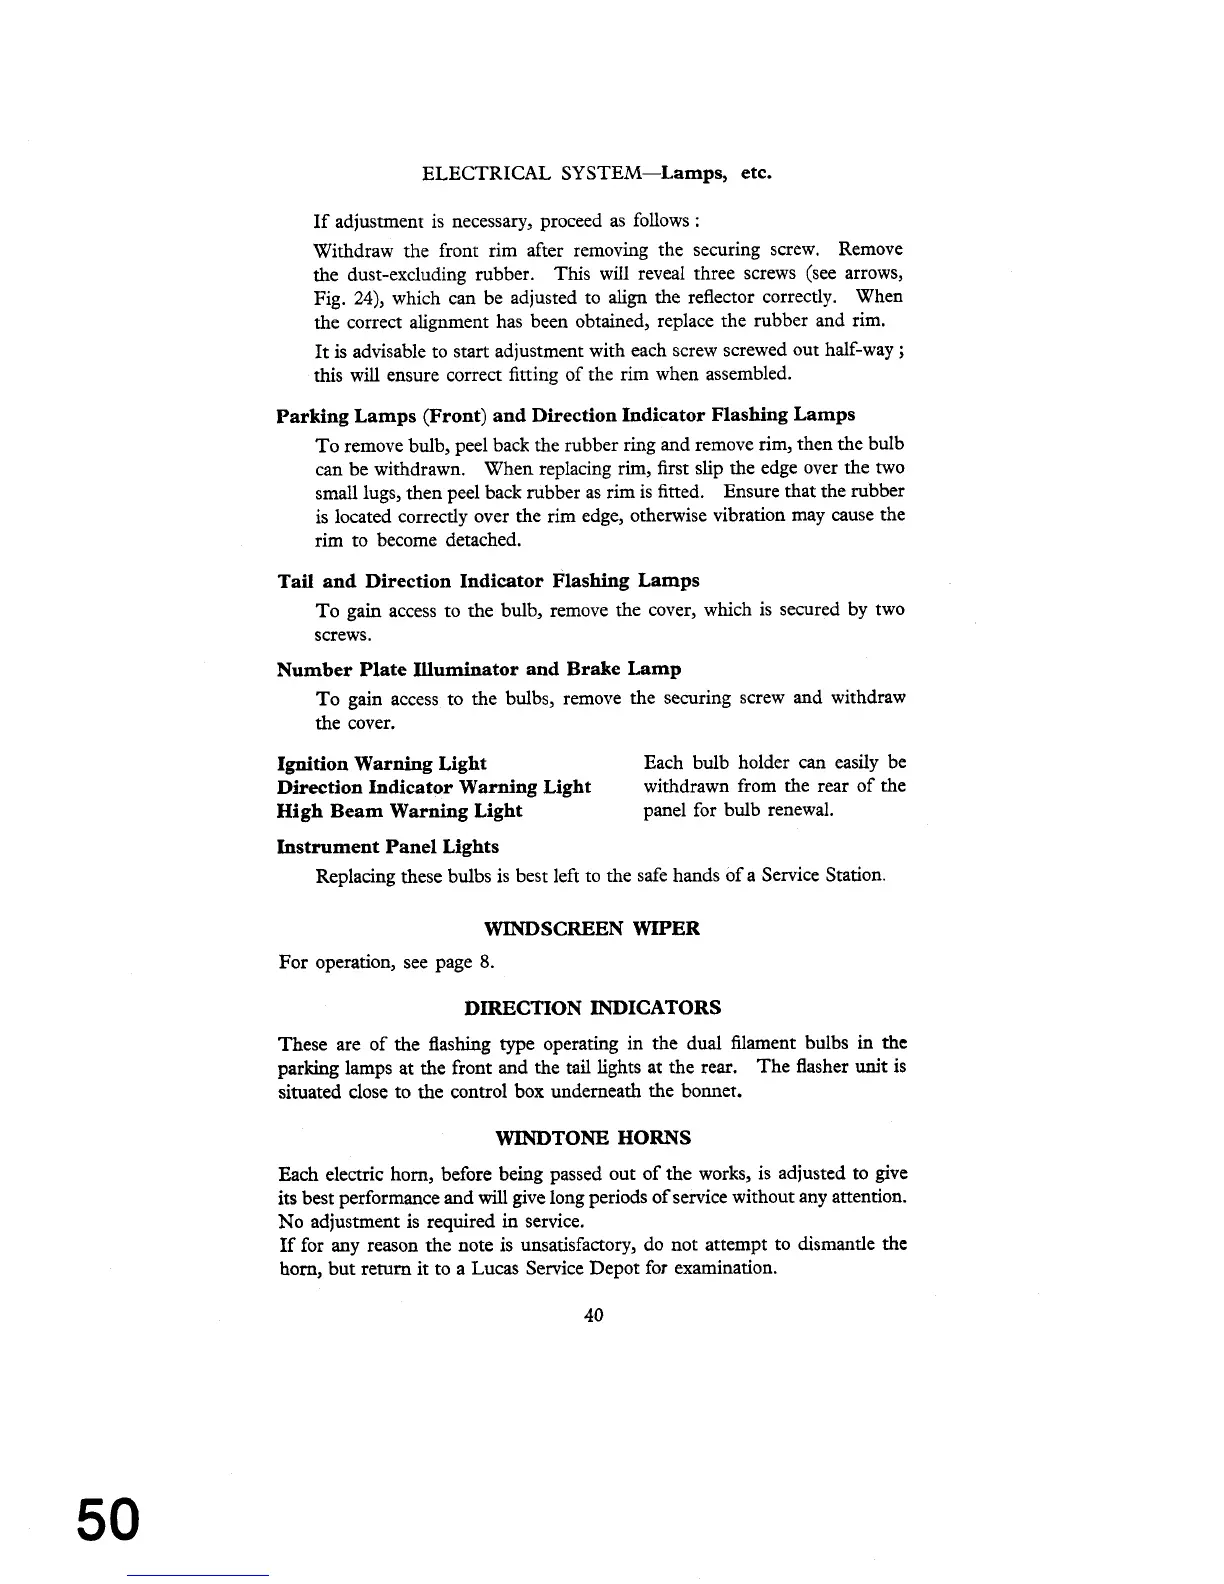
If adjustment is necessary, proceed as follows
:
Withdraw the front rim after removing the securing screw.
Remove
the dust-excluding rubber. This will reveal three screws (see arrows,
Fig.
24),
which can be adjusted to align the reflector correctly. When
the correct alignment has been obtained, replace the rubber and rim.
It is advisable to start adjustment with each screw screwed out half-way
;
this will ensure correct fitting of the rim when assembled.
Parking Lamps (Front) and Direction Indicator Flashing Lamps
To remove bulb, peel back the rubber ring and remove rim, then the bulb
can be withdrawn. When replacing rim, first slip the edge over the two
small lugs, then peel back rubber as rim is fitted. Ensure that the rubber
is located correctly over the rim edge, otherwise vibration may cause the
rim to become detached.
Tail and Direction Indicator Flashing Lamps
To gain access to the bulb, remove the cover, which is secured by two
screws.
Number Plate Illuminator and Brake Lamp
To gain access to the bulbs, remove the securing screw and withdraw
the cover.
Ignition Warning Light
Each bulb holder can easily be
Direction Indicator Warning Light
withdrawn from the rear of the
High Beam Warning Light
panel for bulb renewal.
Instrument Panel Lights
Replacing these bulbs is best left to the safe hands of a Service Station.
WINDSCREEN WIPER
For operation, see page
8.
DIRECTION INDICATORS
These are of
the
flashing type operating in the dual filament bulbs
in
the
parking lamps at the front and the tail lights at the rear. The flasher
unit
is
situated close to the control box underneath the
bonnet.
WINDTONE HORNS
Each electric horn, before being passed out of the works, is adjusted to give
its best performance and
will
give long periods of service without any attention.
No adjustment is required in service.
If for any reason the note is unsatisfactory, do not attempt to dismantle the
horn, but return it to a Lucas Service Depot for examination.