EN 7
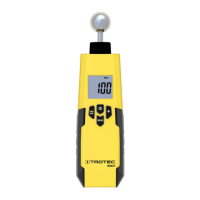
pyrometer BP17
Transport and storage
Note
If you store or transport the device improperly, the
device may be damaged.
Note the information regarding transport and storage of
the device.
Transport
For transporting the device, use the bag included in the scope of
delivery in order to protect the device from external influences.
The manufacturer packed the device to the best of his abilities
to protect it against transport damage.
Storage
When the device is not being used, observe the following
storage conditions:
• dry and protected from frost and heat
• protected from dust and direct sunlight
• with a cover to protect it from invasive dust if necessary
• the storage temperature complies with the values specified
in the Technical data
• Remove the batteries from the device.
• Preferably use the supplied device bag to store the device.
Operation
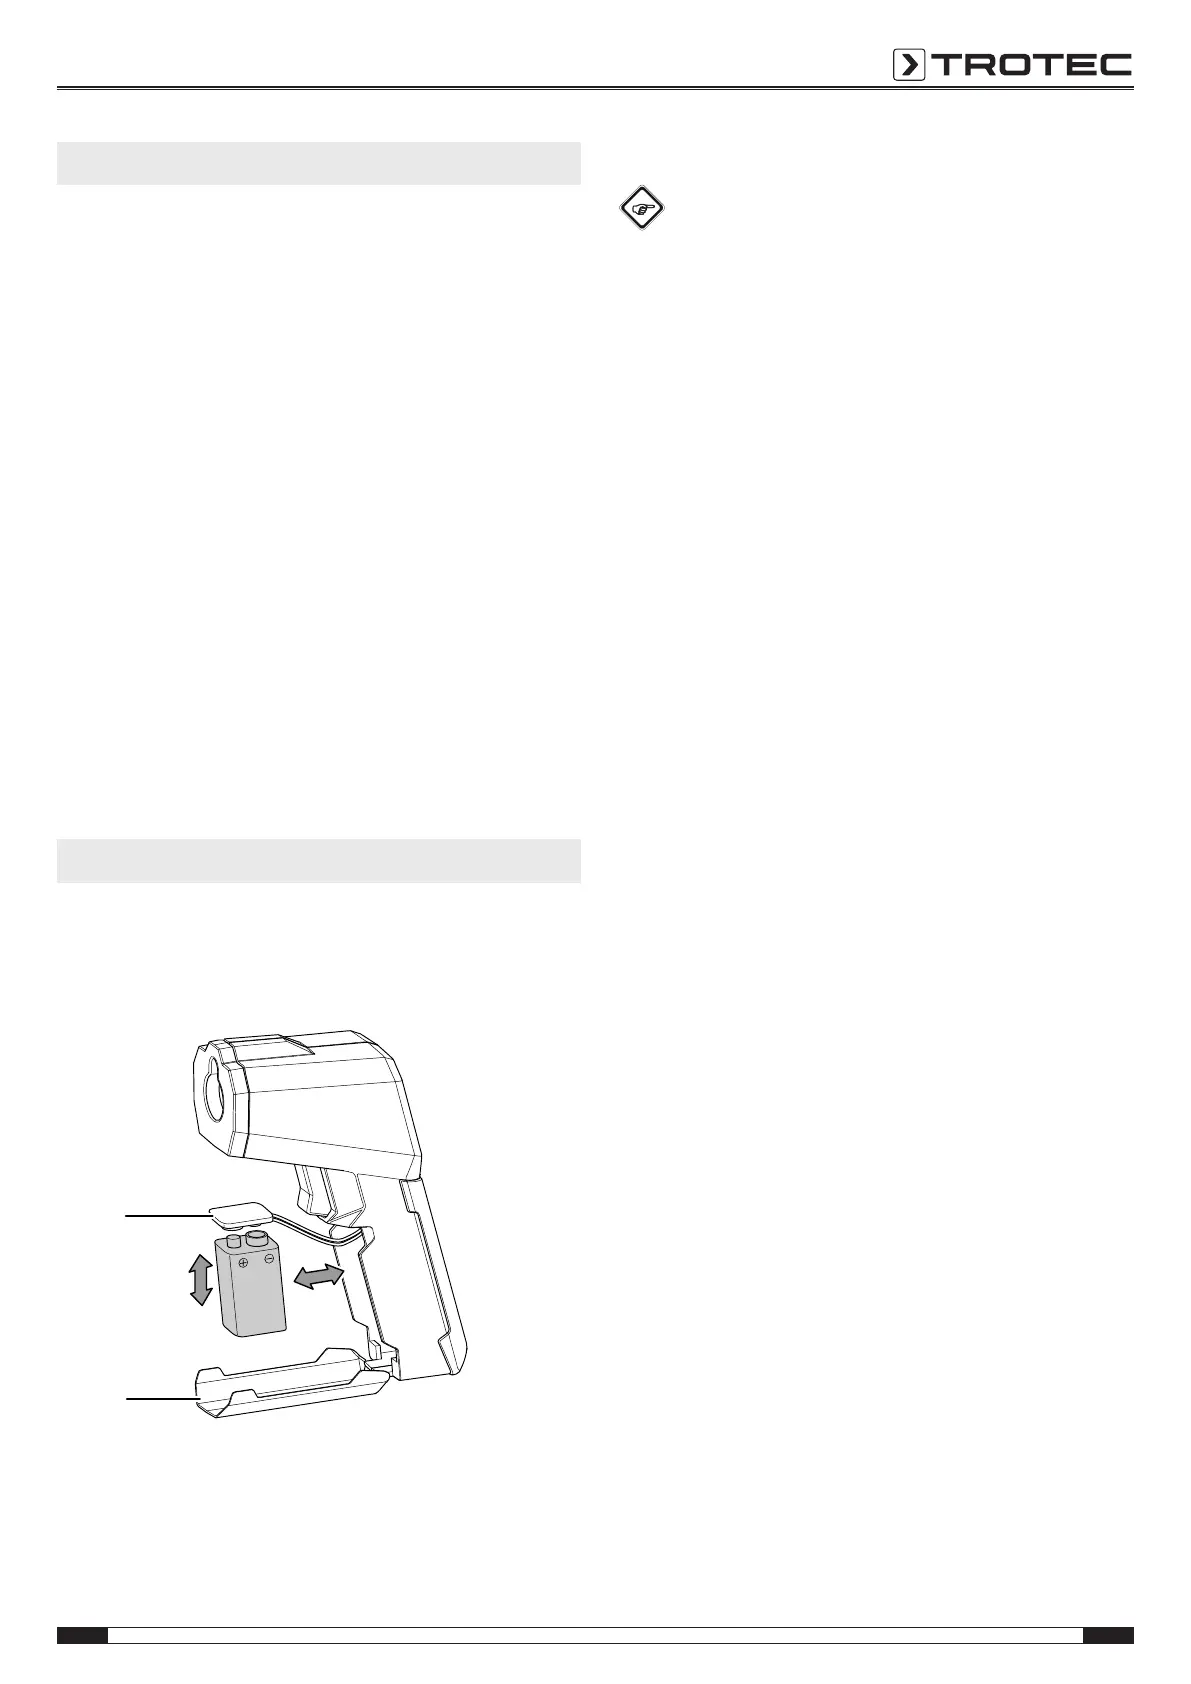
Inserting the battery
Note
Make sure that the surface of the device is dry and the
device is switched off.
1. Open the battery compartment by folding open the
cover(20) with your fingers.
2. Use the battery clip(19) to connect the new battery with
correct polarity.
3. Insert the battery in the battery compartment.
4. Close the cover of the battery compartment.
Carrying out a measurement
Info
Please note that moving from a cold area to a warm
area can lead to condensation forming on the device's
circuit board. This physical and unavoidable effect can
falsify the measurement. In this case, the display shows
either no measured values or they are incorrect. Wait a
few minutes until the device has become adjusted to the
changed conditions before carrying out a measurement.
Note
The first object at which you point the device and the
temperature of which you measure is then also the
reference value for all further measurements. The
reference value is displayed on the reference value
indication.
• Ensure that the surface to be measured is free of dust, dirt
or similar substances.
• To be able to gain exact measurement results on surfaces
which reflect heavily, stick matt masking tape to the
surface or apply matt black paint with a very high and
known degree of emission.
• Note the 10:1 ratio of the distance to the measuring spot
size. For accurate measurements the measuring object
should be at least twice as large as the measuring spot.
1. Point the device at the object to be measured.
2. Press the measurement button(4).
ð The reference value is displayed on the reference value
indication(18).
ð The SCAN indication(17) appears on the display.
ð The current measured value is displayed in the
measurement value display(15).
3. Press the measurement button(4) again if you want to
"freeze" a measured value.
ð The current measured value will be halted.
ð The HOLD indication(16) appears on the display.
Carrying out a measurement with threshold values
The device permits you to set a threshold value relating to the
set reference temperature. Exceeding or falling below the
reference temperature by more than this selected threshold is
indicated visually and acoustically.
To determine the threshold value relating to the reference
temperature use the SET/lamp button(5). The following settings
are available:
• --: The threshold is disabled.
• 1 °C: The threshold value is respectively 1°C (1.8°F)
higher or lower than the reference value.
• 3 °C: The threshold value is respectively 3°C (5.4°F)
higher or lower than the reference value.
• 5 °C: The threshold value is respectively 5°C (9°F) higher
or lower than the reference value.
 Loading...