~aintenance/Rep~a_ir_s~~~~~~~~~~~~~~_
3. The belt tension is correct
if
the
front
of
the clutch roller is l/4"-to-
5/16" away from the face
of
the
upright bracket that holds the ad-
justment block
in place (Photo
5-12).
To
measure this distance:
a)
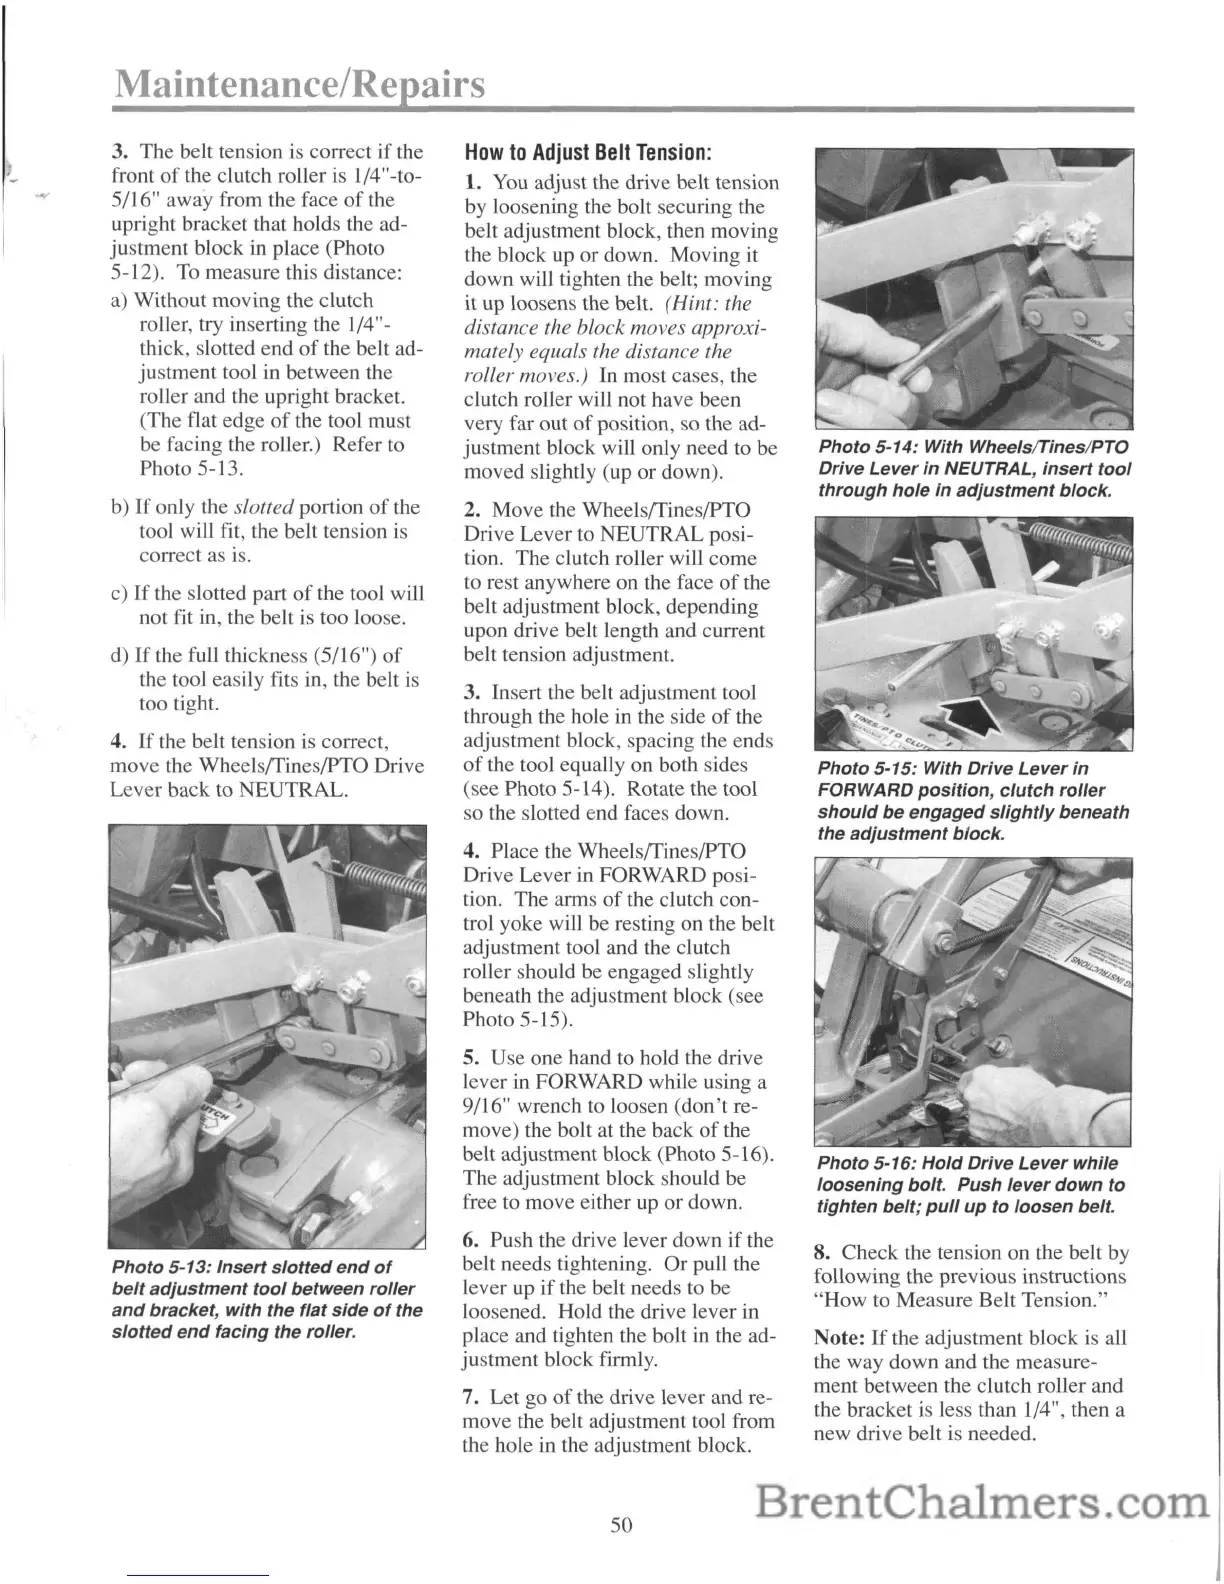
Without moving the clutch
roller, try inserting the 1/4"-
thick, slotted end
of
the belt ad-
justment tool in between the
roller and the upright bracket.
(The flat edge
of
the tool must
be facing the roller.) Refer to
Photo 5-13.
b)
If
only the slotted portion
of
the
tool will fit, the belt tension is
correct as is.
c)
If
the slotted part
of
the tool will
not fit
in, the belt is too loose.
d)
If
the full thickness (5/16")
of
the tool easily fits in, the belt
is
too tight.
4.
If
the belt tension is correct,
move the Wheels/TineslPTO Drive
Lever back to NEUTRAL.
Photo
5-13:
Insert
slotted
end
of
belt
adjustment
tool
between
roller
and
bracket,
with
the flat
side
of
the
slotted
end
facing the roller.
How
to
Adjust
Belt
Tension:
1. You adjust the drive belt tension
by loosening the bolt securing the
belt adjustment block, then moving
the block up or down. Moving it
down will tighten the belt; moving
it up loosens the belt.
(Hint: the
distance the block moves approxi-
mately equals the distance the
roller moves.)
In most cases, the
clutch roller will not have been
very far out
of
position, so the ad-
justment block will only need to be
moved slightly (up or down).
2. Move the Wheels/TineslPTO
Drive Lever to NEUTRAL posi-
tion. The clutch roller will come
to rest anywhere on the face
of
the
belt adjustment block, depending
upon drive belt length and current
belt tension adjustment.
3. Insert the belt adjustment tool
through the hole in the side
of
the
adjustment block, spacing the ends
of
the tool equally on both sides
(see Photo 5-14). Rotate the tool
so the slotted end faces down.
4. Place the Wheels/TineslPTO
Drive Lever
in
FORWARD posi-
tion. The arms
of
the clutch con-
trol yoke will be resting on the belt
adjustment tool and the clutch
roller should be engaged slightly
beneath the adjustment block (see
Photo 5-15).
5. Use one hand to hold the drive
lever in FORWARD while using a
9/16" wrench to loosen (don't
re-
move) the bolt at the back
of
the
belt adjustment block (Photo 5-16).
The adjustment block should be
free to move either up or down.
6. Push the drive lever down
if
the
belt needs tightening. Or pull the
lever
up
if
the belt needs to be
loosened. Hold the drive lever in
place and tighten the bolt in the ad-
justment block firmly.
7. Let go
of
the drive lever and re-
move the belt adjustment tool from
the hole in the adjustment block.
50
Photo
5-14: With WheelslTineslPTO
Drive
Lever
in
NEUTRAL,
insert
tool
through
hole
in
adjustment
block.
Photo
5-15: With Drive
Lever
in
FORWARD
position,
clutch
roller
should
be
engaged
slightly
beneath
the
adjustment
block.
Photo
5-16:
Hold
Drive
Lever
while
loosening
bolt.
Push
lever
down
to
tighten
belt;
pull
up
to
loosen
belt.
8. Check the tension on the belt by
following the previous instructions
"How to Measure Belt Tension."
Note:
If
the adjustment block is all
the way down and the measure-
ment between the clutch roller and
the bracket is less than 1/4", then a
new drive belt is needed.


 To Next Page
 Loading...