Normally, you can avoid most tangling prob-
lems by setting the depth regulator deep enough
to get maximum "chopping" action as the tines
chop the material against the ground, and by till-
ing under crop residues or cover crops while
they are still green, moist and tender.
Also, you might try swaying the handlebars
from side to side (about 6" to 12") while continu-
ing to power compost. This "fishtailing" action
often clears the debris out of the tines.
Power Composting
It is essential that a garden be fed something
if it is to be bountiful year after year in the same
location. You must replenish the plant nut
rients-
prim arily nitrogen,
phospho
rous and potas-
sium-
that you took away from the soil in the
form of harvested vegetables and fruits. The first
place to begin is with crop residues, which in-
clude leftover leaves, vines, stems and roots.
Power compost these crop residues directly
into your garden soil as soon as they finish bear-
ing. The sooner this is done, the better. Tender
green matter not only tills in easier, but provides
that much more good food for the earthworms
and other beneficial forms of soil life.
Standing cornstalks of reasonable height can
be power composted. Pushing over (but not up-
rooting) tall cornstalks will often make it easier
for your tiller to chop up the stalks. Keep the
tines clear of excessive tangling by "fishtailing" or
frequently using Reverse. Make several passes,
then return a few days later to finish off any re-
maining stubble.
'1
Photo 4-16: Tilling under cornstalks.
After all the crop residues have been tilled
under, add more organic matter such as leaves,
grass clippings and even kitchen scraps. This or-
ganic matter will decompose and add even more
important nutrients to the soil to help plants
thrive next Spring.
30
After all the power composting has been done,
you should plant a "green manure" cover crop to
protect your soil during the off-season. Green
manures are also called "cover crops" or "catch
crops".
You
simply grow a crop of clover, alfalfa,
buckwheat, peas , beans, rye grass, grain, or
kale and then later till it into the soil, thus adding
far more nutrients than you have taken out.
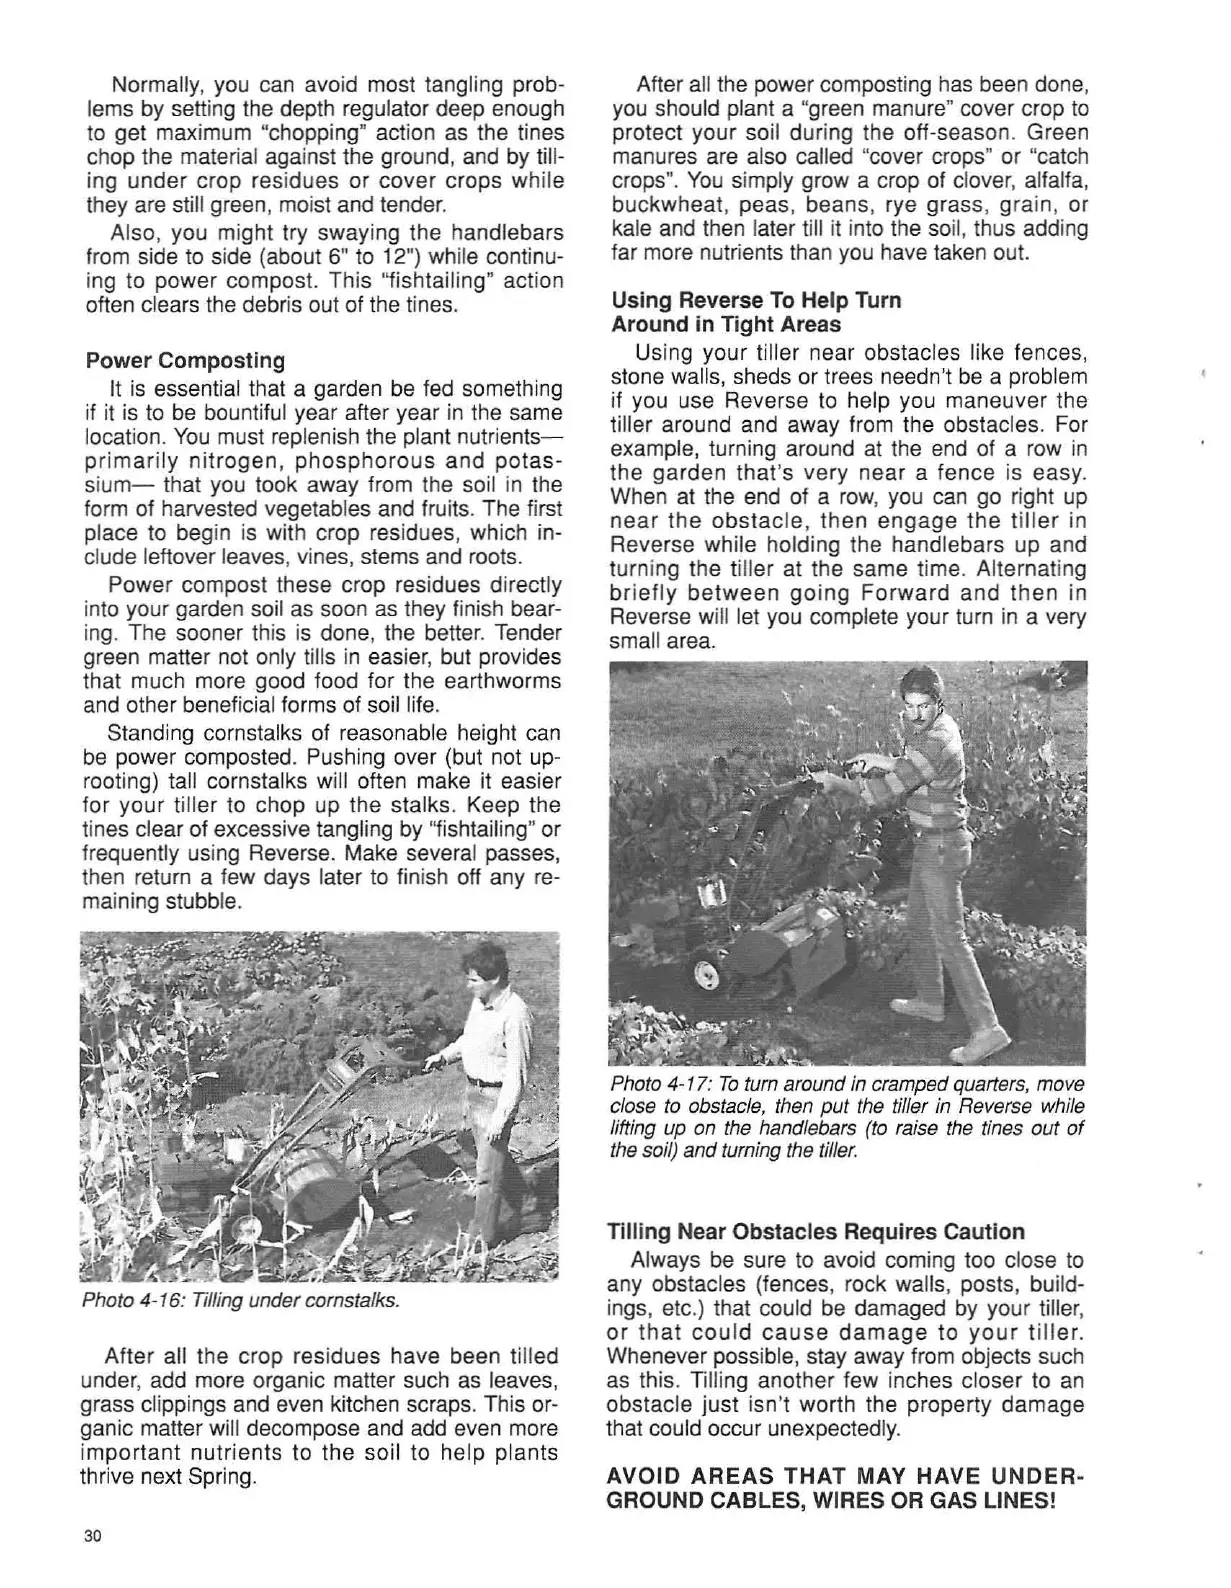
Using Reverse To Help Turn
Around in Tight Areas
Using your tiller near obstacles like fences,
stone walls, sheds or trees needn't be a problem
if you use Reverse to help you maneuver the
tiller around and away from the obstacles. For
example, turning around at the end of a row in
the garden that's very near a fence is easy.
When at the end of a row, you can go right up
near the
obstac
le, then engage the t
iller
in
Reverse while holding the handlebars up and
turning the tiller at the same time. Alternating
briefly be
twee
n
going
Forwa rd and then in
Reverse will let you complete your turn in a very
small area.
Photo 4-17: To turn around in cramped quarters, move
close to obstacle, then put the tiller in Reverse while
lifting up on the handlebars (to raise the tines out
of
the soil) and turning the tiller.
Tilling Near Obstacles Requires Caution
Always be sure to avoid coming too close to
any obstacles (fences, rock walls, posts, build-
ings, etc.) that could be damaged by your tiller,
or th at
could
cau
se
damage
to yo ur t
iller.
Whenever possible, stay away from objects such
as this. Tilling another few inches closer to an
obstacle just isn't worth the property damage
that could occur unexpected
ly.
AVOID
AREAS
THA
T MAY HAVE
UNDER
·
GROUND CABLES, WIRES OR GAS LINES!
 Loading...