1. Remove one wheel , clean the wheel shaft,
and apply a thin coat of grease. Repeat at the
other end of the.wheel shaft.
2. Grease the back, front, and sides of the Depth
Regulator Lever.
3. Oil the entire length of the Engine Throttle
cable (all models) and the Wheel Gear cable (ex-
cept Junior ModeL) Just apply oil to the outside
of the cables, allow it to work its way inside, and
wipe off the excess oil.
4. Oil the th reads on the
Handlebar
Height
Adjustment Handle.
5. Oil the pivot points on the shifting mechanism.
6. Oil the handlebar pivot points.
7. Clean and grease the tine shaft on both sides
of the tiller. Inspect the tine shaft for rust, rough
spots, or burrs; especially near the holes. File or
sand any rust, rough spots, or burrs smooth and
then coat the tine shaft ends with grease to
make future removal easier.
8.
Car
efully oil the idler arm pivot points. Be
careful not to spill any oil on the belts or pulleys.
Photo 5-2: Lubrication points on the shifting mecha-
nism.
CHECK FOR OIL LEAKS
You should regularly check your tille r for oil
leaks, both from the transmission and from the
engine. Look for signs of an oil leak by looking
for a dirty, oily accumulation on the transmission
and engine. Also look on the floor where you've
been parking the tiller.
A little seepage around a gasket or oil seal is
not a cause for alarm. However, if oil drips while
the tiller is sitting overnight, then you should
re-
place the worn oil seal or gasket right away- first
try tightening any loose screws or bolts.
If your tiller leaks a fair amount of oil, you
should not run it until you have replaced the gas-
ket or oil seal. Ignoring leakage can cause ex-
pensive damage to the transmission or engine.
If you have problems with a tiller leak, please call
or write our Technical Service Department here
at the factory.
34
TIGHTENING NUTS AND BOLTS
A WARNING
Before inspecting or servicing the tiller, stop
the engine, disconnect the spark plug wire
and keep it from touching the spark plug,
remove the Engine Ignition key and allow
the engine and muffler to cool.
Failure to follow these instructions could re-
sult in personal injury or property damage.
It's a very good idea to periodically check all
nuts, bolts, and screws on your tiller for tight-
ness. Loose nuts, bolts, or screws can lead to
equipment failure, poor performance, or oil leaks.
Most nuts, bolts, and screws on your tiller are
easily visible.
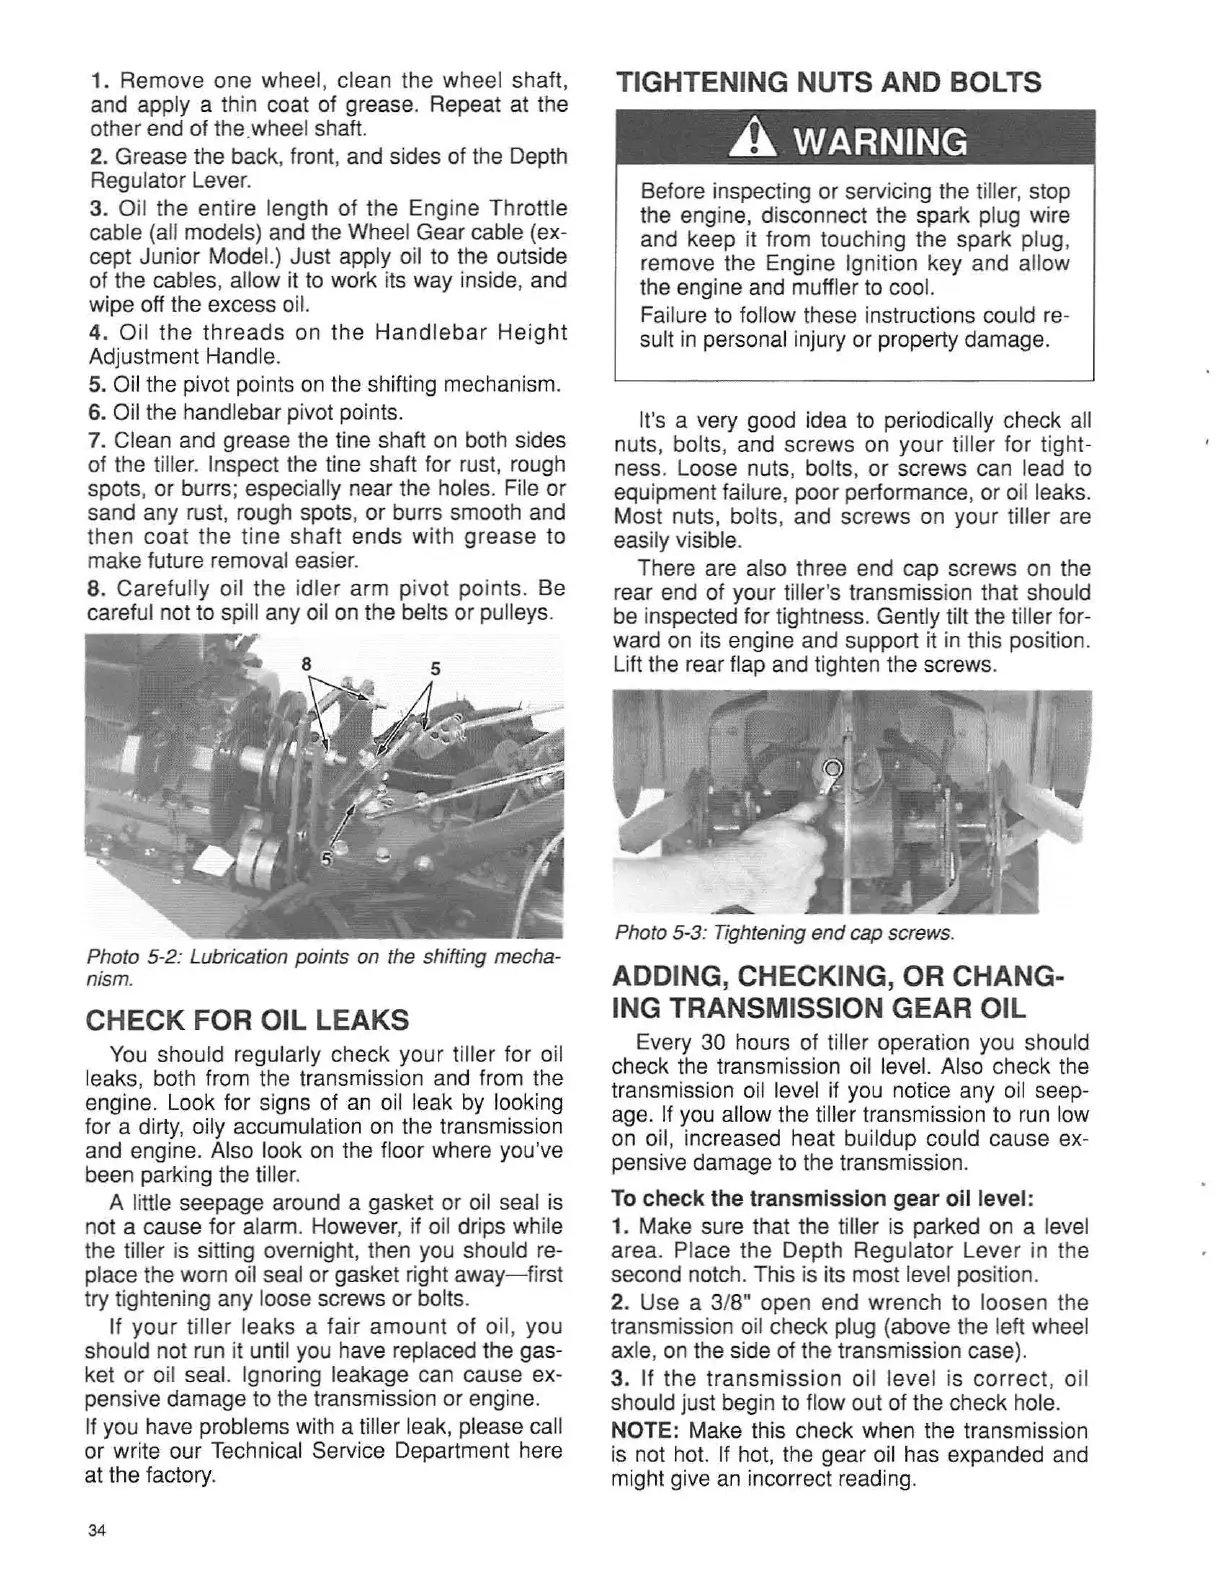
There are also three end cap screws on the
rear end of your tiller's transmission that should
be inspected for tightness. Gently tilt the tiller for-
ward on its engine and support it in this position.
Lift the rear flap and tighten the screws.
---
Photo 5-3: Tightening end cap screws.
ADDING, CHECKING, OR CHANG-
ING TRANSMISSION GEAR OIL
Every 30 hours of tiller operation you should
check the transmission oil level. Also check the
transmission oil level if you notice any oil seep-
age. If you allow the tiller transmission to run low
on oil, increased heat buildup could cause ex-
pensive damage to the transmission.
To
check
the
transm
ission
gear oil level:
1. Make sure that the tiller is parked on a level
area. Place the Depth Regulator Lever in the
second notch. This is its most level position.
2. Use a 3/8" open end wrench to loosen the
transmission oil check plug (above the left wheel
axle, on the side of the transmission case).
3.
If the transmission oil level is
cor
rect, oil
should just begin to flow out of the check hole.
NOTE: Make this check when the transmission
is not hot. If hot, the gear oil has expanded and
might give an incorrect reading.
 Loading...