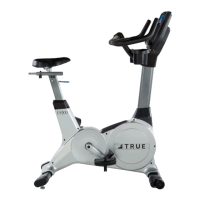
CHAPTER 2: ASSEMBLY INSTRUCTIONS
BIKE ASSEMBLY STEPS (continued):
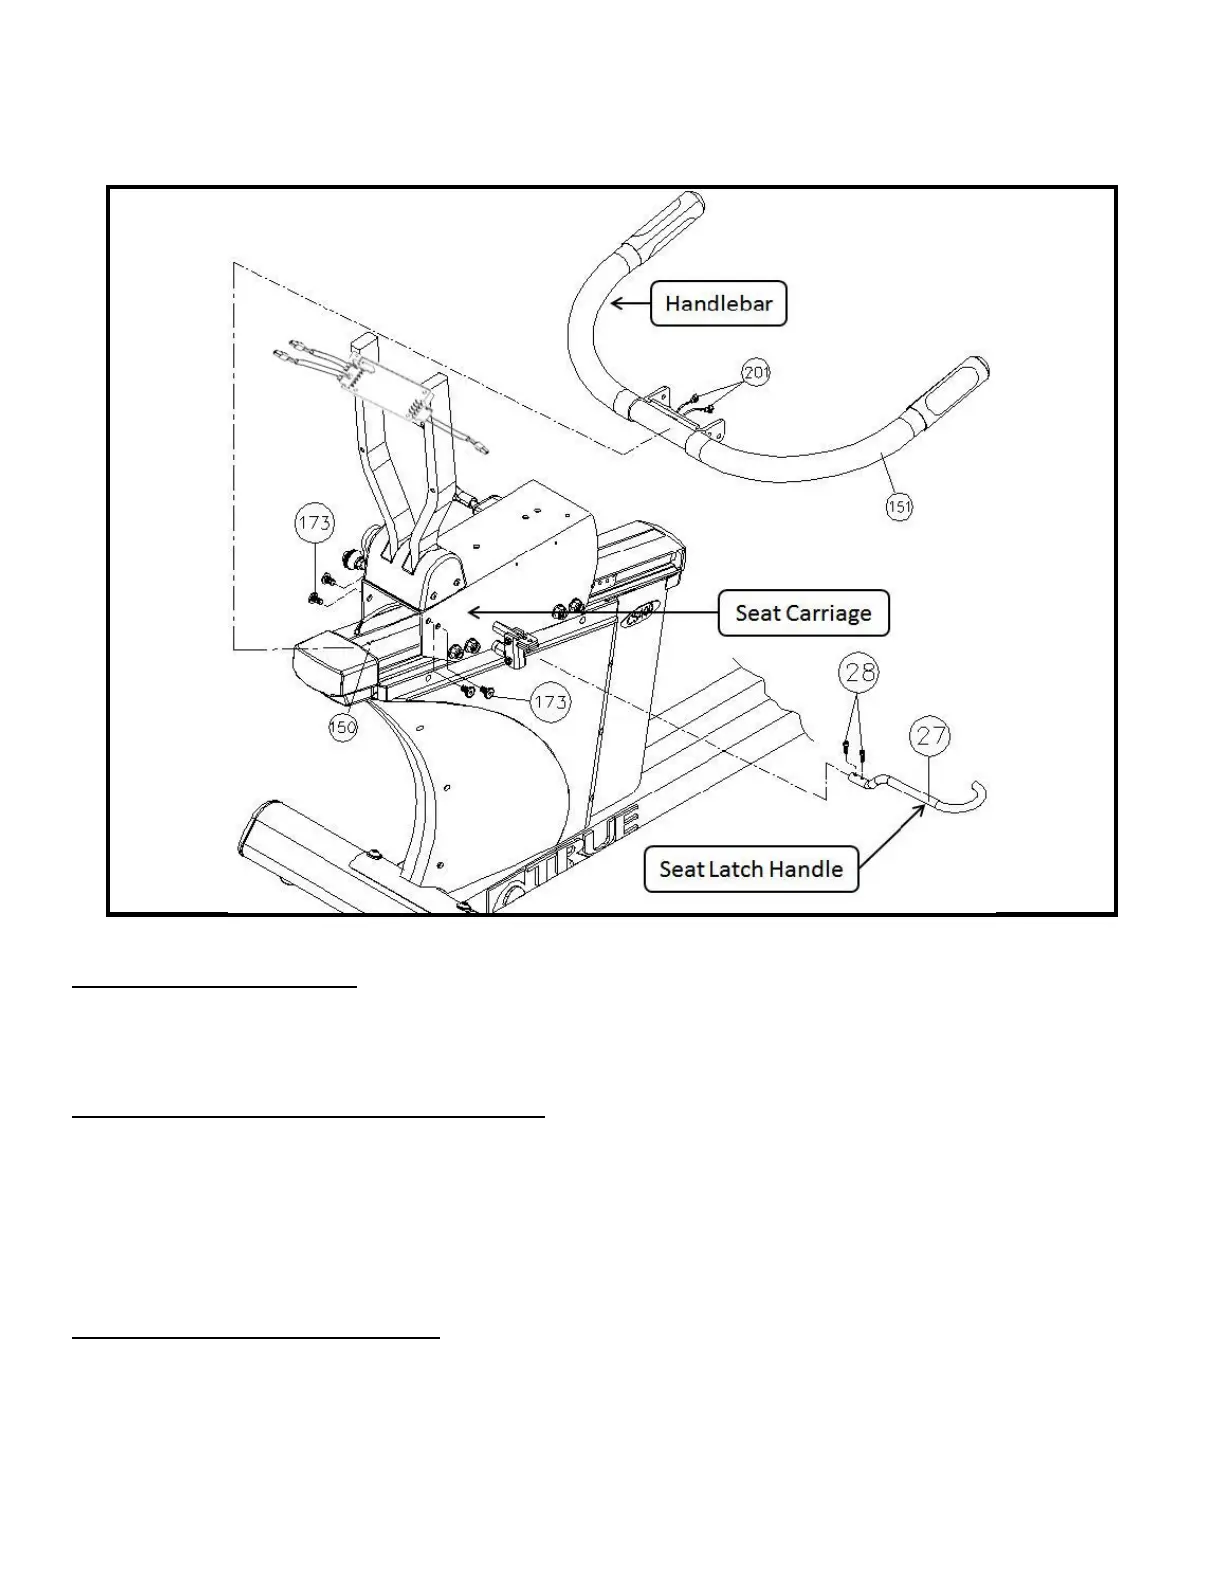
Step 3 Seat Latch Handle:
• Insert Seat Latch Handle into Seat Carriage
• Insert screws (#28, quantity 2)
• Tighten using the provided 4mm hex wrench
Step 4 Seat Handlebar Cable Connections:
• At least one person should hold the Handlebar while another completes the remaining cable connection steps
• Prior to connection, verify the Handlebar is in the correct orientation; visible screws on the metal contact pads
should be facing down
• Connect the Handlebar cables with the cables coming from the upper portion of the seat back.
• Connect cable located in the back opening of the seat carriage to the single cable coming from the upper
portion of the seat back.
Step 5 Seat Handlebar Assembly:
• Insert the Handlebar bracket into the back opening of the Seat Carriage
• Again, verify that the Handlebar is in the correct orientation
• Insert screws (#173, quantity 4) through the Seat Carriage, into the Handlebar bracket
• Tighten using the provided 6mm hex wrench
Truefitness.com / 800.426.6570 / 636.272.7100 11