18
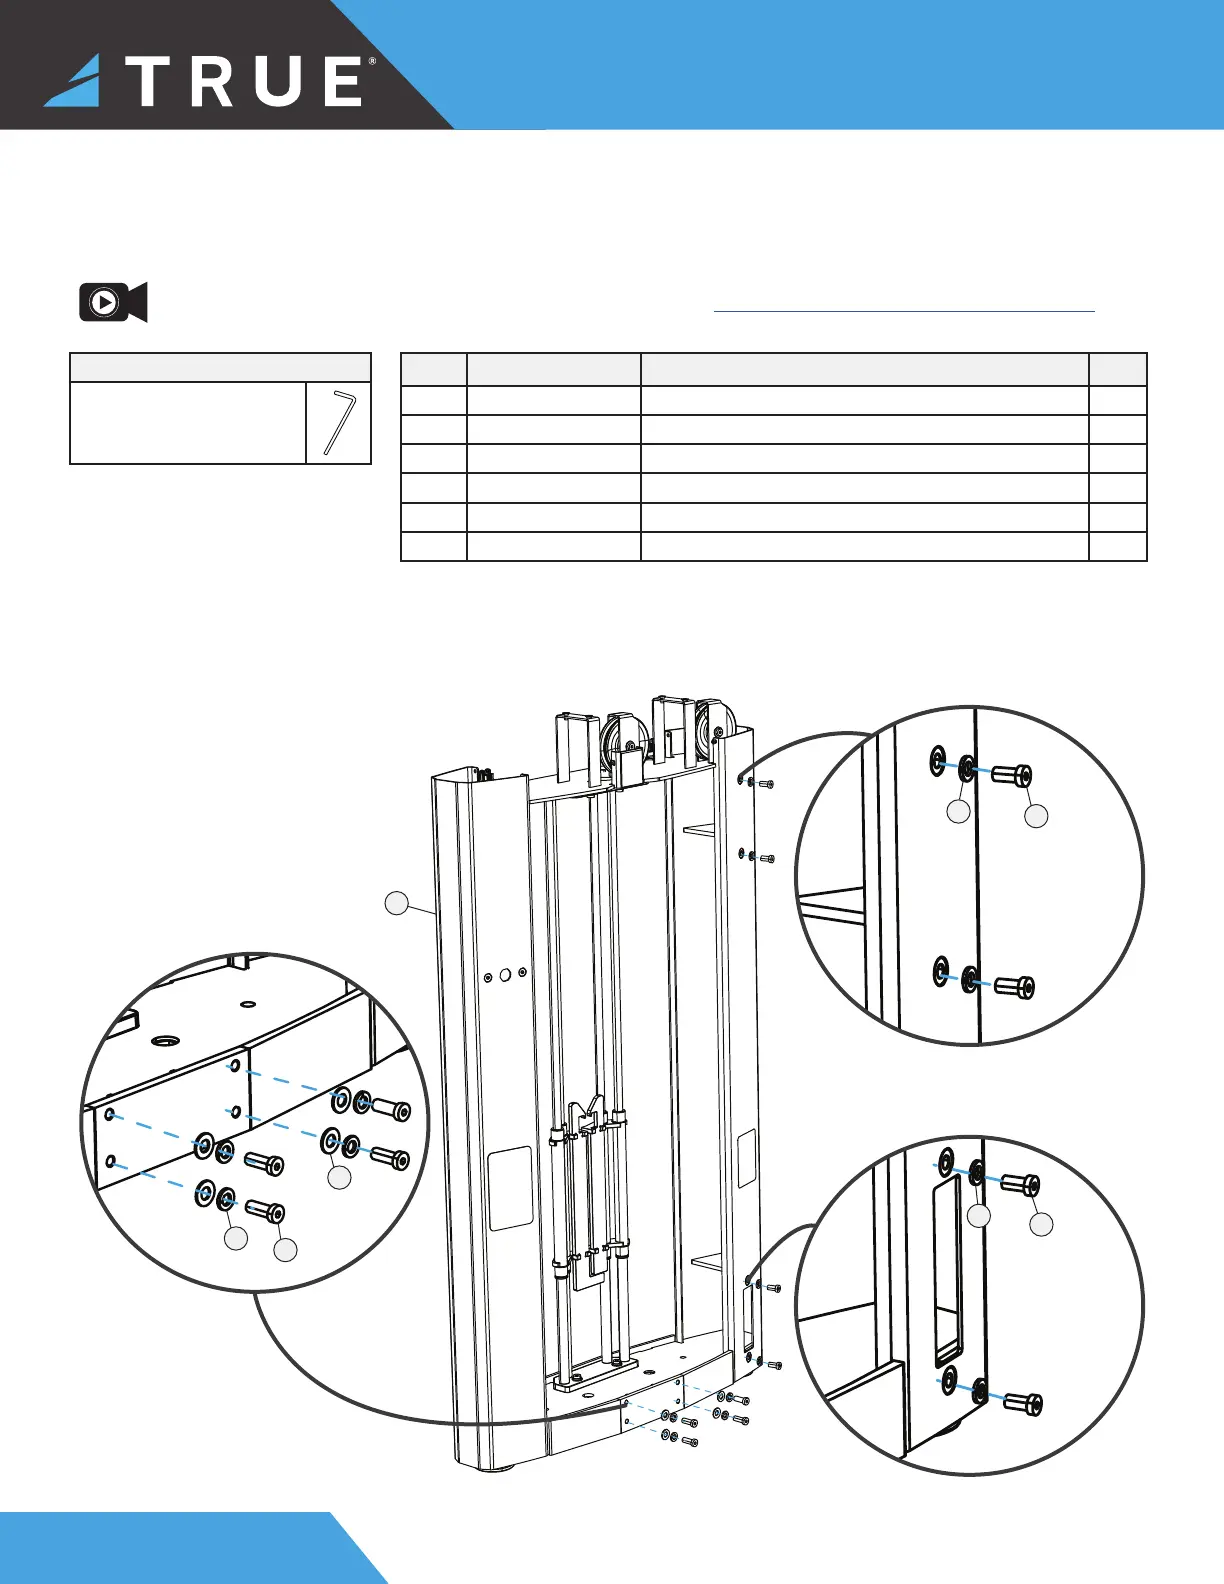
ASSEMBLY STEPS
ITEM PART DESCRIPTION QTY
1 SPL-10-MFR000X MAIN FRAME ASSEMBLY 1
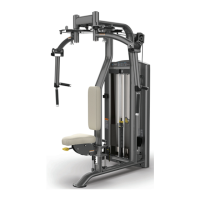
2 SPL-10-UPR200X UPRIGHT ASSEMBLY 1
3 C1256 LPSHCS, 3/8"-16 X 1" E-COAT 4
4 C 749B LOCK WASHER, 3/8”, BLK ZP 8
5 C 754B WASHER, FLAT, 3/8" SAE, BLK 4
6 C1255 LPSHCS, 3/8"-16 X 3/4" E-COAT 4
TOOL NEEDED
Allen Wrench
a. Using an allen wrench, remove the 8 hex screws, 8 lock washers, and 4 fl at washers from the upright assembly.
STEP 1—ATTACH MAIN FRAME ASSEMBLY TO UPRIGHT ASSEMBLY
2
4
NOTE: Supplemental assembly video available on vimeo.com: https://vimeo.com/723479284?share=copy.
3
4
5
6
4
6