18
During decalcification, you must also ob-
serve the following
• Damage to the appliance if decalcification is
interrupted.
– You must complete the decalcification
process and then rinse thoroughly with
clean water.
– Allow about 3 hours for decalcification.
The appliance works on its own for most
of this time.
• Sensitive surfaces (e. g. marble) may be
damaged through contact with the decalcifi-
cation agent.
– Immediately remove splashes of decalcifi-
cation agent on these surfaces.
a) Preparing for decalcification
For safety reasons, once the decalcifica-
tion process has started it must not be
stopped until the system has been rinsed (see
process f). All operating modes of the appliance
are blocked until decalcification has been com-
pleted.
Tasks within the RV
• Set the control panel to “Off”.
• Turn OFF the water supply or switch OFF
the water pump.
• Open a hot water faucet to relieve pressure
in the system.
• On all water faucets attach the warning
sign “Caution decalcification in progress” in
a clearly visible position. Warning signs are
enclosed with the decalcification tablets.
b) Draining the water system
Tasks outside the RV
• Remove the access door (refer to “Remov-
ing the access door” on page9).
• Switch OFF the appliance at the POWER
switch.
• Drain the water system and remove the
water inlet filter. Do do this, refer to “Drain-
ing the water and cleaning the water inlet
filter” on page15, Steps 4 to 8.
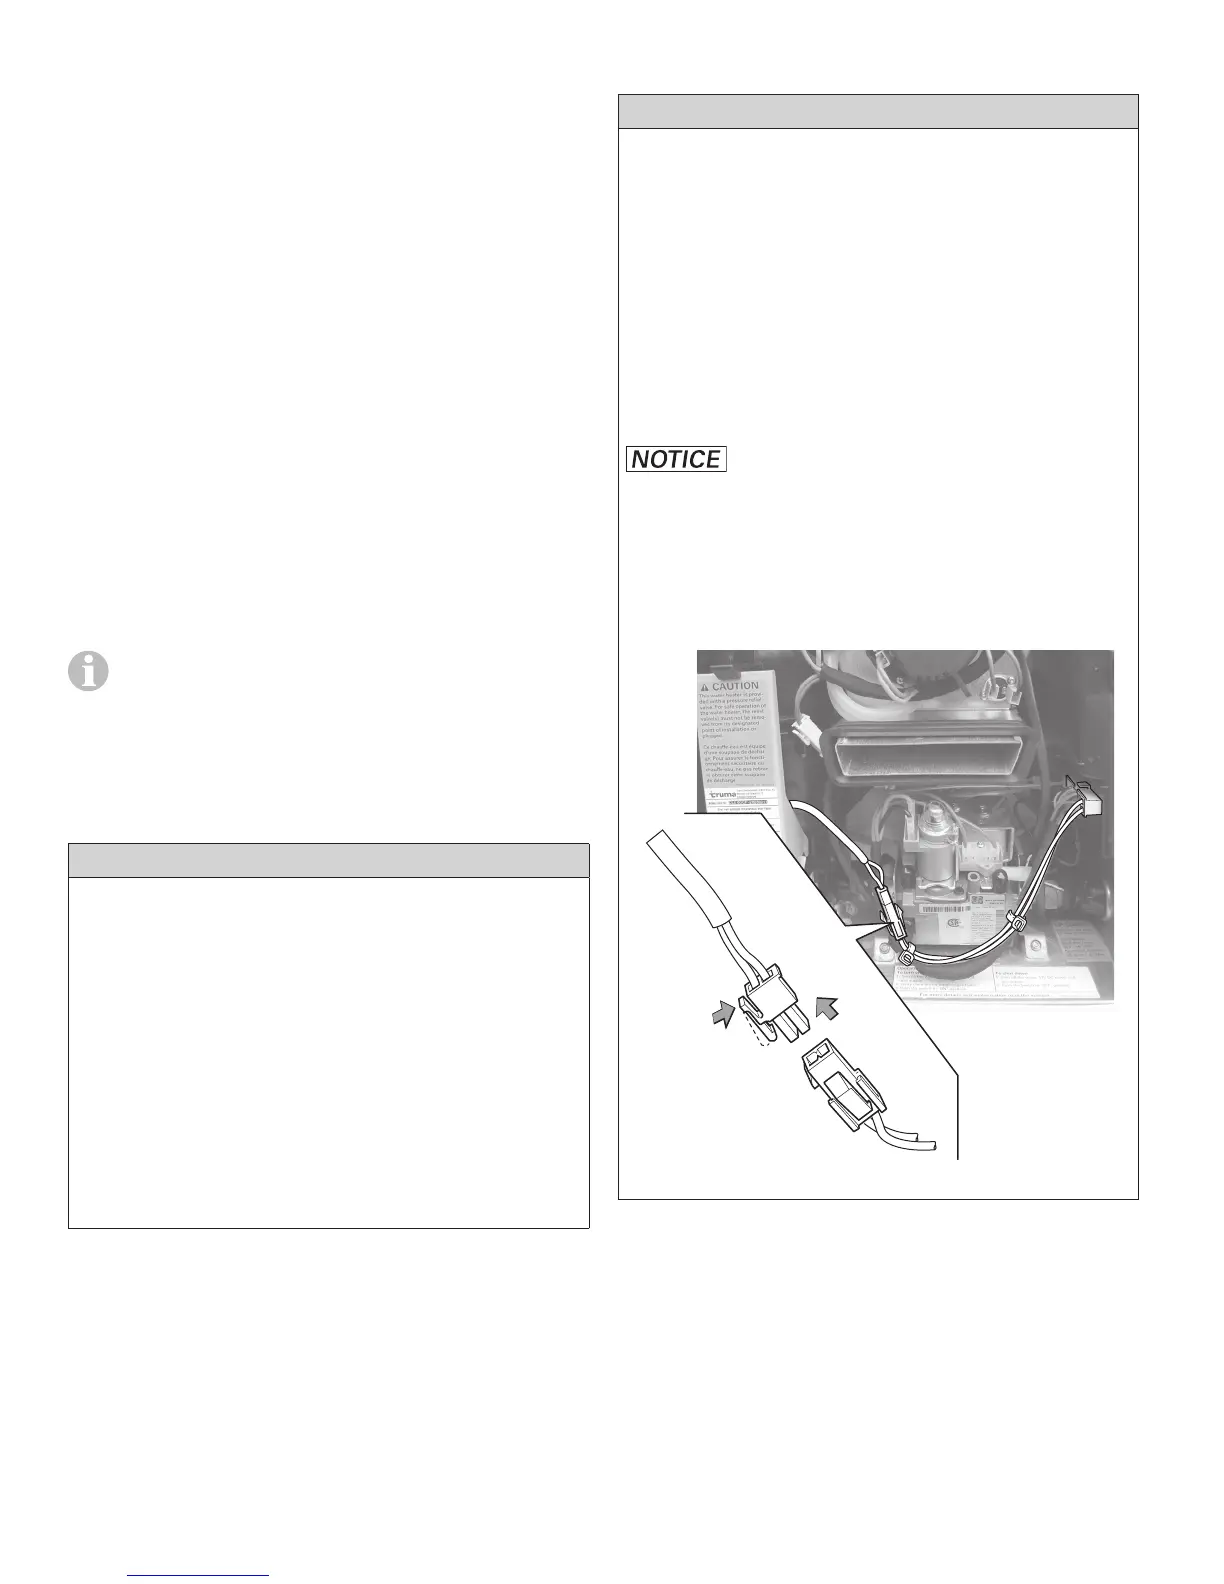
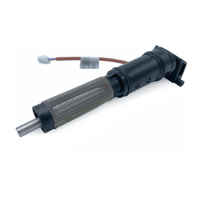
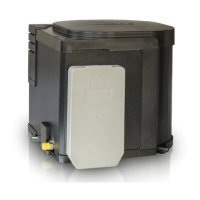
You must use the water inlet filter
for decalcification (included with the delivery
Fig. 1 – 11a). If you are using an electric anti-
freeze kit, it must be removed and be un-
plugged from the power supply before decal-
cification (see Fig. 11).
Fig. 11