35
• Screw the gas line’s union nut (wrench size
3/4 in. (19 mm)) onto the appliance’s gas
connection so it is finger-tight.
• Gas valve may be damaged
during tightening! Use a second wrench to
counterhold at the square end (wrench size
11/16 in. (18 mm)).
• Use a torque wrench to tighten the union nut
(nominal torque 15 lb-ft (20 Nm)).
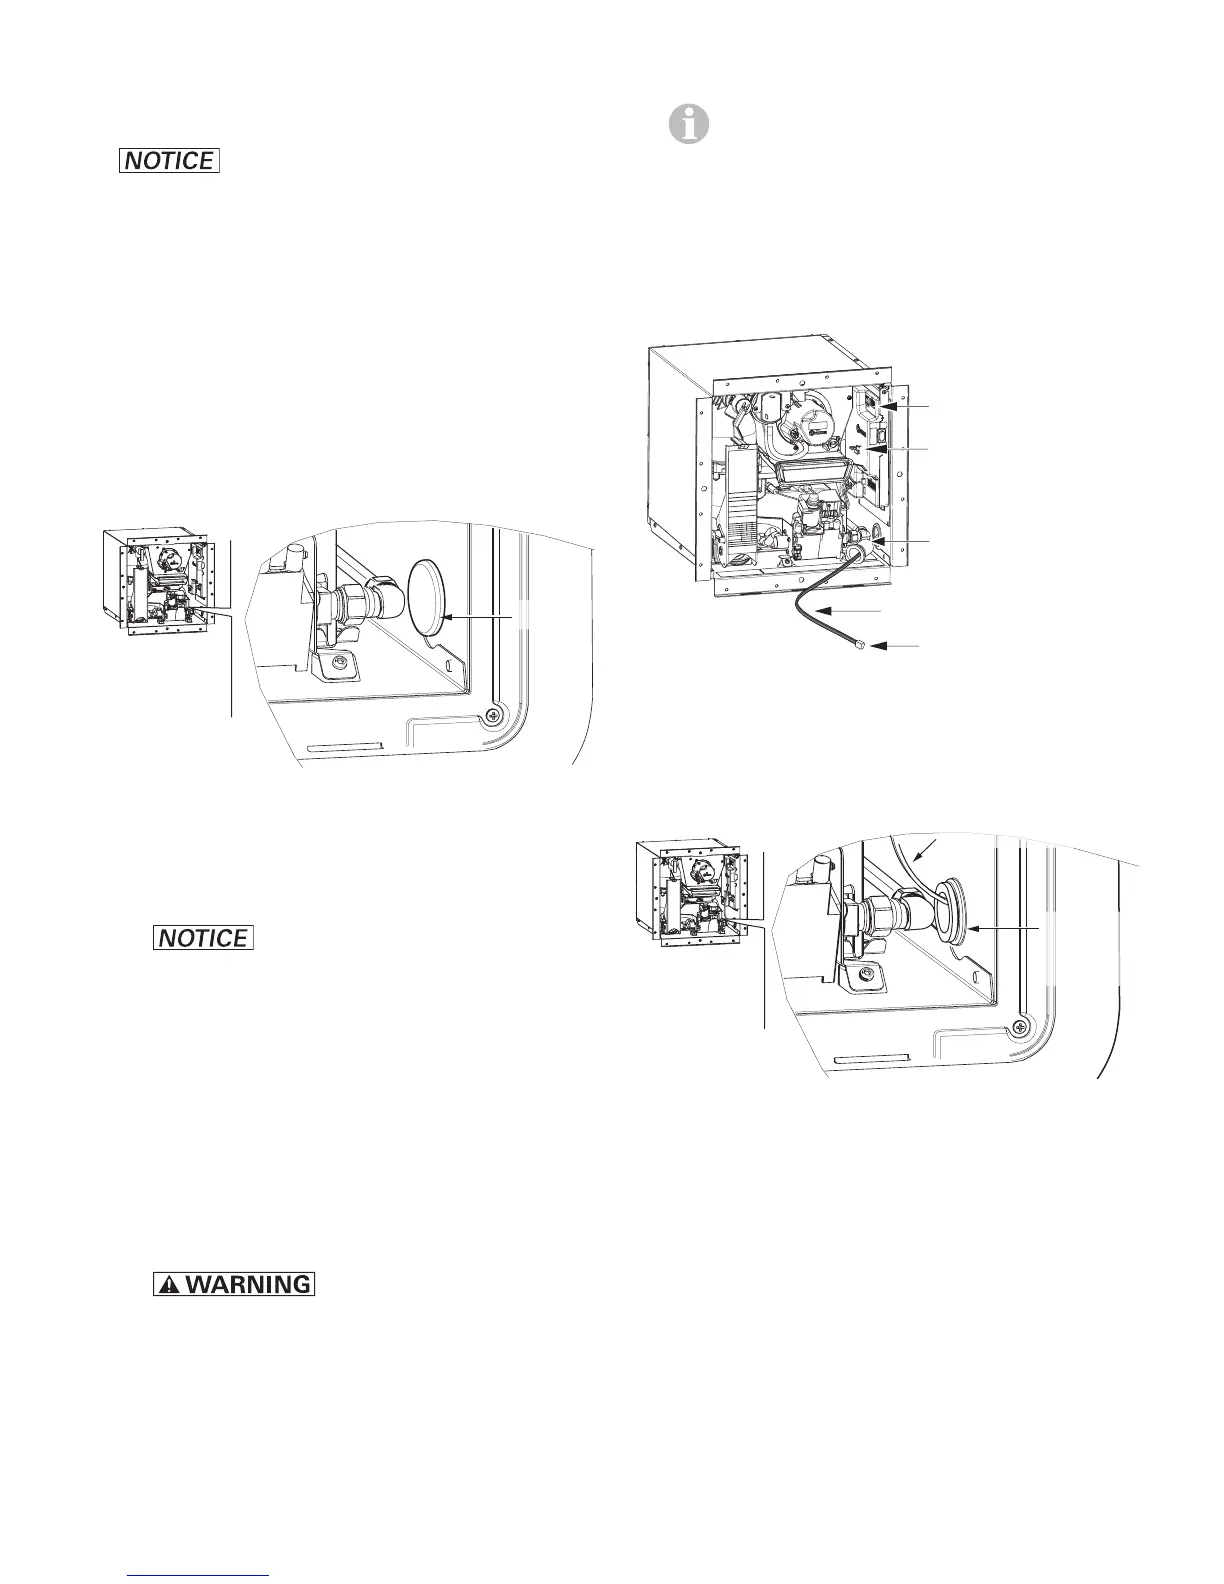
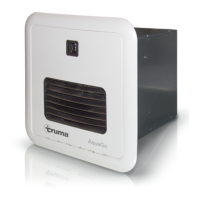
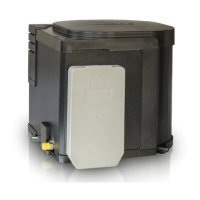
• Only AquaGo® basic (without control
panel):
– Close the side hole with the plug.
Plug
Fig. 30
• Only AquaGo® comfort / AquaGo® com-
fort plus (with control panel)
– Damage to the control panel
cable at temperatures above +60 °C.
Do not install the control panel cable
through the rear gas pipe connection. You
must feed the control panel cable through
the hole on the side.
– Slide the side gas pipe grommet on to the
control panel cable (bush points towards
hole). The control panel cable must pro-
trude by about 25 cm.
– Risk of poisoning and/
or explosion! Improper tightening of the
cable tie could result in gas/exhaust en-
tering the RV. Close the cable tie so that
the side gas pipe grommet tightens the
control panel cable passage.
– Fix the side gas pipe grommet to the con-
trol panel cable with a cable tie.
A cable tie is provided with the appliance.
You will find it fixed to the gas valve
– Attach the control panel cable to the con-
trol panel.
– Hook the control panel cable on to the clip.
Clip
Control panel cable
length 25 cm
Gas pipe grommet
(side)
Control unit
Fig. 31
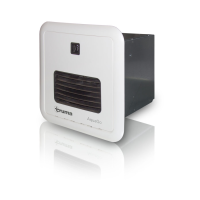
– Install the side gas pipe grommet with
the control panel cable in the side hole.
Gas pipe
grommet
(side)
Fig. 32