Assembly
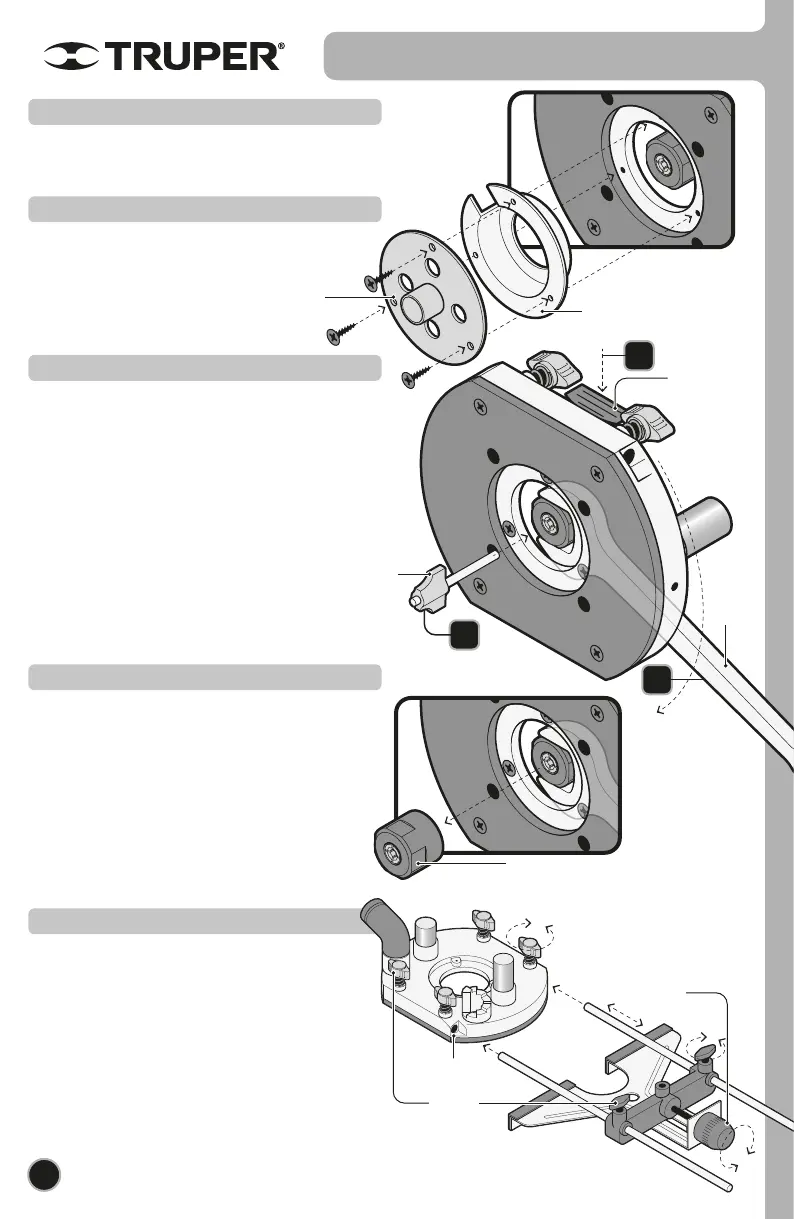
Axis
lock
Chuck.
Two included: one 1/4”
and other 1/2”
Spanner
Fine adjust
knob
Dust
extractor
Safety
bolts
Orifices
Copying
guide
Bit
6
• Disconnect the router from the power source.
• Place the router sideways onto the table with the
base pointing towards you.
• Press the axis lock to prevent it turns.
• Without releasing the axis lock use the spanner to
release the chuck nut, by turning it to the left.
• Set the bit and tighten the chuck nut, by turning it
to the right
• Release the axis lock and double-check the bit is
perfectly installed before turning on the router.
• To remove the bit just press the axis lock and using
the spanner loosen the nut.
Bit installation
• Before setting the bit into the chuck install the dust
extractor as shown in the illustration.
Dust extractor installation (optional)
• Before setting the bit into the chuck install the
copying guide as shown in the illustration.
Copying guide installation (optional)
• Disconnect the router from the power source.
• Place the router sideways onto the table with the
base pointing towards you.
• Remove the bit as previously explained.
• Using the spanner remove the chuck from the
threaded axis.
• Set the chuck with the required diameter onto the
threaded axis.
Chuck replacement
• Slide the parallel guide rods into the orifices in the
router base and tighten the safety bolts.
• Slide the parallel guide in the rods up to the
desired distance and tighten the safety bolts.
• To get a fine adjust of the guide distance turn the
fine adjust knob.
Parallel guide installation and adjust
1
2
3
ENGLISH
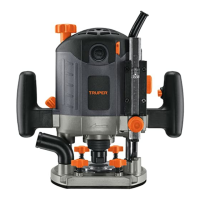
(Reference image with
accessories for Rou-NX2,
Rou-N3 very similar)


 To Next Page