Installation Steps
Step 1. Make an installation map
DANGER
CAUTION
MICROINVERTER
Quick Installation
When choosing the position of installation, comply with the following
conditions:
Take out the SN labels and installation map from the package. Paste
the SN labels on the installation map as below and complete the
information of the solar plant.
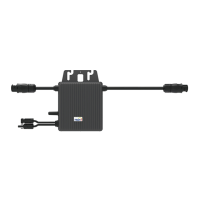
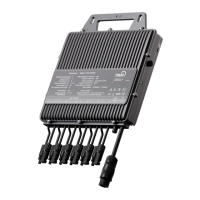
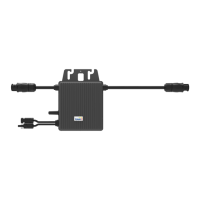
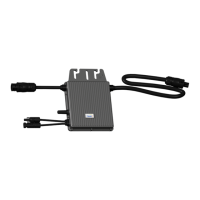
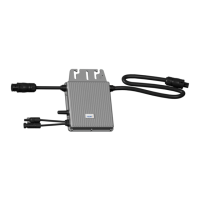
TSOL- MS400/MS350/MS300
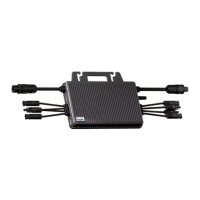
TSOL- MS800/MS700/MS600
Choose an installation position. Using two pairs of screws and nuts
microin
AC cables.
branch circuit.
connector to be closed.
sunlight.
may be present.
·
correct operation of electronic equipment.
G3
clearances.
incorrect installation and operation may lead to serious safety and
shock hazards or equipment damage.
Be aware that installation of this equipment includes risk of electric
shock.
·If there are more than one installation site, please make the
installation site.
The direction on the upper left corner means the actual installation
orientation.
DANGER
WARNING
CAUTION
and humid.
·There are no screws and nuts in the package.
length of AC cables. The length of AC cables are shown as below:
WARNING
Model
Model
Quantities for each cable section
2 / 2 / 3
5 / 6 / 7
11 / 13 / 15
Cable Length
2.5 m
1.4 m
TSOL-MS800/MS700/MS600
TSOL-MS400/MS350/MS300
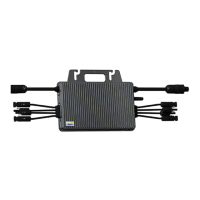
TSOL- MS1600/MS1800/MS2000
2.5 m
TSOL-MS1600/MS1800/MS2000
Step 3. Connect the ground cable
WARNING
·Ensure that all
·Use φ6 screw for
.
Step 4. Connect the AC cable of two microinveers
TSOL-MS800/MS700/MS600
TSOL-MS400/MS350/MS300
TSOL-MS2000/MS1800/MS1600