Check the Installation Environment and Position
Installation Steps
Step 3. Connect the AC cable
DANGER
DANGER
WARNING
CAUTION
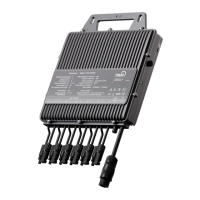
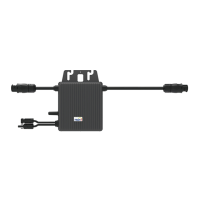
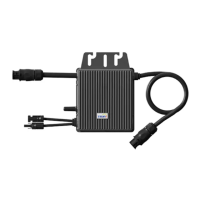
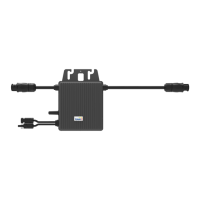
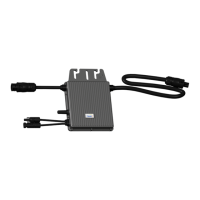
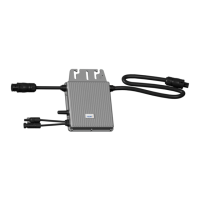
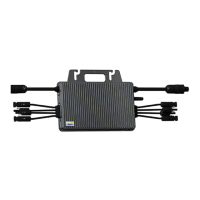
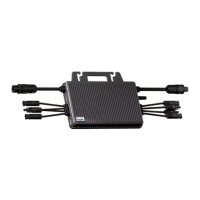
TITAN MICROINVERTER
QUICK INSTALLATION GUIDE
When choosing the position of installation, comply with the following
conditions:
Choose the best installation position. Use two pairs of screws and
nuts to x the microinveer on the frame. Make sure that the label
of microinveer should be upside.
Take out the AC connector from the package. Get the AC cable
through the shell of AC connecter and connect the cable to the
· To avoid unwanted power derating due to an increase in the
sunlight.
may be present.
correct operation of electronic equipment.
· It's recommended to install microinveer on structures
underneath the photovoltaic modules so that they work in the
shade without touching the rooftop.
· Use a mobile phone to check the Wi-Fi signal strength at the
microinveer installation position. If the Wi-Fi signal is weak,
t to install the micro inveer in another place with better signal,
or move the Wi-Fi router or repeater closer.
clearances.
incorrect installation and operation may lead to serious safety and
shock hazards or equipment damage.
·Be aware that installation of this equipment includes risk of electric
shock.
Do not install the equipment in adverse environment conditions such
and humid.
with good ventilation and no directly sunshine.
There are no screws and nuts in the package.
DANGER
WARNING
CAUTION
from the system.
disconnected from the home distribution network and the AC breaker
is open.
·Ensure that all AC cables are correctly wired and that none of the
wires are pinched or damaged.
·Use AWG 12 ( 4 mm²) cable for AC end cable.
·The installation technician is responsible for selecting a kind of AC
distribution network correctly.
L: Live (Brown/Red)
N: Neutral (Blue/Black)
PE: Ground (Yellow-Green)
Step 2. Connect the ground cable
WARNING
·Ensure that all
·Use φ6 screw for
.
The micro inveer can also be mounted on the wall (veically)
using the optional suppo. In this case, rst x the bracket to the
wall with a pair of screws and then x the micro inveer to the
bracket with one pair of nut screws.
11061400301 V1.2