Assemble Tractor Sections.
Note : Surface on the rear transmission and
the front part assembly must be aligned
before tractor sections are bolted together.
Note : Reassemble the reverse order of disassemble.
1.Align surface on the axle bracket and the rear
transmission case
2.Move tractor sections together and retain with
12 screws. Tighten bolts to 15-20kgf.m(M14-35)
3.Remove screws retaining splitting stands to
tractor sections. Remove splitting stands.
NOTE: Tractor shown split for clarity.
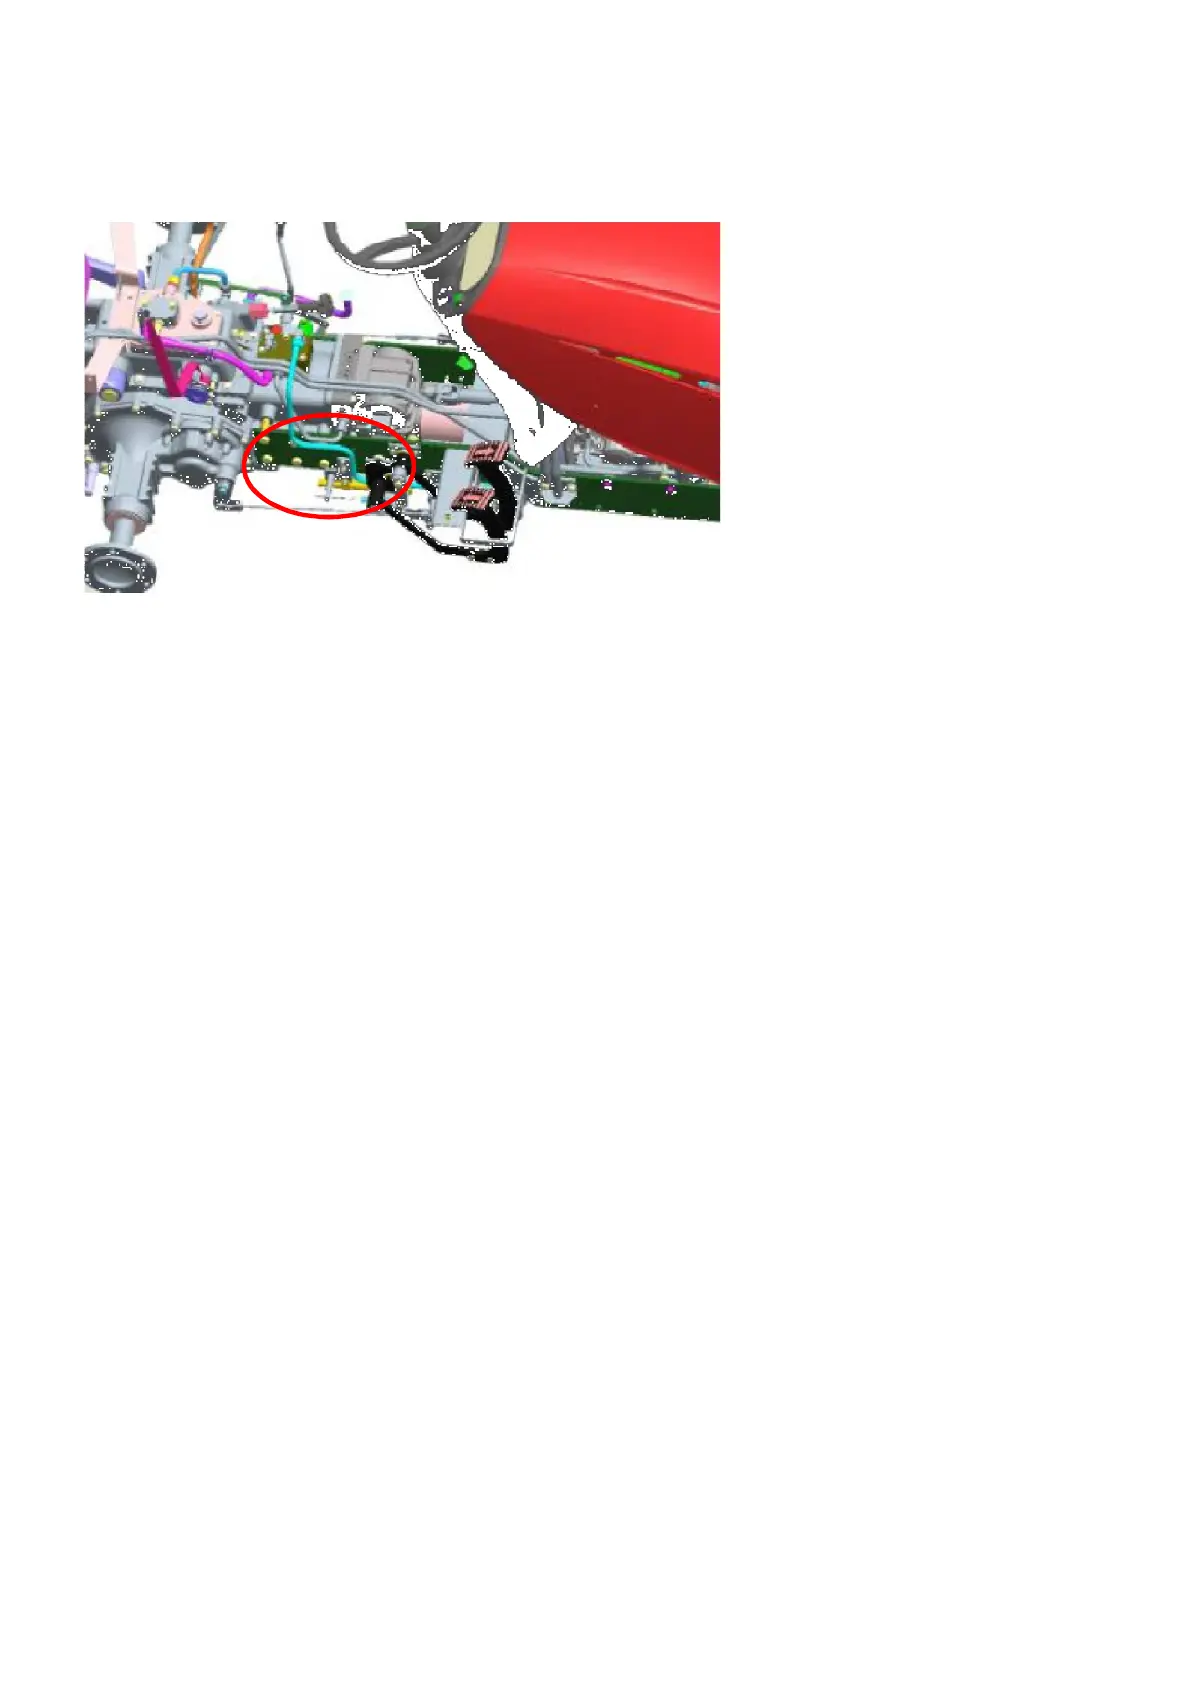
Note :
Connect two hydrostatic charge pressure tubes
to hydrostatic transmission.
Tighten to 40-57N.m (30-43lb-ft).
Check opposite ends of both tubes to make sure
they are tight.
4-20
IMPORTANT :
Check for ,and disconnect any additional accessory
wires or hydraulic tubes connecting rear half to front
half before splitting tractor.
Note length and location of screws when removing
20.Gently pry around edges of flanges to separate
tractor halves.
18.Lift the engine with the hoist and hold the
front axle bracket with a stands or the like
19.Remove 12 screws connecting tunnel to the
rear transmission case.
4.Install a magnetic cruise next to the hydrostatic
control pedal.
5.Install the linkage from hydrostatic control system
6.Connect hydraulic pressure tube clamp
7.Install the brake linkage, and connect brake rods
from tractor
8.Install the 4WD shaft couplers by removing snap
ring and sliding couplers onto shaft until clear of
stub shaft
9.Connect the input drive shaft and couplers by
Installing snap ring and sliding couplers onto
hydrostatic unit.
10.Install the hydraulic line
11.Connect the fuel line
12.Install the operator’s platform.
13.Install the slow return levers.
14.Install the guide LH/RH and levers
15.Install the joy stick
16.Install the brake pedals.
17.Install the speed control pedals.
18.Install the seat and the floor mat.
19.Connect battery negative terminal.