USER GUIDE
Drain Pump 2
u-line.com
SAFETY • INSTALLATION & INTEGRATION • OPERATING INSTRUCTIONS • MAINTENANCE • SERVICE
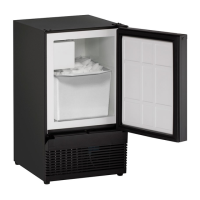
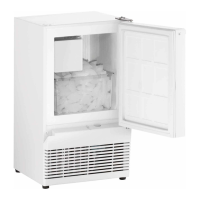
INSTALLATION PROCEDURE
WARNING
!
To prevent accidental electrocution, make
certain that the floor surfaces surrounding the
unit are dry whenever power/electricity is
removed from, or applied to the unit.
1. Disconnect your unit from its electrical outlet/socket.
2. Using a screwdriver or 1/4" nut driver, remove the 9
screws from the back panel.
3. Remove the drain line/pipe from the storage bin drain
nipple. Save the clamp for pump installation.
CAUTION
!
To prevent damage to the pump, leave sufficient
space between leveling leg and pump.
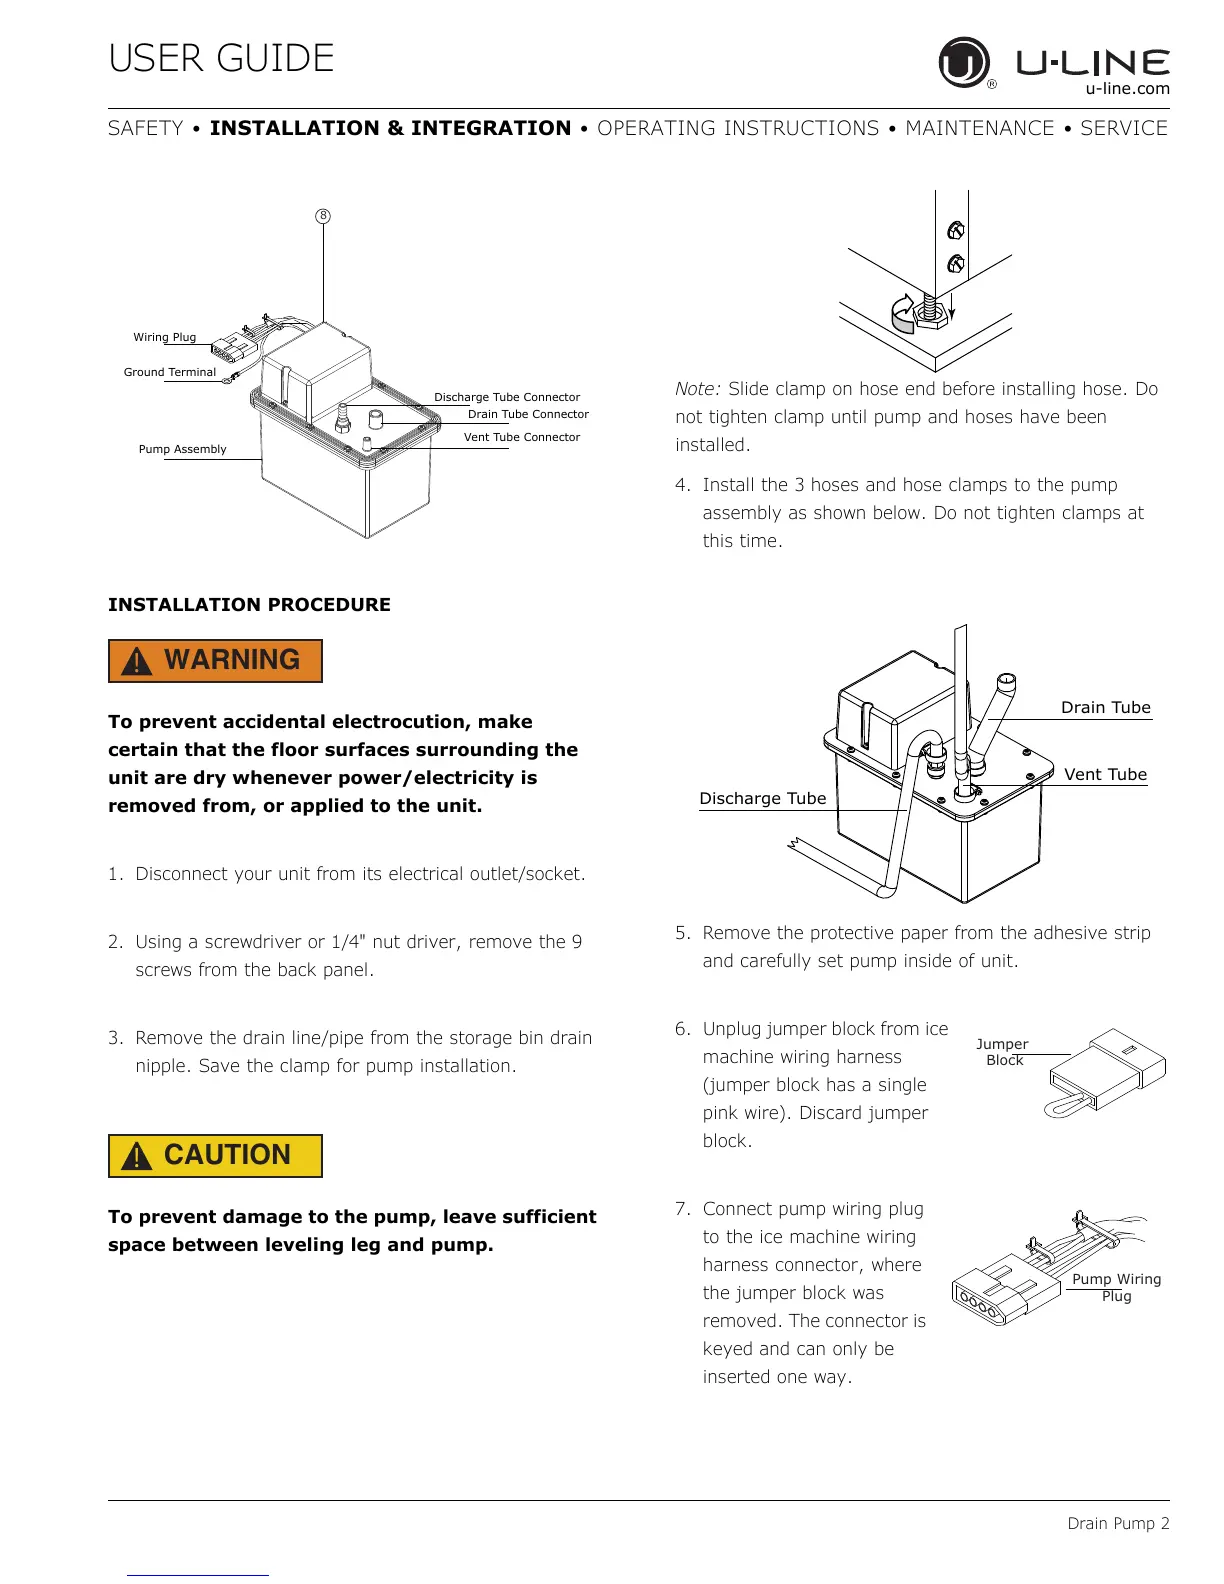
Note: Slide clamp on hose end before installing hose. Do
not tighten clamp until pump and hoses have been
installed.
4. Install the 3 hoses and hose clamps to the pump
assembly as shown below. Do not tighten clamps at
this time.
5. Remove the protective paper from the adhesive strip
and carefully set pump inside of unit.
6. Unplug jumper block from ice
machine wiring harness
(jumper block has a single
pink wire). Discard jumper
block.
7. Connect pump wiring plug
to the ice machine wiring
harness connector, where
the jumper block was
removed. The connector is
keyed and can only be
inserted one way.
Discharge Tube Connector
Drain Tube Connector
Vent Tube Connector
Pump Assembly
Ground Terminal
Wiring Plug
8
Drain Tube
Vent Tube
Discharge Tube
Pump Wiring
 Loading...