USER GUIDE
Anti-Tip Bracket 1
u-line.com
SAFETY • INSTALLATION & INTEGRATION • OPERATING INSTRUCTIONS • MAINTENANCE • SERVICE
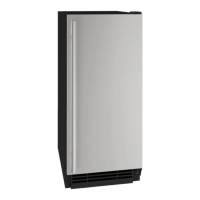
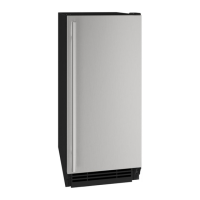
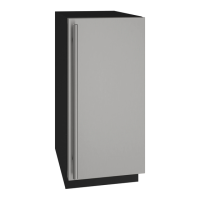
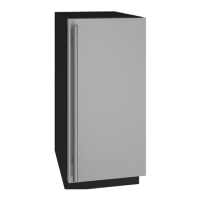
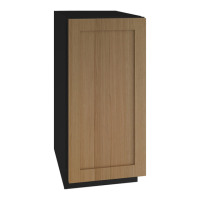
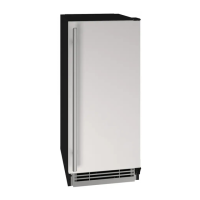
Anti-Tip Bracket
1. Slide unit out so screws on top of unit are easily
accessible.
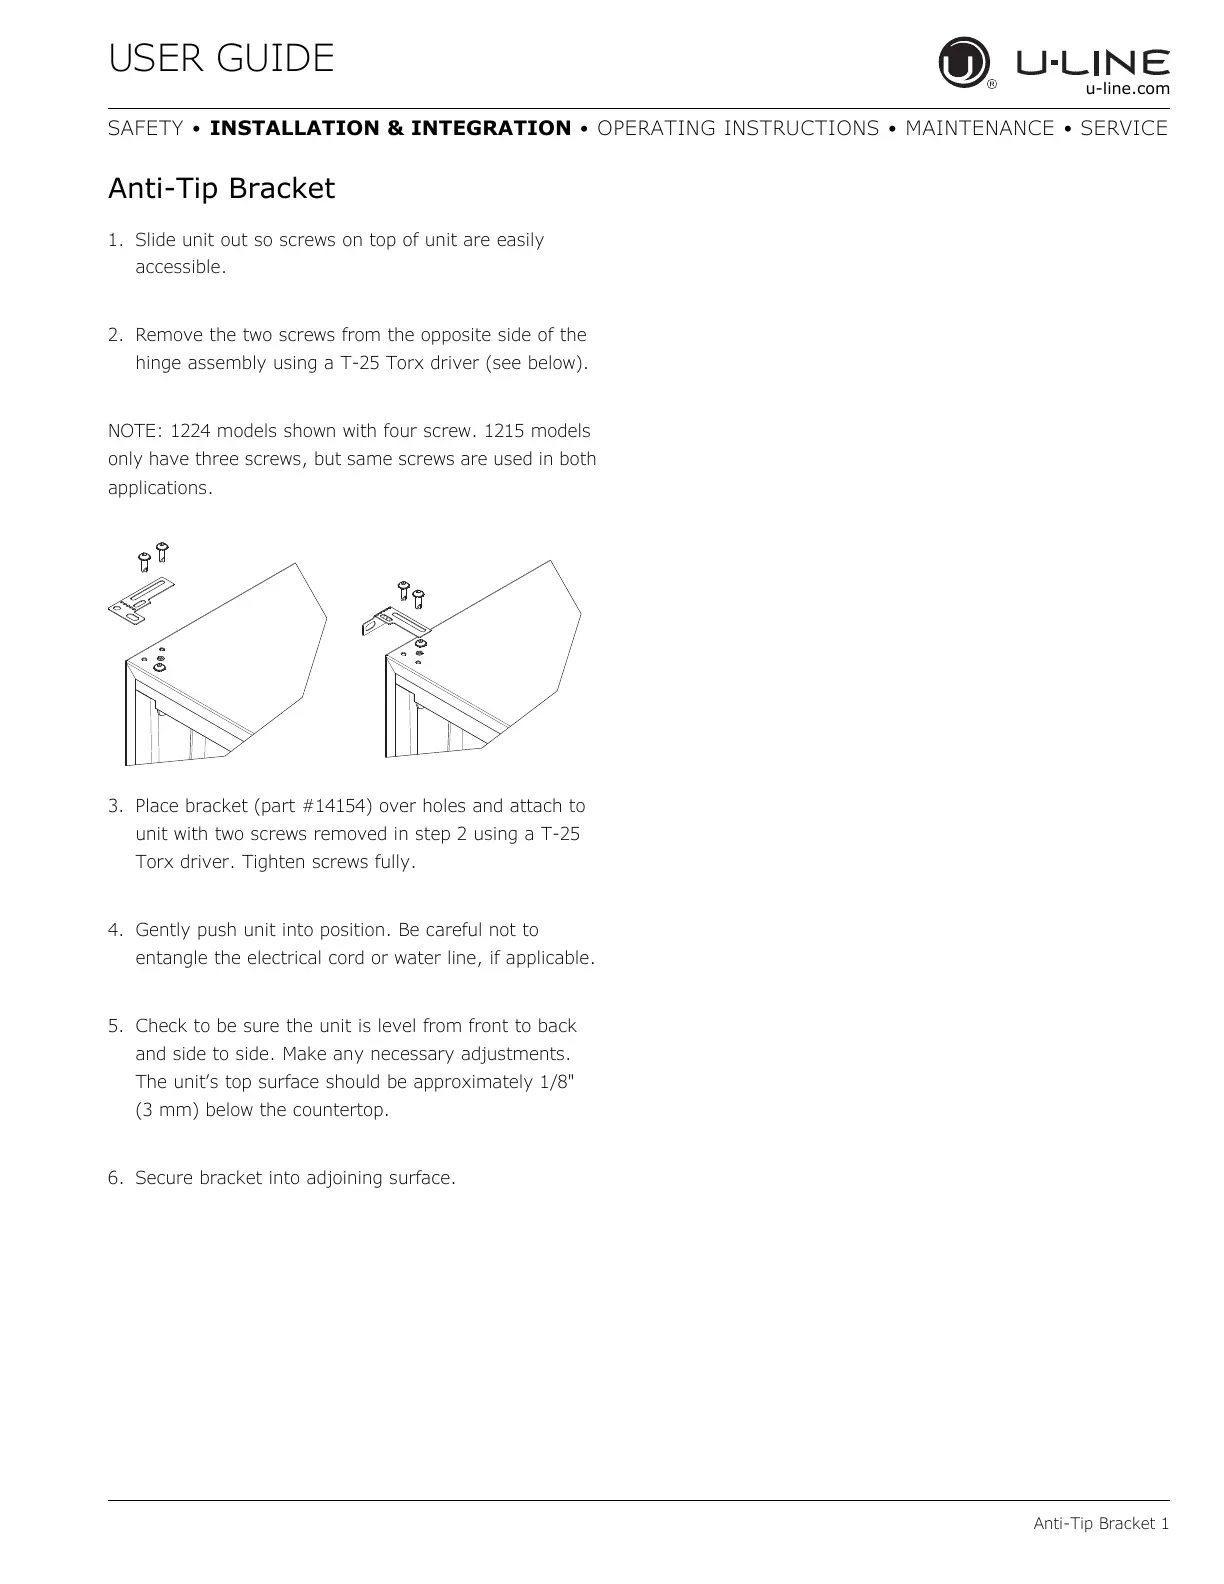
2. Remove the two screws from the opposite side of the
hinge assembly using a T-25 Torx driver (see below).
NOTE: 1224 models shown with four screw. 1215 models
only have three screws, but same screws are used in both
applications.
3. Place bracket (part #14154) over holes and attach to
unit with two screws removed in step 2 using a T-25
Torx driver. Tighten screws fully.
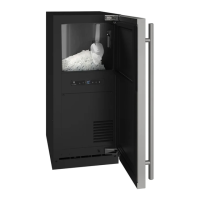
4. Gently push unit into position. Be careful not to
entangle the electrical cord or water line, if applicable.
5. Check to be sure the unit is level from front to back
and side to side. Make any necessary adjustments.
The unit’s top surface should be approximately 1/8"
(3 mm) below the countertop.
6. Secure bracket into adjoining surface.
14
 Loading...