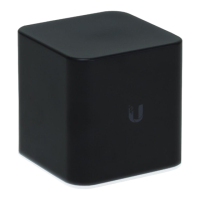
Ubiquiti airCube Router Config & Install Instructions
(for Experienced Installers) v3.2
Before Pugging in the Router:
• Make sure you have the current airCube firmware on your laptop. (www.ui.com/
download/accessories/aircube).
• You’ll want these instructions open on your computer so you can copy UNMS key.
Power Up Router:
• Plug POE into airCube’s gray “24V POE In” port (NOT the blue port).
• Alternately use a 5V micro USB.
Plug/Connect Laptop to Router:
• Connect laptop via Ethernet to port 2 or 3 on the airCube.
• Alternatively, you can connect via Wi-Fi to the airCube -XXX Wi-Fi using the WPA2
password printed on the bottom of the router–but be sure your computer is not seeing
other Wi-Fi sources, they may hijack your config session.
Open airCube Dashboard in Browser and Log In:
• Open a browser and go to https://192.168.1.1
• Advance through “connection is not private” warnings
• Login with username “ubnt” and the “PSWD” printed on bottom of airCube (next to QR
code).
Update Firmware:
• Click “System” (gears icon) from black menu bar at left.
• Under “Device Maintenance” select “Upgrade Firmware.” (Alternatively, you can select
this from the top right of the main dashboard).
• Select the firmware file from your computer, then proceed through the steps to Verify
and Upgrade it.
• You will need to log back into the airCube after the upgrade completes—again using the
username “ubnt” and the “PSWD” on the bottom of the router.
(continued on next page)