GB/IE/NI
17
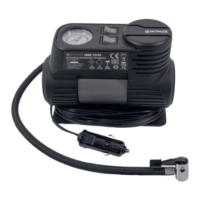
Checking the air pressure with the Mini-Compressor
PLEASE NOTE: The pressure gauge with pressure display
2
of the
Mini-Compressor
1
is not trade-approved.
Connect the inflatable item to the connecting valve
4
of the Mini-Compressor
1
, whose pressure you want to check. To do so, please proceed as described
in the section “Connecting the compressed air hose with a valve adapter” or
“Connecting the compressed air hose without a valve adapter”.
The pressure gauge with pressure display
2
shows the pressure of the
inflatable item connected.
Disconnect the inflatable item from the connecting valve
4
of the Mini-
Compressor
1
. To do so, please proceed as described in the section
“Removing the compressed air hose”.
PLEASE NOTE: When disconnecting the connecting valve
4
, air can
escape from the valve on the inflatable item. Ensure that you remove the
connecting valve
4
as quickly as possible.
z Replacing the fuse
Never use a fuse with a higher release current strength.
There is a risk of fire!
ATTENTION: You must not use a fuse with a different release current
strength compared with the pre-installed fuse! Before switching the device back
on, ascertain why the fuse tripped.
In order to replace the 10 A glass fuse
15
in the cigarette lighter plug
7
, proceed
as follows:
Unscrew the fuse screw plug
17
. The fuse is located below this plug. See Fig. G.
When doing this, make sure you do not lose the loosely inserted contact pin
16
and spring
14
.
Remove the defective 10 A glass fuse
15
.
Put the spring
14
(if it has been removed) back into the 12 V cigarette lighter
plug
7
. Then insert a new 10 A glass fuse of equal value.
Now insert the contact pin
16
into the fuse screw plug
17
and screw the fuse
screw plug
17
back onto the 12 V cigarette lighter plug
7
.
451293_2401_Mini-Kompressor_LB6_content.indb 17451293_2401_Mini-Kompressor_LB6_content.indb 17 09.04.2024 11:28:1309.04.2024 11:28:13