EYE MINI USER MANUAL 12
The putting tab is to be selected when putting. When putting mode is turned on you’ll see a dark “P”
at the top left of the display next to the “RH”.
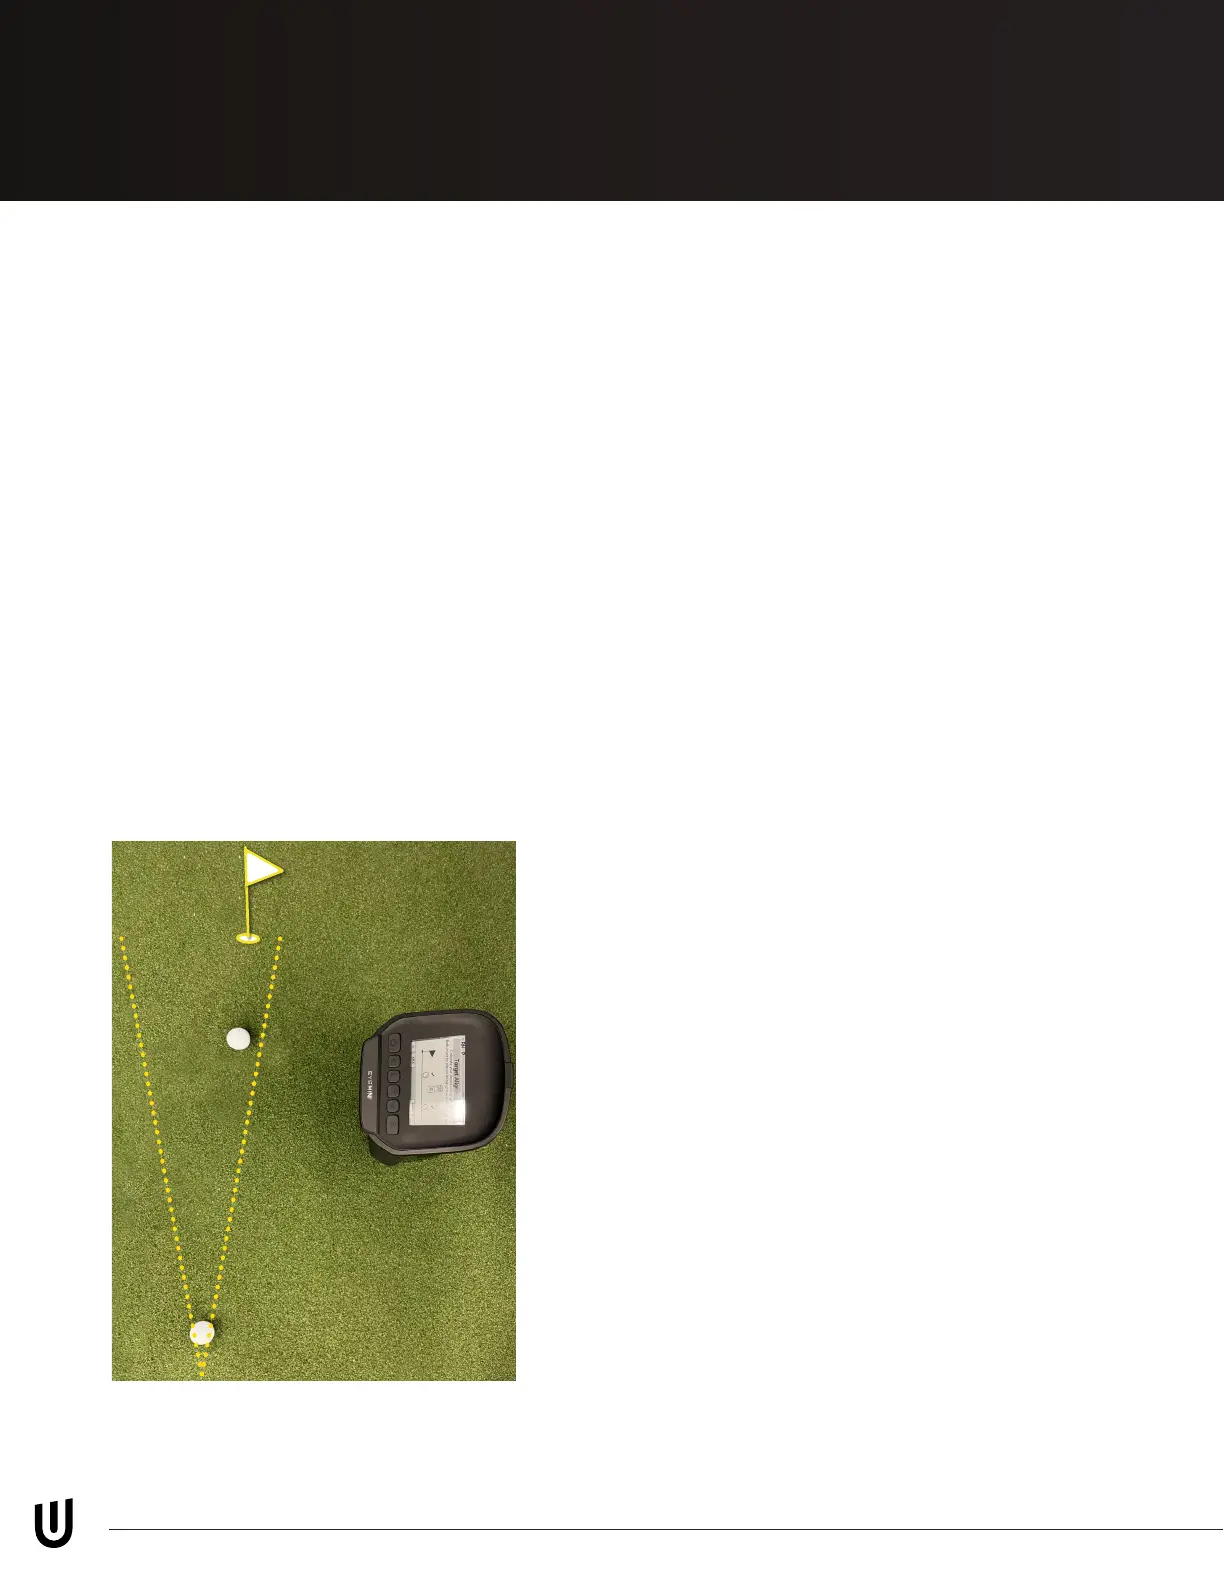
PUTTING
Calibrating/ aligning your EYE MINI to
the target is done here and can also
be completed by going to MENU then
Target Alignment. Select “Align” at the
bottom of the display, then start. Align
two balls 10”- 20” apart pointed at your
target (*Ensure that target is within
10 degrees of where the EYE MINI is
aimed). Make sure there is a check mark
above the two balls on the EYE MINI
display, then click “APPLY.”
Please ensure EYE MINI is aligned parallel to
your target line. Additiional alignment details
using the EYE MINI alignment rod available on
page 24.
On page 1 under the settings option you can
change between left- and right-handed golfers.
Switch the distance measurement from yards
to meters. Change the speed metrics from
mph, m/s, km/h, yd/s. Display mode from one
page, distance/ Direction, Ball/ Club. Display
rotation can be changed from Manual, or auto
rotation every 2 or 5 seconds. The barometer
can changed from automatic to a certain preset
elevations.
On page 2, you can turn putting mode on
or off. Change the elevation from automatic
conguration to a preset elevation depending
on your geographic location. Auto sleep, auto
shutdown, and auto upgrade can all be turned
off here.
On page 3, you can toggle the ethernet type
between Dynamic or Static depending on your
conguration at home. This is where the WIFI is
congured on/off.
ALIGN MENU
Target Alignment (pg 24)
Settings
Get Familiar
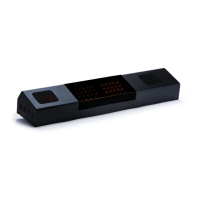
Page 12 Diagram - EYE-MINI Manual Diagrams