Bulletin 30-122.2014.04.006 6 Copyright © 2014 Unico, Inc.
(SAC xx.xxxx.xxx.xx)
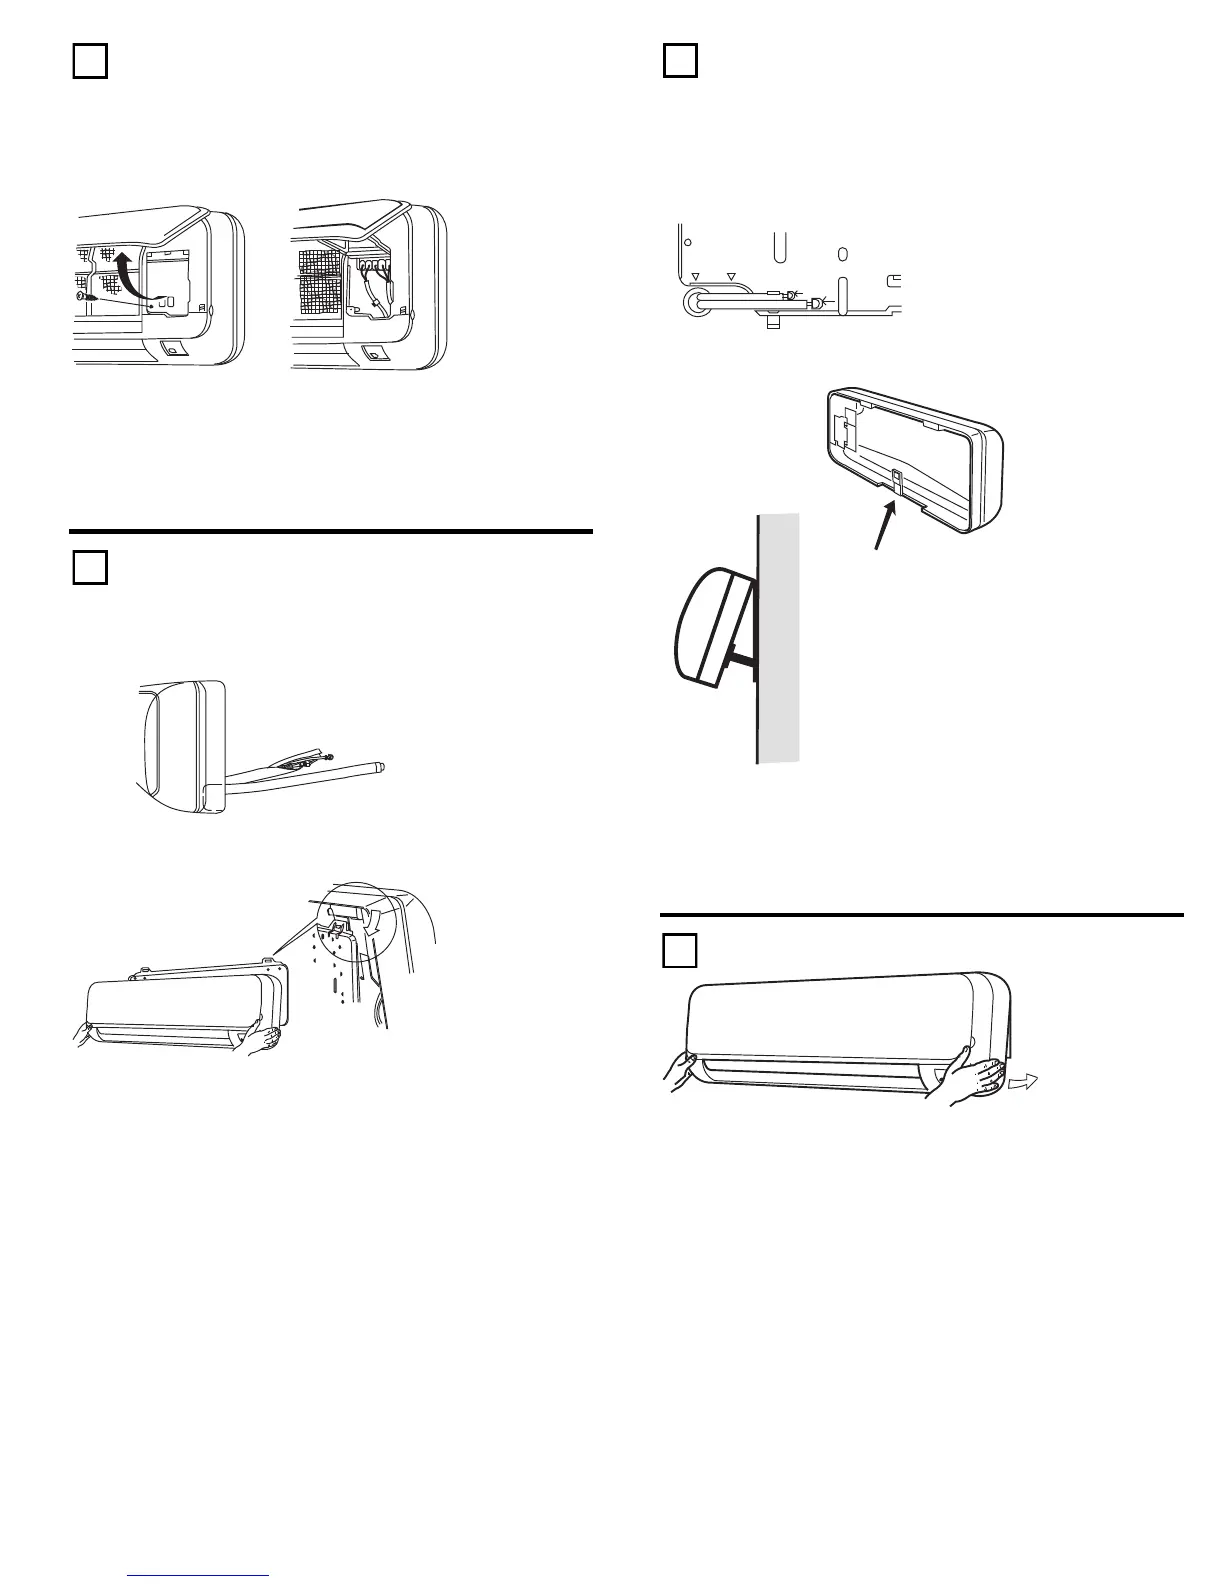
Open the front panel of the unit. Remove the cover
plate screw to reach the terminal strip.
Insert the wires from the back, secure them with a conduit
connector mounted in the knockout, and connect them to
the power terminals.
There are two conduit connection holes on the rear of the
unit. Use the ¾ inch (22 mm) hole for the power lines and
use the ½ inch (12.7 mm) hole for the communication
cable.
RIGHT REAR TUBING
Insert refrigerant tubes and drain hose of the unit into the
hole in the wall then hang the unit on the panel previously
mounted on the wall.
Connect the line set to the refrigerant tubing on the outside
of the wall (refer to outdoor unit installation manual for
instructions for making flare connections).
LEFT REAR TUBING
Insert the tubes connecting the units from the outside, then
bend them right and remove the interior removable part of
the frame. Hang the unit and extend the support on the
back of indoor unit to make the connection easier.
Make a flare on the end of the line set and connect the
line set (refer to the outdoor unit installation manual for
instructions for making flare connections).
Push lightly to fix the unit to the rear panel.
 Loading...