ADJUSTING THE TOP BURNER AND OVEN FLAME
Keep appliance area clear and free from combustible materials, gaso-
line, and other ammable vapors and liquids. Do not obstruct the ow
of air that is necessary for combustion and ventilation.
Top Burner Valves
Thetopburnershaveoricesthatarededicatedtothetypeoffueltobeused.
Theseoricesarenotadjustable.Theymustbechangedcompletelytoconvert
fromonegastotheother.DONOTDISCARDTHEUNUSEDORIFICES.They
should be saved in order to convert the range back to its original fuel.
Whenconvertingthegasvalves,theminimumameadjustmentscrewmustbe
adjusted.
Pleaseseethesuppliedscrewdriverintheconversionkitalongwiththeorices.
Theproperamesizeisapproximately¼”obtained.–seeadjustmentprocedure
below.
Theproperlyadjustedmaximumameisapproximately3/4”highandhasthree
distinct cones; the kindling point, the dark blue center cone, and the outer mantel.
ADJUSTING THE TOP BURNER FLAME
1. Ensure the range has gas supply and
power
2. Light the burner
3. Set the top burner valve to the
minimum position
4. Remove the knob by pulling
straight out
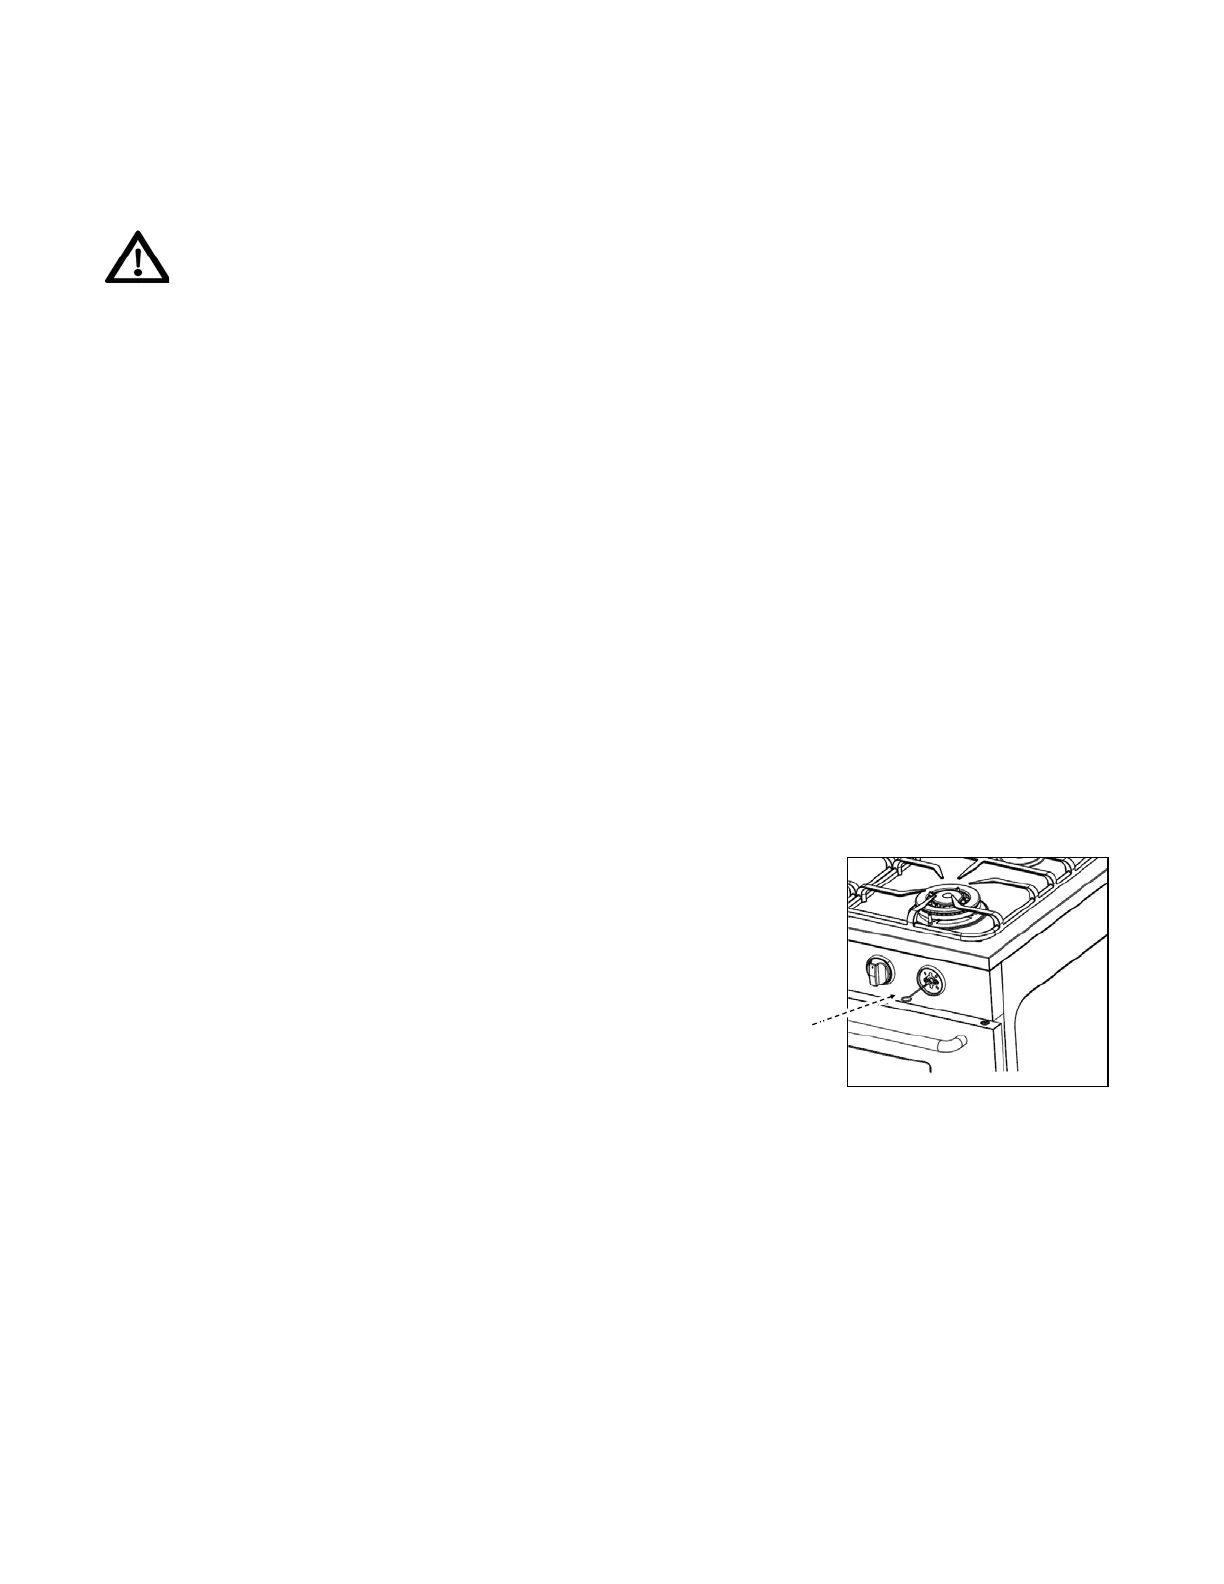
5. Turn the valve fully counter clockwise.
Then proceed to adjust the adjustment screw counter clockwise for a smaller
ameandclockwiseforalargerame.Adjustment:Minimumameshouldbe
approx.¼”tallOriceLocationAdjustmentlocationisinsidethevalvestem
6. Temporarily replace the lid, burners, burner caps and grates and recheck the
ame.Oncecomplete,reassemblethecontrolpanelandthelid.
7. Replace the knob
8. Repeat for each of the other burners
Adjustment location is
inside the valve stem
28