40 41
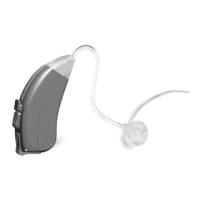
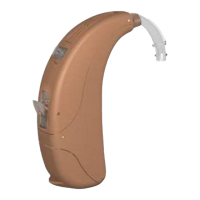
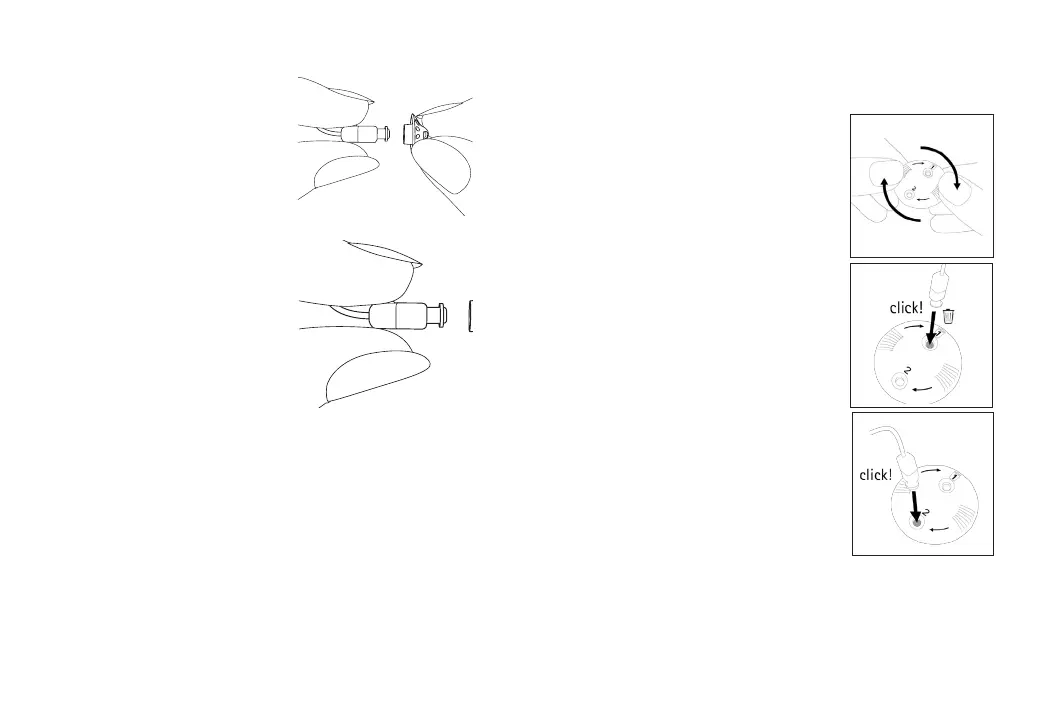
2. Gently pull o the ear-
piece or dome to remove.
3. Clean the speaker with a
lint-free cloth.
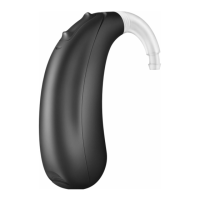
1. Gently rotate the
CeruShield Disk in the
direction indicated by
the arrows until a free
opening appears under
the bin icon.
2. To remove a used
earwax protector care-
fully insert the speaker
into the free opening
(under bin icon) until
it clicks. Aer the click
you will see the used
earwax protector in the
opening below the bin
icon.
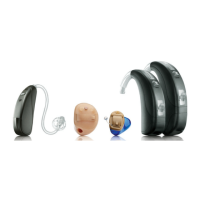
1.
2.
3.
Exchanging the earwax protection with
CeruShield™ Disk
3. To insert a new earwax
protector, carefully
insert the speaker into
the opening where the
new earwax protector
is visible (opposite the bin icon) until
it clicks. Aer the click you will see the
opening below is empty and the new ear-
wax protector is now inside the speaker.
 Loading...