3. Lower the laser system engraving table enough to install the rotary fixture. Make sure the motion system
will clear the top of the rotary fixture.
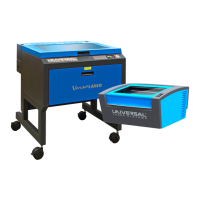
4. On the underside of the Rotary Fixture locate the self-aligning electrical connector (1) and two alignment
holes (2).
5. Turn off machine.
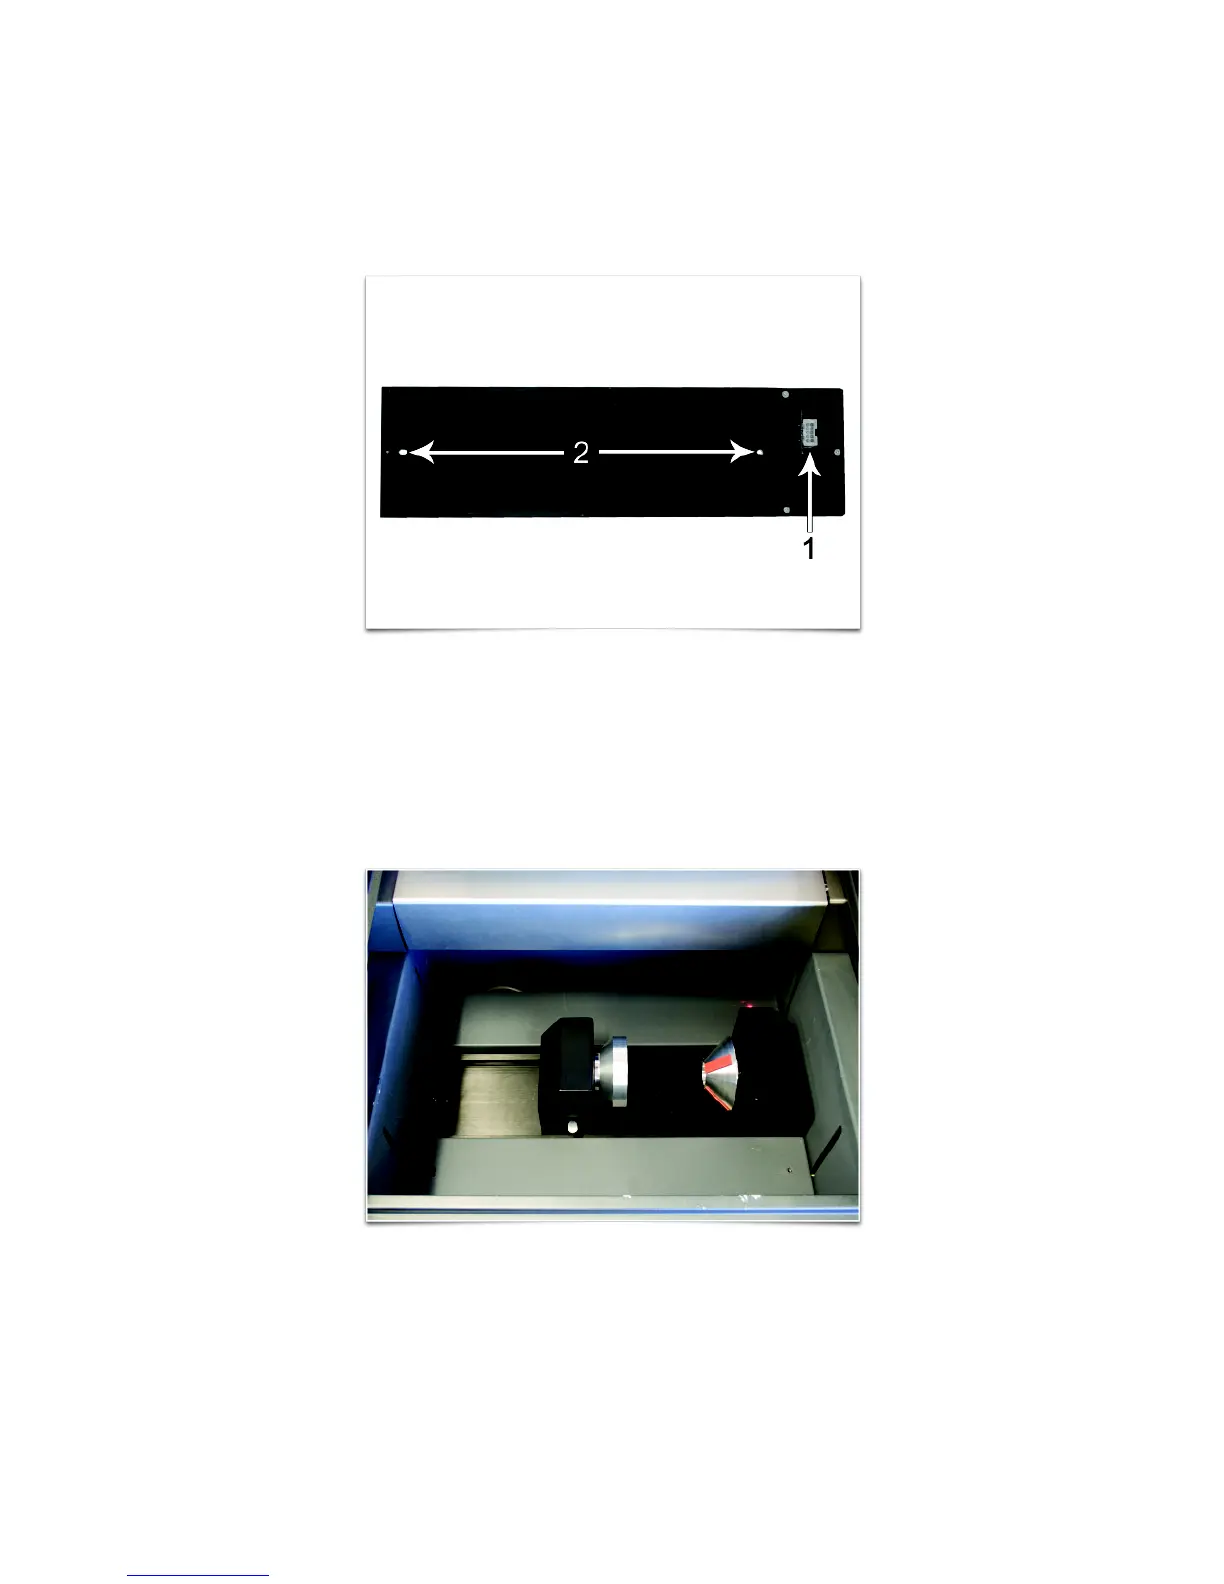
6. Insert the Rotary Fixture into the recessed slot and adjust until the connector engages, the alignment pins
protrude through the alignment holes in the base of the rotary fixture and the rotary is sitting flat. The
rotary will indicate that it is installed properly by automatically rotating its cone slightly. If you are using the
rotary for the first time or replaced the laser system’s CPU, rotary focus calibration may also be needed, if
so proceed Rotary Focus Calibration below. If rotary focus calibration is not needed the rotary is ready for
use.
84