Using the Operation Panel 2-67
3 When the desired RAM disk size is displayed, press [OK].
4 Press [MENU]. The display returns to Ready. Turn the printer off and
then on again. The selected RAM disk size is activated after the
printer is restarted.
SSD (Using the optional SSD)
Installing the optional SSD into the printer allows you to perform the
following operations on the SSD.
• Format (Formatting SSD)
When an optional SSD is inserted into the printer for the first time, it must
be formatted before use.
This menu is displayed only when the optional SSD is installed on the
printer.
1 Press while Device Common > is displayed.
2 Press or repeatedly until >SSD > appears.
Format (Formatting SSD)
A new SSD must be formatted before it can be used in the printer.
Formatting allows data to be written to the SSD.
This menu is displayed only when the optional SSD is installed on the
printer.
Use the procedure below to format the SSD.
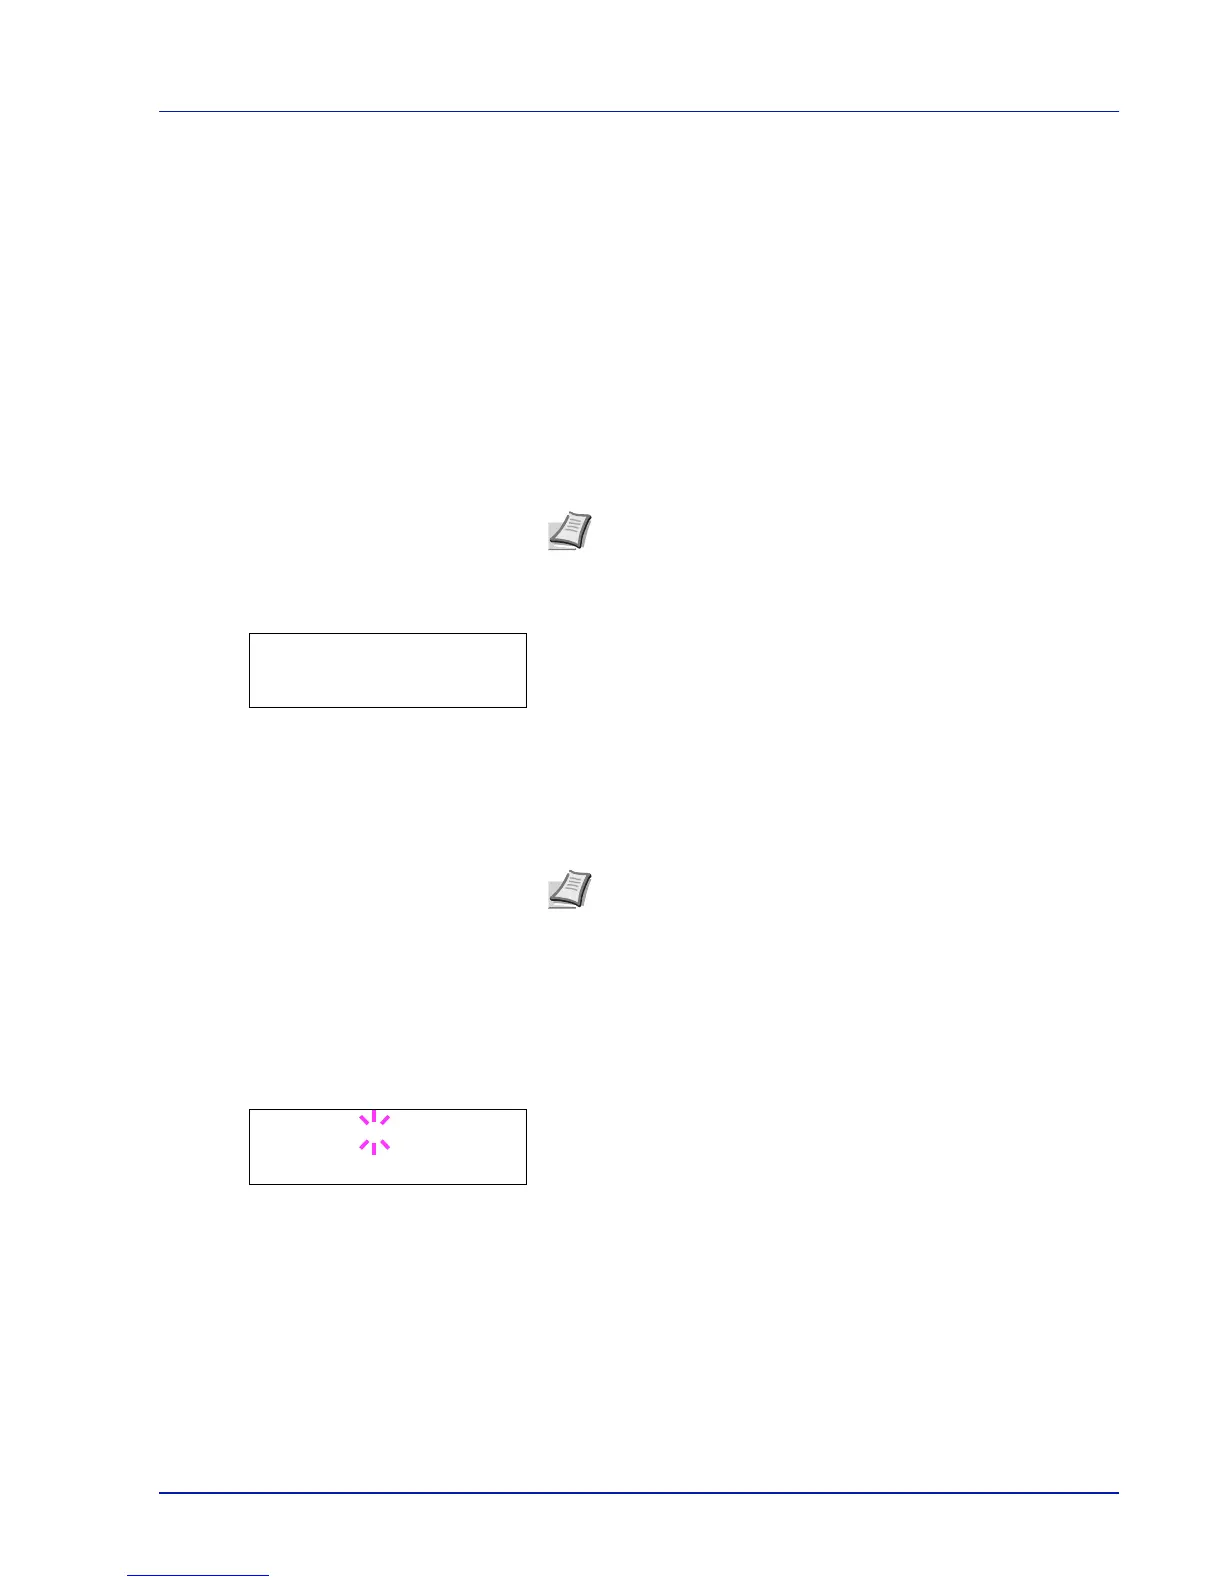
When a new SSD is inserted in the printer's slot, Format SSD. will
appear on the message display.
1 Press while >SSD > is displayed.
2 >>Format appears.
3 Press [OK]. A blinking question mark (?) appears.
4 Press [OK] again.
Processing appears and formatting of the SSD starts. When the
formatting is successfully completed, the display returns to Ready.
Note If the optional SSD is installed in the printer, the Custom
Box and Job Box will be available.