5
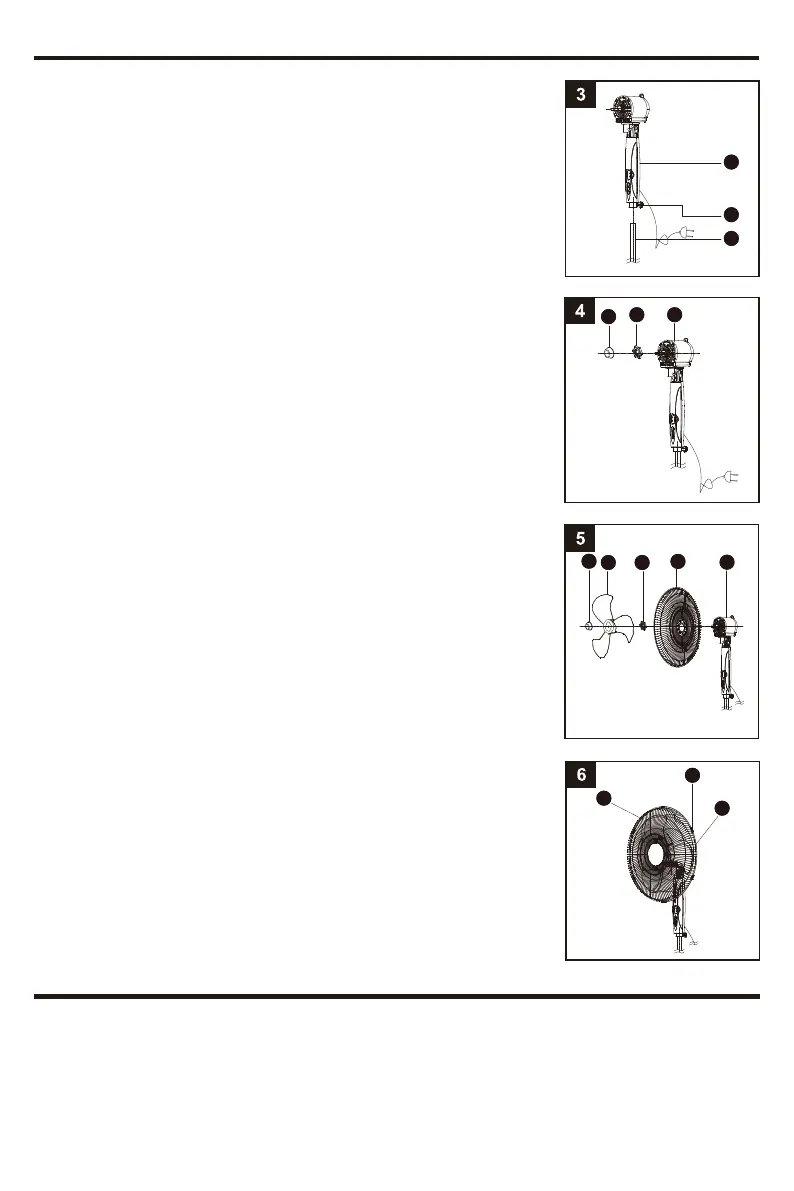
4. Remove the Blade Knob (C) from the shaft of the Motor Housing (G)
(turning clockwise). Remove the Rear Grille Mounting Nut (E) from
the Motor Housing (G) (turning counterclockwise).
5. Set the Rear Grille (F) in the proper position (carry handle up) on the Motor
Housing (G). Make sure that the holes on the Rear Grille (F) fit into the pegs
on the Motor Housing (G). Then screw on the Rear Grille Mounting Nut (E)
(turning CLOCKWISE) until tight. Install the Fan Blade (D) onto the shaft of
the Motor Housing (G), making sure the notch fits over the pin, and screw on
the Blade Knob (C) (turning counterclockwise) while holding the Fan Blade (D)
until tight.
6. Before placing the Front Grille (A), open all 5 Grille Clips (B). Then place
the Front Grille (A) on the Rear Grille (F), fitting the Front Grille notch over
the Rear Grille (F) at the top. Snap down all 5 Grille Clips (B) until they are
locked.
CAUTION: To avoid the risk of personal injury, make sure the Front Grille (A)
and Rear Grille (F) are secured together before operating.
3. Loosen the Adjustable Pole Tightening Knob (L) on the rear of the Upper
Pole (I) (turning counterclockwise). Fit the Upper Pole (I) to the Height
Adjustable Pole (M) and tighten the Adjustable Pole Tightening Knob (L)
(turning clockwise).
OPERATING INSTRUCTIONS
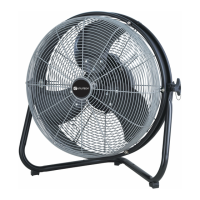
Once fan is fully assembled (see Assembly Instructions section), place fan on a dry, level surface. Plug it into a 120V AC
electrical outlet.
Using the Control Panel and Remote Control
This fan is equipped with 3 speeds, a timer and remote control. For your convenience, the buttons on the control panel of
the fan operates the same functions as the remote control.
ASSEMBLY INSTRUCTIONS
I
L
M
G
G
F
B
A
F
ED
C
E
C