10
GB
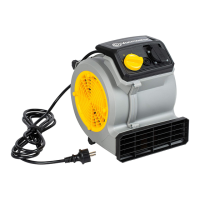
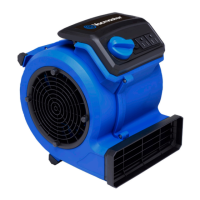
2. Air Mover Operation
1) Place the air mover in the desired position on a stable surface. Ensure there is at least a foot of
clearance on each side of the air mover. Avoid placing the air mover where loose fabric, sheets,
or other objects can get pulled onto the intake grills.
2) Direct air mover at the designated target area, using one of the operational positions (Fig.1).
3) Plug in the air mover to a grounded power outlet. See page 9 for Grounding Instructions. DO
NOT USE WITH AN EXTENSION CORD.
4) Turn on the air mover by rotating the 3-speed on/off switch clockwise to the desired power
level.
5) The air mover is tted with a power outlet socket near the On/Off Switch.
6) When nished operation, turn the 3-speed on/off switch counter-clockwise to the "0" (OFF)
position and unplug the power cord from the power outlet.
CAUTION:
The air mover is equipped with an overload protection feature. If the air mover
is overloaded, it will shut off and will need to be reset before it can be used again. If this
occurs, rst remove any power tool or other device from the socket. Then set the on/
off switch to "0" (OFF) and press the reset button. Check that there are no obstructions
preventing airow into the intake grills before turning on the air mover again.
3. Operational Positions
This air mover has the ability to connect up to 12 units together to maximize air circulation (Fig.
2). To do this, plug the rst unit into a grounded electrical outlet. Then plug a second unit into the
power socket of the rst unit. Each unit can be controlled independently.
WARNING:
Do not stack air movers vertically during operation. To reduce risk of overheating
or overload, ensure area around intake grills are clear to allow for unobstructed air ow.
WARNING:
The total rated amperage for all units, running through the unit plugged into the
wall outlet, should never exceed 10A. Do not use an extension cord to connect units, or to
connect a unit to the wall outlet.