www. VacMasterFresh.com • 800-821-7849
5
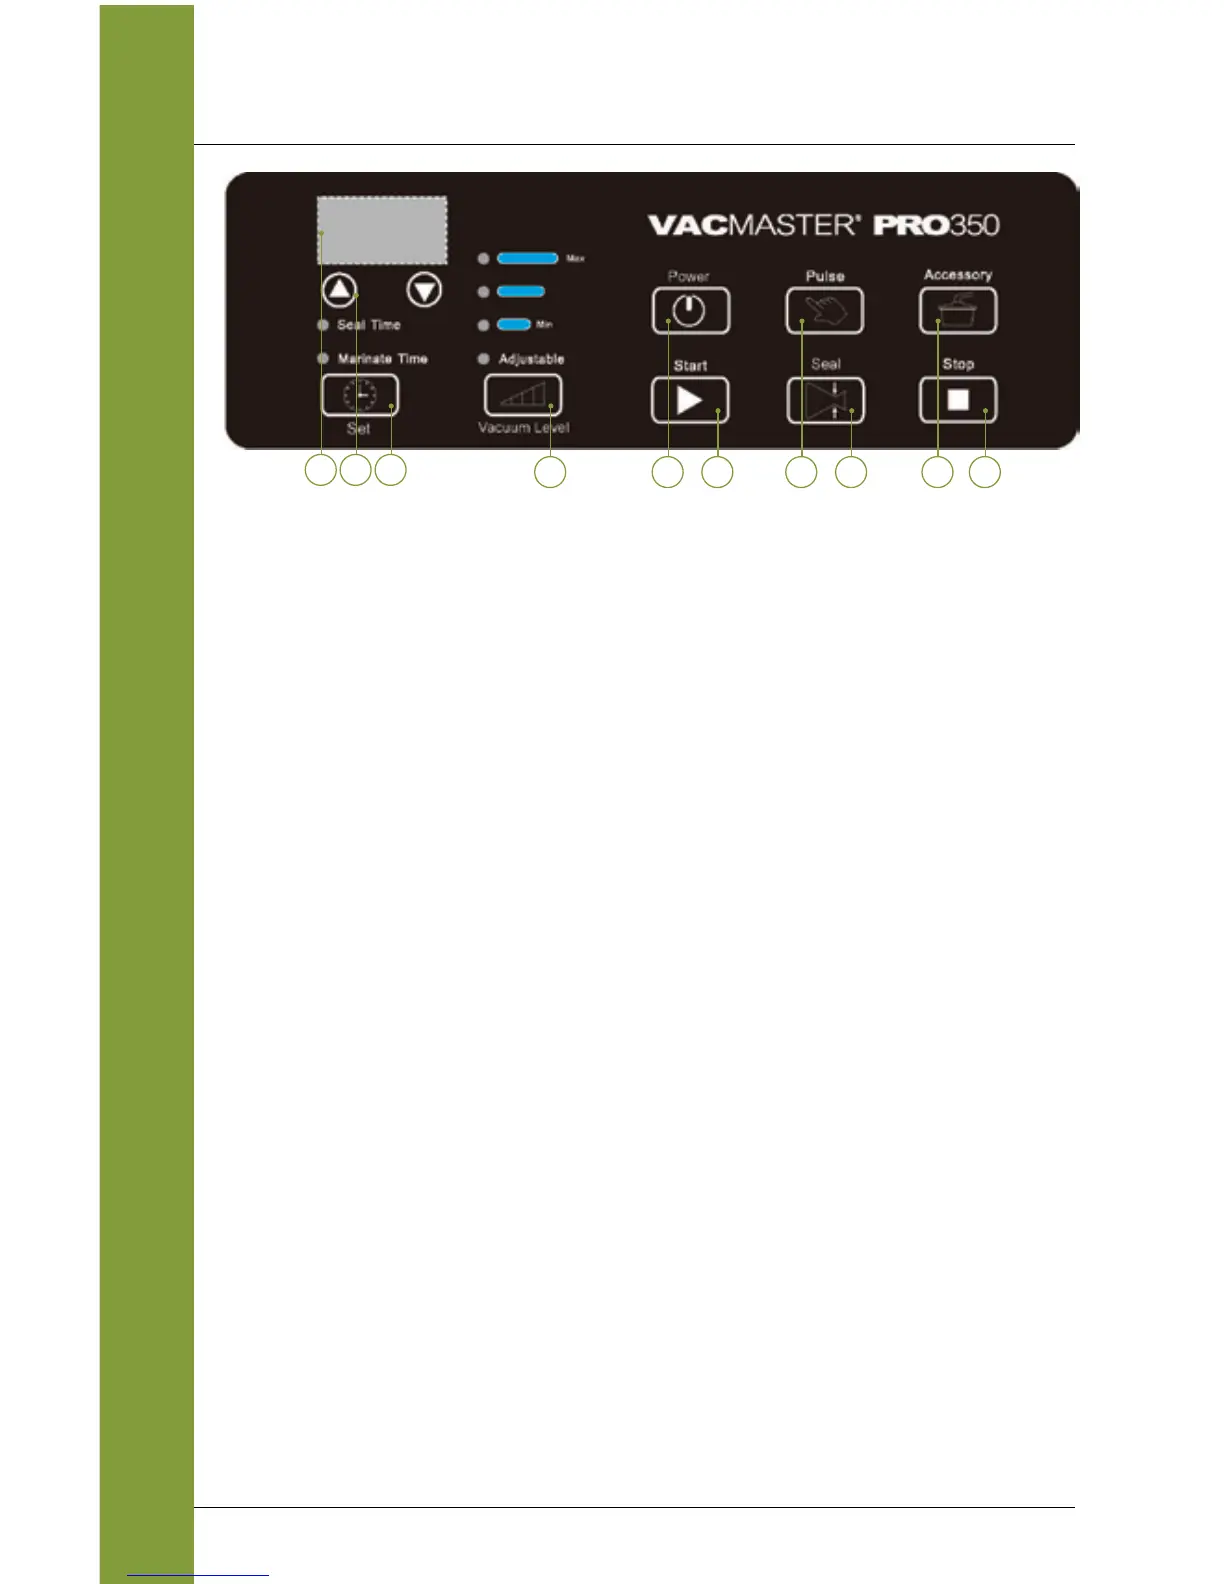
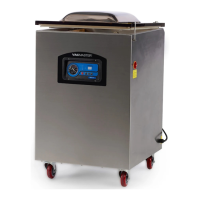
Control Panel of the VacMaster
®
PRO350
FEATURES
1. Digital Display - Displays the function settings and progress of the
working cycle.
2. Arrow Buttons - Press up or down to adjust the “Vacuum Level”,
“Seal Time” and “Marinate Time” functions.
3. “Set” Button - Press to select desired function:
a. Seal Time - Adjust the length of seal time from 0.5 to 9.0.
When value is adjusted to zero, the PRO350 will not seal.
The last used seal time is stored in memory.
b. Marinate Time - Adjust the length of the marinating time
from 9 to 99 minutes.
4. “Vacuum Level” Button - Press to set desired vacuum level.
a. 23hg - minimum vacuum setting.
b. 25hg - medium vacuum setting.
c. 27.5 - maximum vacuum setting.
d. Adjustable - manually control the vacuum level from a
minimum setting of 20hg to a maximum of 27.5hg.
5. “Power” Button - Turns the machine ON/OFF.
6. “Start” Button - Begins the vacuum packaging process.
7. “Pulse” Button - Use to prevent crushing delicate items. Press
once, “P” will display. Press and hold to achieve desired vacuum.
8. “Seal” Button - This button has two functions:
a. Press to interrupt the vaccum cycle and begin sealing the bag.
b. Press to create a seal on poly, other types of bags or rolls.
9. “Accessory” Button - Press to vacuum seal canisters. See
“Vaccum Seal with Canisters” section.
10. “Stop” Button - Press to cancel any function in process.
NOTE: When “Stop” is pressed the seal feature will not function.
5
21
7 964
3
8 10