INSTALLATION AND OPERATING INSTRUCTIONS 7
9. Place items for storage into the sealed bag.
Note:
Do not overload the bag. Always allow enough space
at the open end of the bag to be properly placed into the Vacuum
Chamber.
Note:
Do not vacuum pack objects with sharp edges like fish bones
and hard shells. Sharp pointed objects may pierce and tear the
bag.
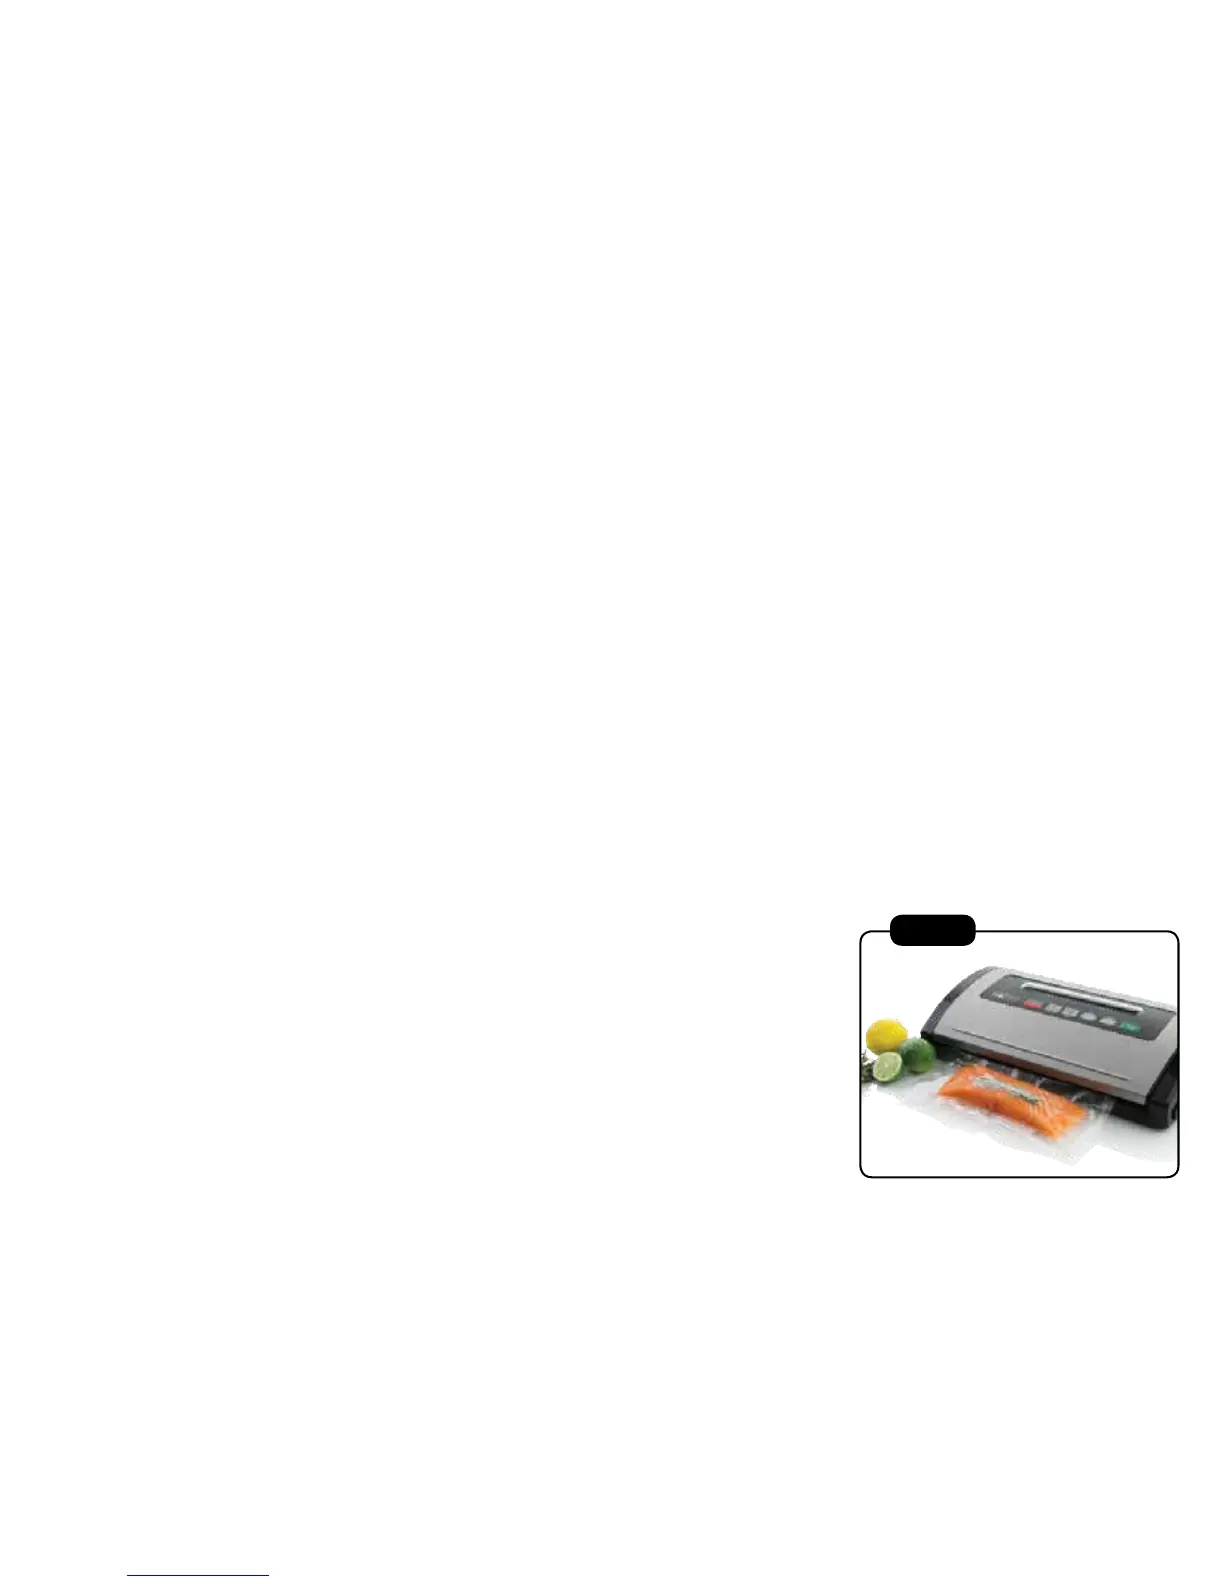
10. Insert open end of filled bag into the Vacuum Chamber over
the Sealing Profile and positioned below the Air Intake.
Note:
Ensure no items or food is covering the Sealing profile
and make sure bag has no wrinkles or ripples that will inhibit
the seal.
Note:
The Vacuum Chamber draws air out of the bag and
catches any liquid overflow. Lower Gasket and Vacuum
Chamber should be cleaned regularly. Always ensure these
parts are cleaned and immediately after handling raw meat,
poultry or fish.
11. Close the cover by firmly pressing down on the cover until two
clicks can be heard to ensure cover is fully closed (see Fig 3).
12. Press Vacuum Speed button until light is on appropriate
setting. Select ’Gentle’ for delicate food or ‘Normal’ for
average to large-sized bags and canisters.
13. Press Food Setting button until light is on appropriate setting.
Select ‘Dry’ for foods or items without liquid or ‘Moist’ for juicy
foods.
Note: Default setting is ‘Normal’ vacuum speed and
‘Dry’ food setting.
Fig 3