6 INSTALLATION AND OPERATING INSTRUCTIONS
Note: Operate unit on a stable level flat surface, keep away from
moving parts. Ensure surface is clean and free from water. Do not
place the unit near the edge of a bench or table during operation.
Note: If unit has been in storage with cover locked in place, before
operation of the unit allow the lower gasket (which would have been
compressed over time while in storage) to decompress back into
shape.
1. Fully unwind the power cord and connect to a 220V/240V power
outlet.
2. Open the cover of unit by pressing the left and right Cover
Release Buttons simultaneously.
3. Lift back the Bag and Roll Cutter and place preferred bag roll size
into the Roll Compartment.
4. Pull out bag to desired length.
Note:
You will require at least 7cm of bag material more than the
item as this extra part will form the seal.
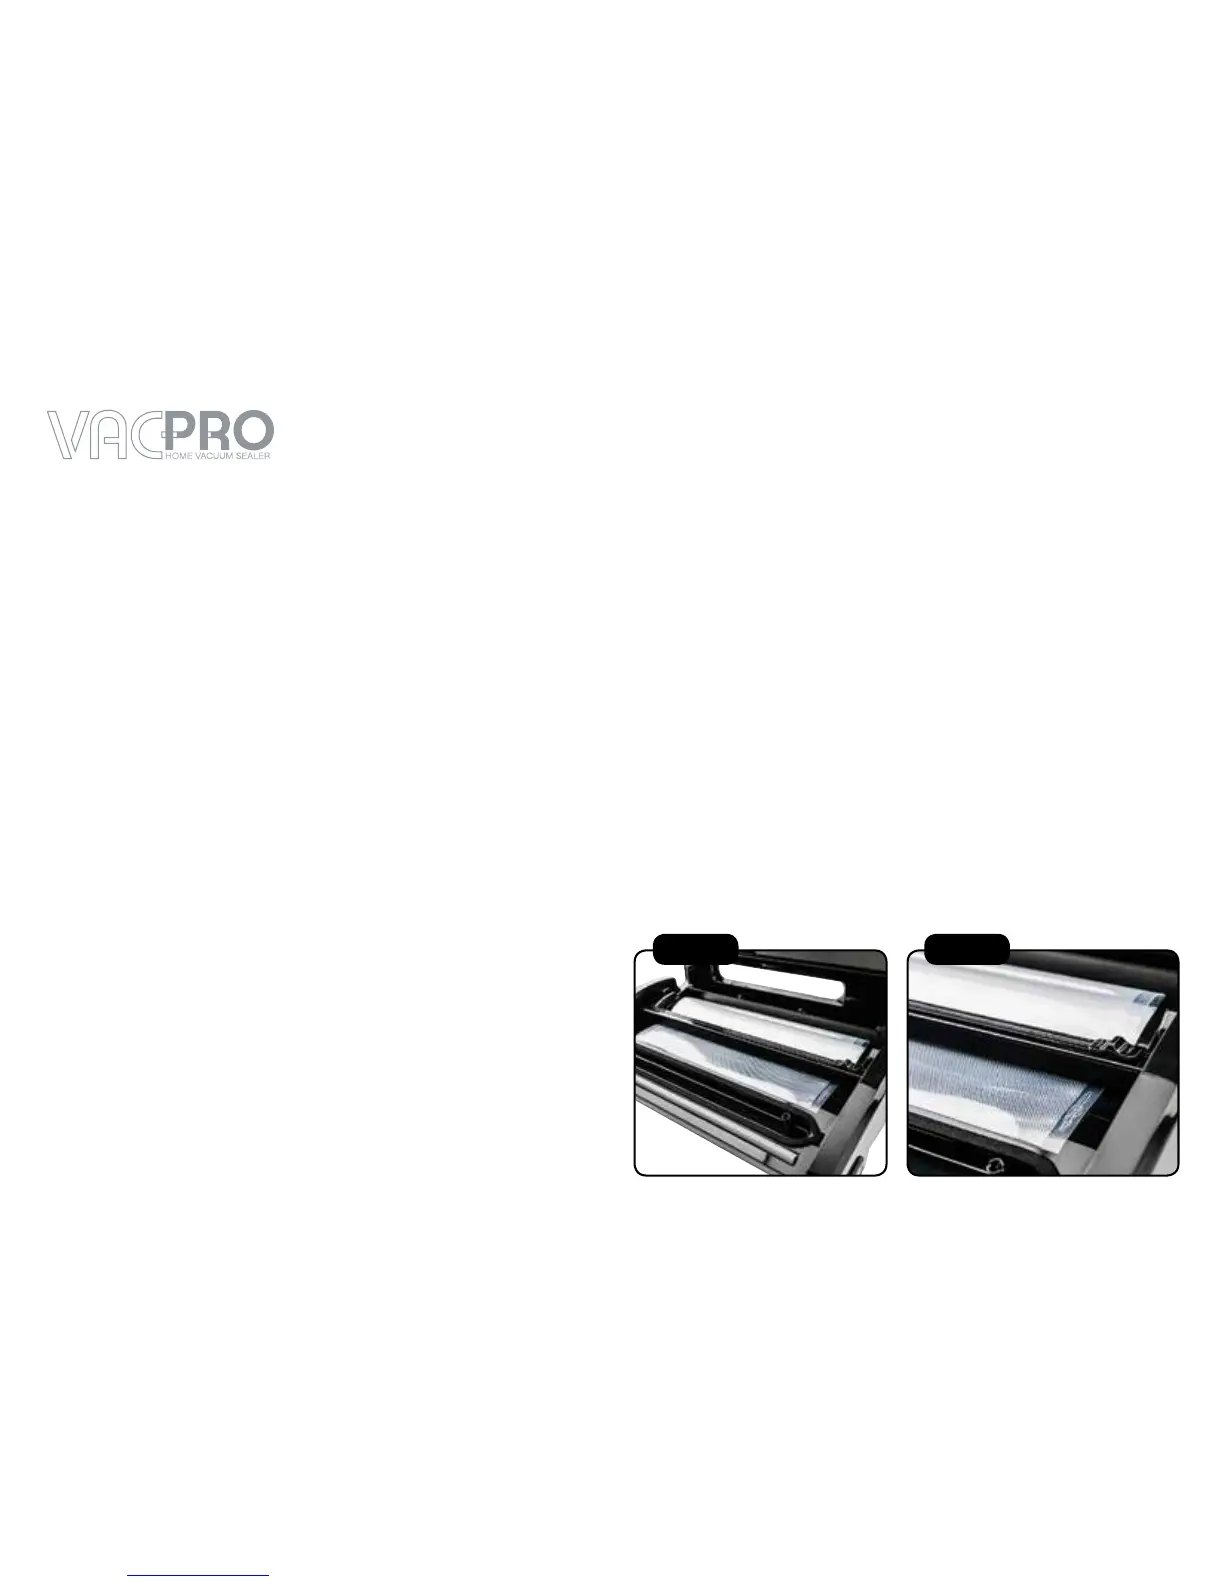
5. Place the Bag and Roll Cutter back down and slide the Roll Cutter
Incision Button across to cut the bag to length. See Fig 1 & 2.
6. To seal 1 end of the bag, place an end over the Sealing Profile
and close the cover by firmly pressing down on the cover until two
clicks can be heard to ensure cover is fully closed and locked into
position.
7. Press Manual Seal button and wait for the indicator light to
switch off before opening cover. When indicator light switches off,
sealing is complete.
8. Press the left and right Cover Release buttons simultaneously to
open the cover. Remove bag.
Note:
Manual Seal button seals bag without vacuum operation.
WARNING: BURN HAZARD.
Sealing profile will be hot after use, allow
profile to cool before touching.
Fig 1 Fig 2
B. Preserving Food in Vacuum Bags
incision button