9Installation instructions for VED electric instantaneous water heater 0020149586_00
4.4.3 Installing the unit
i
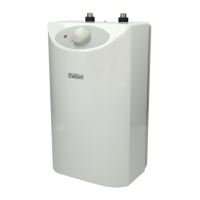
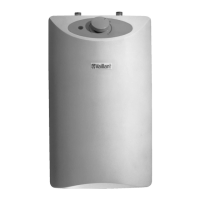
The VED electric instantaneous water heater
must be hung on the wall vertically.
> Ensure that the wall and all fixing elements are able
to bear the load. A VED weighs approx. 4.4 kilos when
filled with water.
> Using figures 4.2 to 4.4, double check that the desired
installation location meets the requirements.
390
322
8585
2
1
1
2
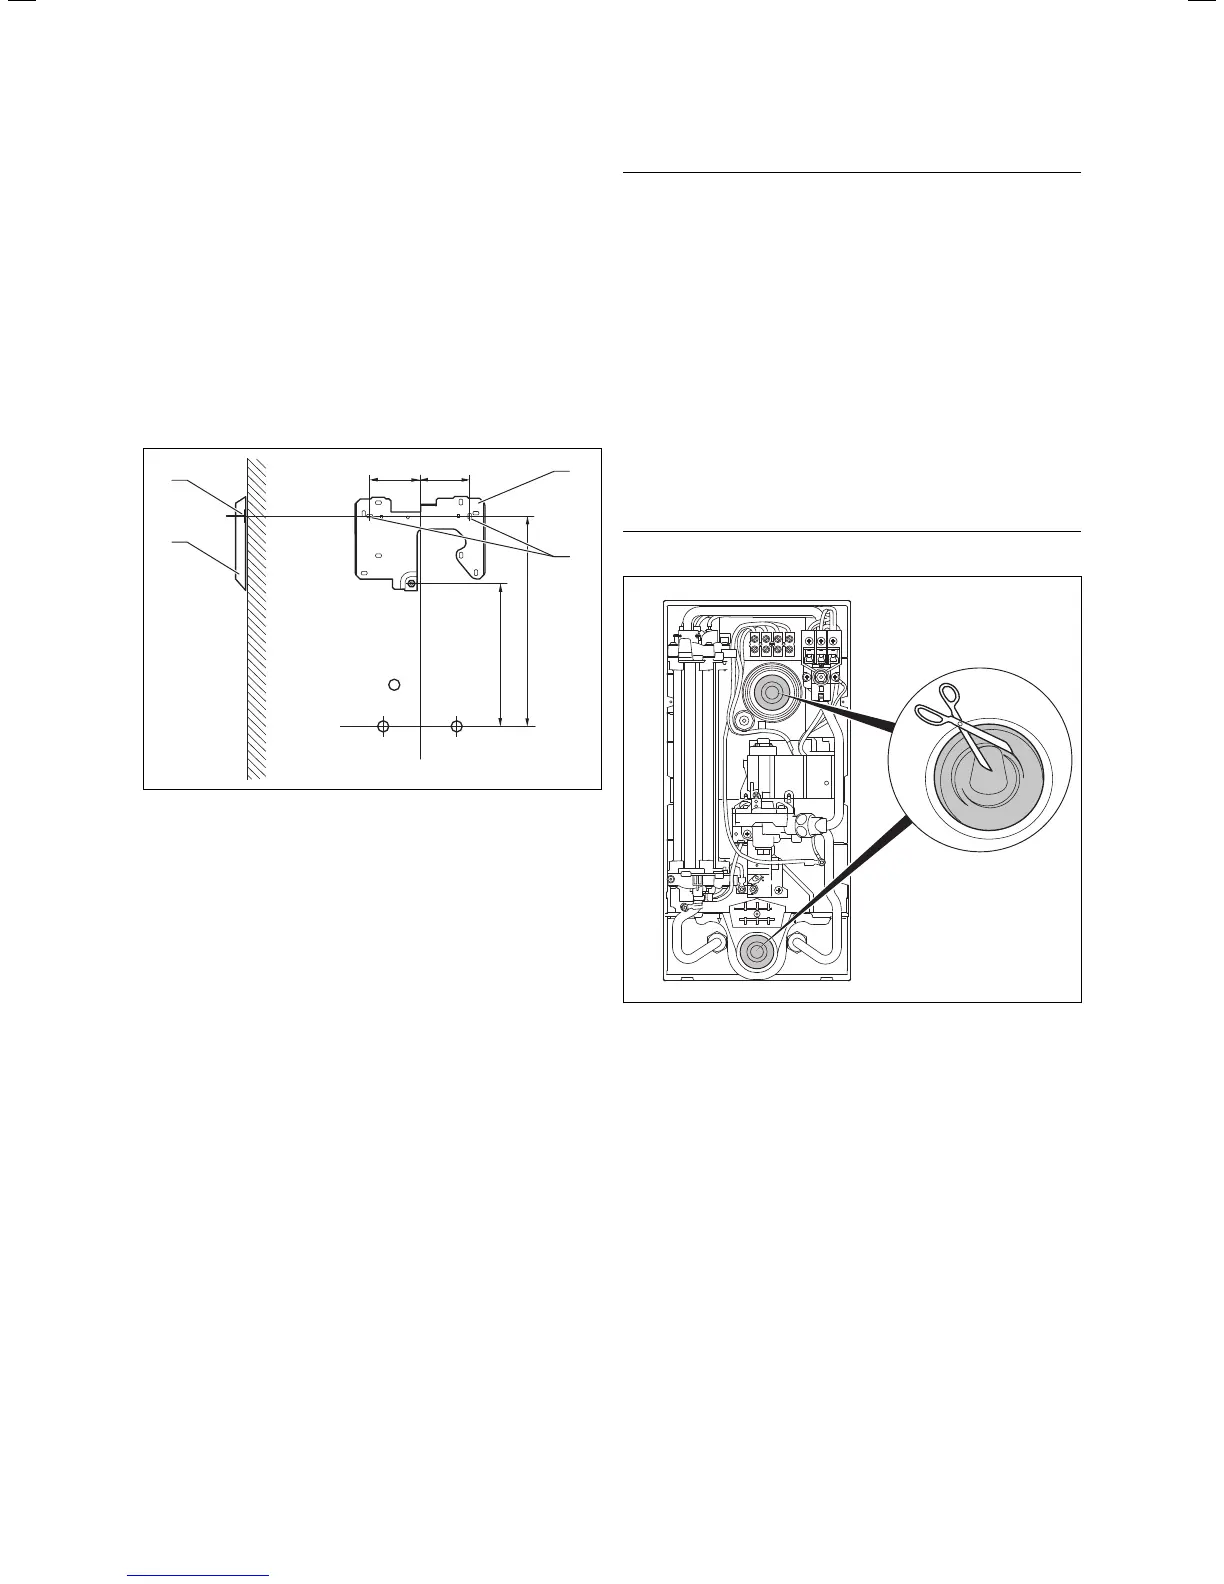
Fig. 4.6 Fitting the installation plate
> Hold the installation template against the wall and
mark the fixing points.
> Fix the installation plate (1) to the fixing points (2)
using the rawl plugs and screws.
i
When replacing a unit, you can use the previ-
ous drill holes as long as they are compatible
with the additional holes on the installation
plate.
e
Danger!
Risk of death from electric shock due to
water penetration if the anti-spray-water
sleeve is completely cut away.
The anti-spray-water sleeve should prevent
water penetrating the unit along the length of
the mains connection cable. If the anti-spray-
water sleeve is completely cut away, water
can very easily penetrate and damage the
unit and, in the worst case scenario, can
cause a potentially lethal electric shock.
> Never cut off the anti-spray-water sleeve
completely.
> Cut the end of the anti-spray-water sleeve
in such a way that the sleeve tightly sur-
rounds the mains connection cable.
Fig. 4.7 Cutting the anti-spray-water sleeve for the cable
routing
> Depending on the location of the mains connection
cable in relation to the wall, fit the anti-spray-water
sleeve at the top or the bottom (see fig. 4.7).
i
Fit the anti-spray-water sleeve in such a way
that the sleeve tightly surrounds the mains
connection cable. Water must not penetrate
the unit's interior.
> Feed the cable through the anti-spray-water sleeve
into the unit's interior.
Installation 4