Page 13
RE-ASSEMBLY (CONTINUED)
6) Force the stem against the body by using a stem jack.
7) Uniformly tighten packing gland nuts to the specified torque value
(see Table 2).
NOTE:
A stem jack is a double nut stud
or a soft (plastic or brass)
object.
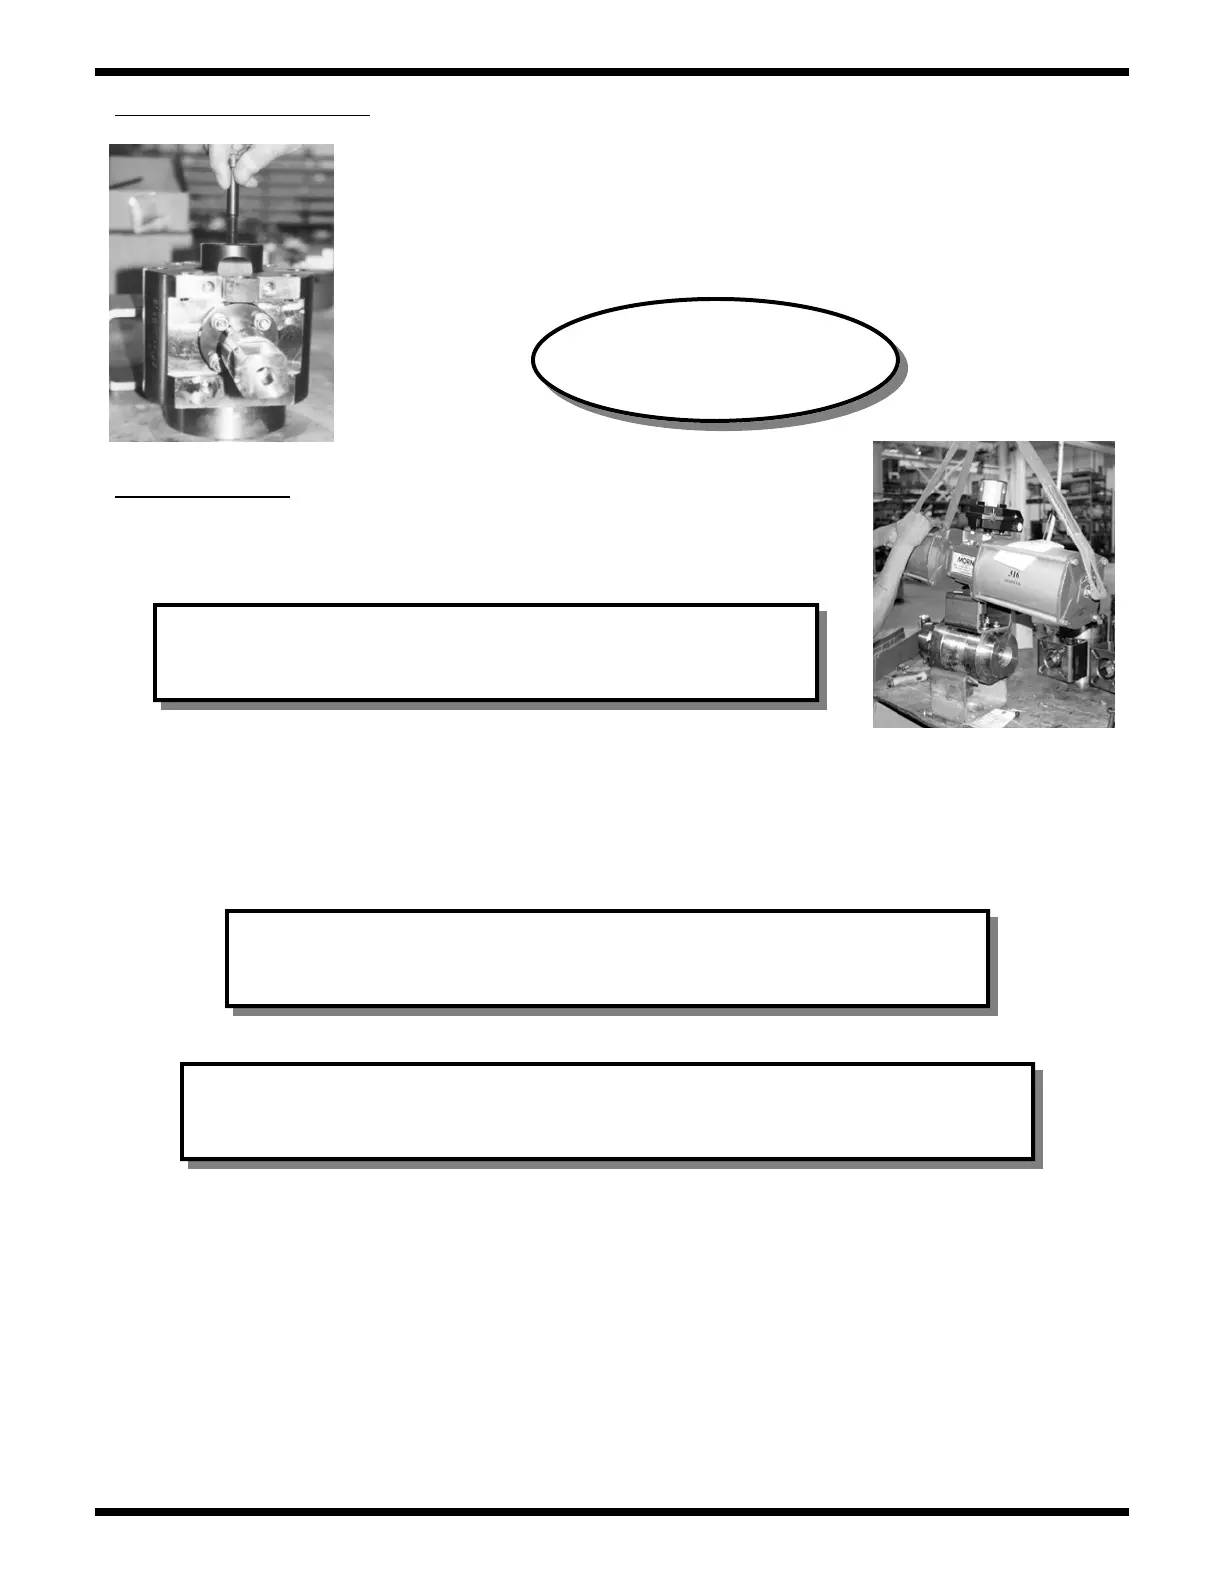
Installing Actuator
8) Assemble actuator, lever and/or mounting bracket as necessary.
Actuator and valve must both be in the closed position.
9) All operator adapter plates supplied by ValvTechnologies have a machined hole in the middle of
the plate. When this plate is mounted to the valve, it should be concentric with the shaft before the
bolts are tightened holding the mounting plate to the valve. After tightening the bolts, the concentricity
should again be checked. Any misalignment of the operator to the valve may cause binding in the
operator, which may cause damage to either the valve or the operator.
10) Remove Stem Jack.
11) Set operator closed stop with ball precisely in closed orientation.
12) Cycle the valve several times and re-torque the packing gland nuts.
13) Measure Critical Assembly Fit Dimensions
CAUTION!
Great care must be taken when reinstalling an actuator.
The stem MUST be prevented from being driven into the ball.
CAUTION!
If the operator drive does not readily slip onto the valve, the stem, key
and if necessary, drive sleeve should be inspected for burrs, etc.
CAUTION!
Only ValvTechnologies approved personnel should mount actuators. The valve
MUST be tested after the actuator mounting process to verify zero leakage.