5. Tighten the screws to ensure EZ Swap 4 is secure
to the case. (Figure s-E)
6. Plug one side of SATA cable into a SATA port on
the motherboard, plug the other side into the
EZ Swap 4. (Figure s-F & s-G)
(SATA Cable)
7. Connect the 4 pin power cable to the EZ Swap 4's
power connector. (Figure s-G)
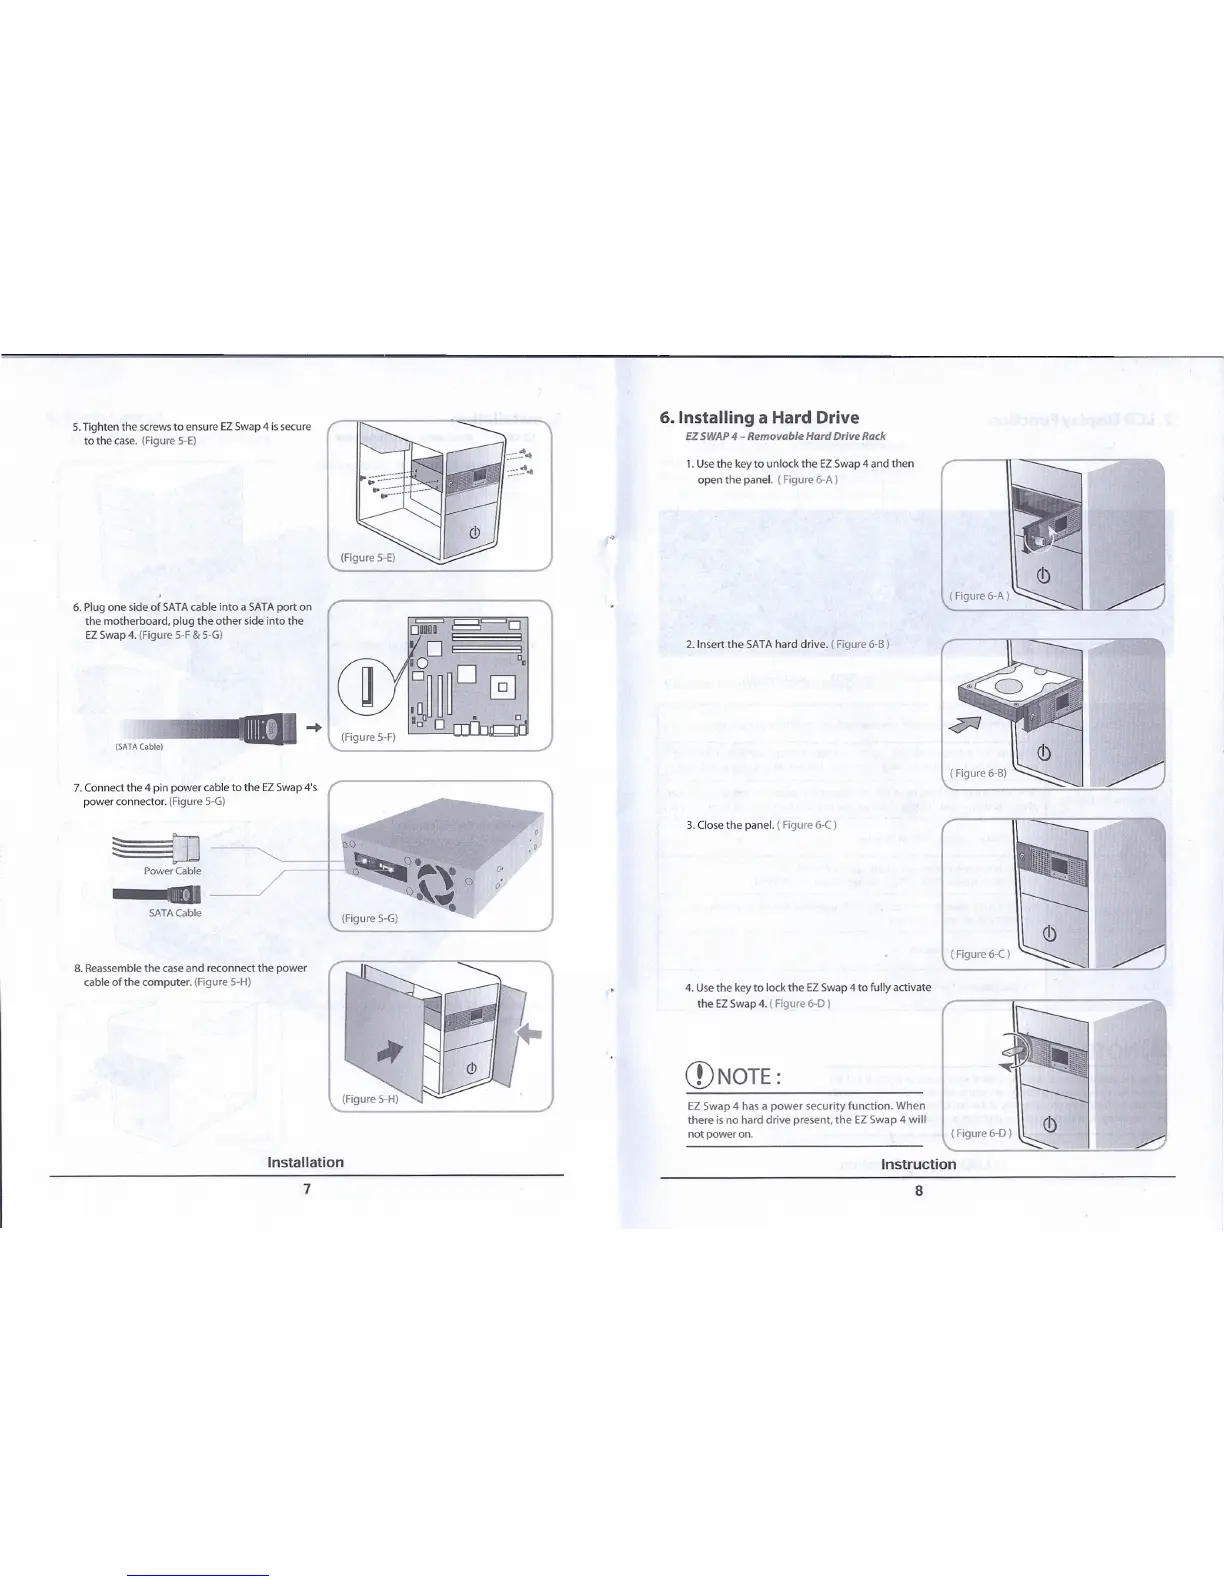
6. Installing a Hard Drive
EZ SWAP
4 -
Removable Hard Drive Rack
1. Use the key to unlock the EZ Swap 4 and then
open the panel. (Figure 6-A)
:':.-.~
..
::::~
.•
(Figure s-F)
2. Insert the SATA hard drive. (Figure 6-8)
3. Close the panel. (Figure 6-C)
§
OJ
Power Cable
SATACable
8. Reassemble the case and reconnect the power
cable of the computer. (Figure SoH)
Installation
7
o
0'
o·
(Figure s-G)
4. Use the key to lock the EZ Swap 4 to fully activate
the EZ Swap 4. ( Figure 6-0)
'.
CD
NOTE :
EZ Swap 4 has a power security function. When
there is no hard drive present, the EZ Swap 4 will
not power on.
Instruction
8
 Loading...