Vespera Pro Instruction Manual v1.0 EU US CA 2023-12 4
IV. Installation
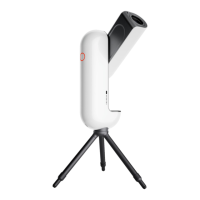
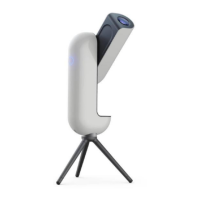
Attaching Vespera Pro to the tripod and positioning the tripod
1. Mount the tripod: screw the 3 legs to the tripod base.
2. Lay the Vespera Pro flat and position the bubble level plate between the tripod base and the
Vespera Pro base then screw the tripod base onto the Vespera Pro
3. Look for the flattest, hardest ground possible. Avoid stony or loose ground to ensure maximum
stability.
4. Level the tripod by using the bubble level.
5. To make sure the tripod is stable, apply vertical pressure to the top of the tripod.
If the tripod remains stationary, you can proceed to the next step. If not, move the tripod and try
again on more stable ground.
Power supply
Vespera Pro is equipped with an integrated battery with a 11 hours battery life.
Mains charging
Plug the product into the power outlet.
If the product is turned off: the button flashes green every 10 seconds when the product is charging
If the product is on: the button changes from red to green every 10 seconds when the product is
charging
It is recommended to perform this charging step indoors using a cable and an AC adapter or a
powerbank compatible with Vespera Pro.
V. Operation
Getting started
The button is tactile, no need to apply strong pressure
Charge the product to 100% before first use
To start the instrument, press the button on the side of the instrument.
The button flashes red at first and then becomes static when Vespera Pro is ready to be used (WiFi network
available).
Note:
• If the button does not light up, put it on charge for a few minutes.
• If the button flashes red 1 time, the battery level is low
• If the button flashes red twice, the battery level is critical; put the product to charge
• If the button flashes red 4 times, the product has a problem; contact the support service