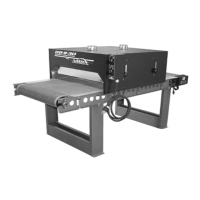
5) The belt needs to be installed as shown in the diagram below. Be sure the belt is routed under the brace found near
the gear motor. To connect your belt, align the Alligator Lace and install the pin. Some belts will have a plastic flap
over the Alligator Lace. Position it as shown in the diagram.
Alligator lace
Aligner
Brace
6) The belt needs to be tightened and adjusted. To tighten and
adjust the belt, use the Aligner Bolts. To raise the Aligner, turn
the Aligner Bolt clockwise with a 7/16” wrench. To lower it, turn it
counter clockwise. Raise the Aligner until you have about 2”-2½”
of slack as shown on right.
5
5
6
Aligner Bolt
8) Place the Heat Chamber on the conveyor, centered between the belt’s rollers, with the Control Panel on the right side.
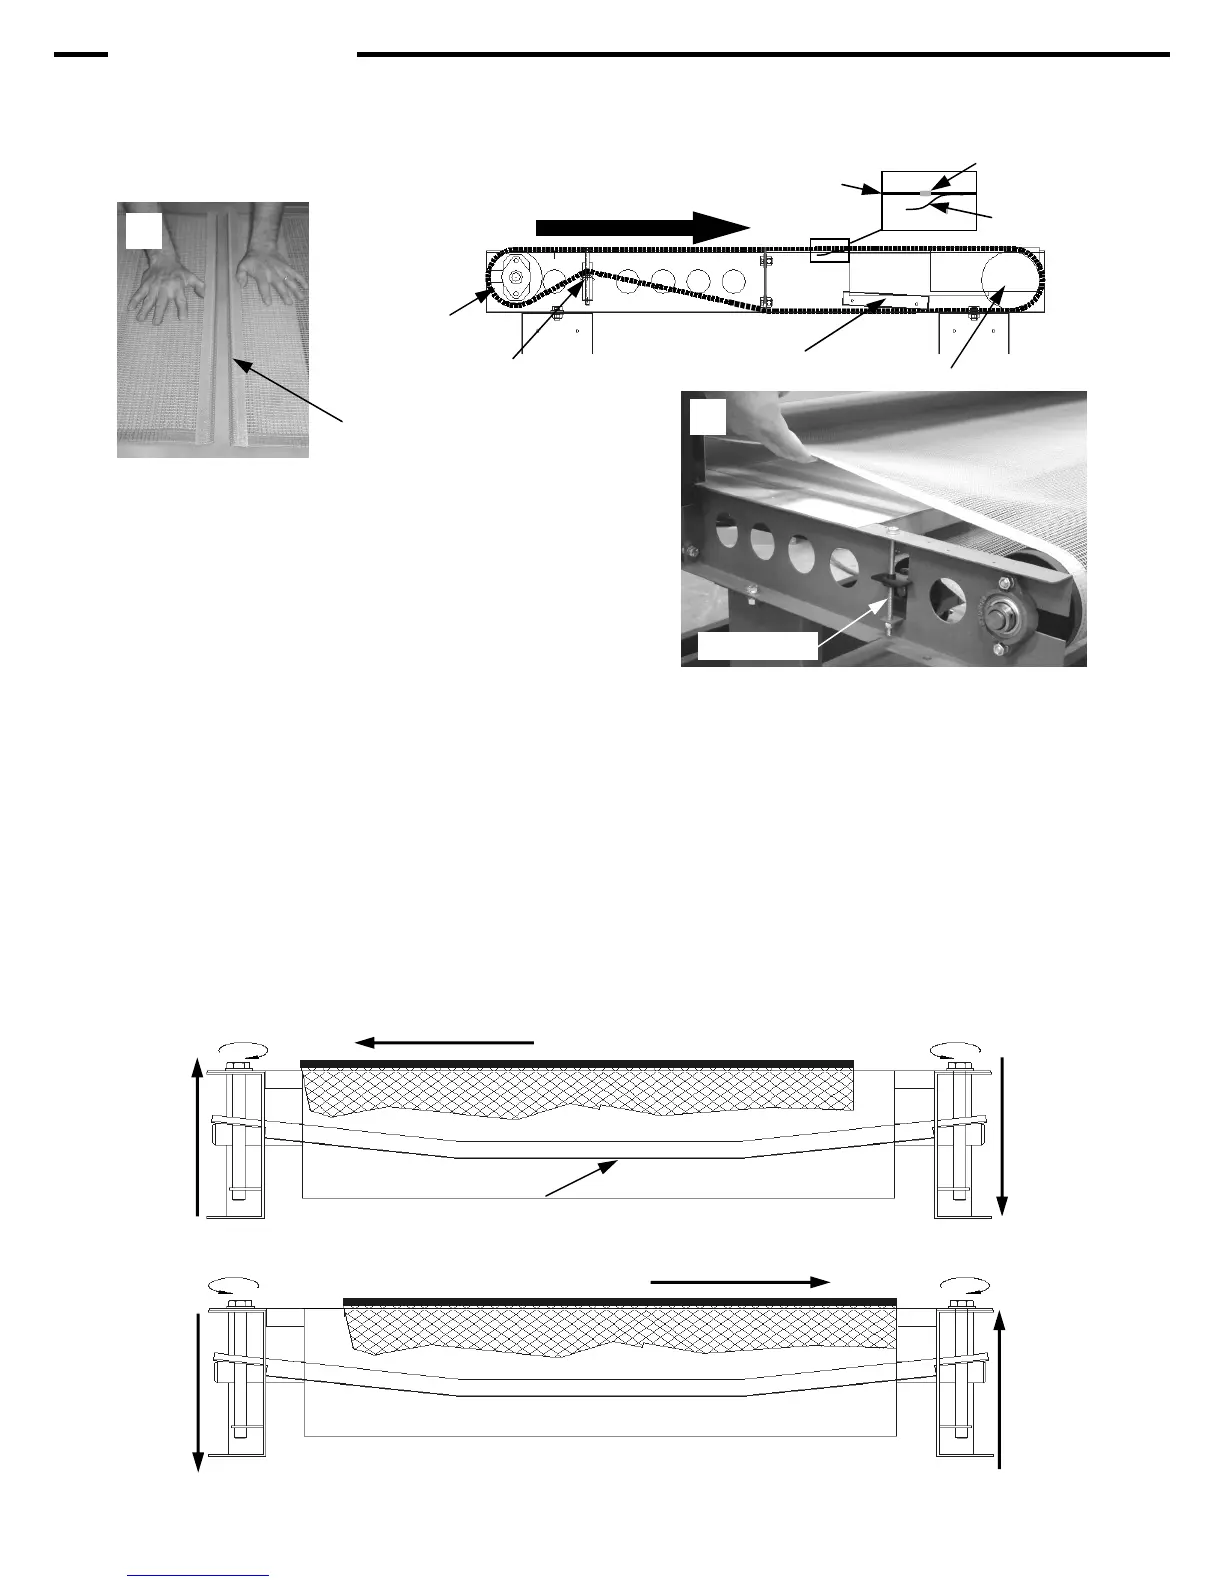
10) Tracking the belt is the final step in setting up your Dryer. The belt speed should be turned up during belt tracking.
The model below shows how to track the belt. Be sure to adjust the Aligner bolts at 1/4 turn at a time. The dryer
should be on a flat surface for proper belt tracking.
Assembly (cont’d)
Belt moving to the right
Belt moving to the left
CW
CW
CCW
CCW
Raise this side
Raise this side
Lower this side
Lower this side
01-16-005A Belt Tracking
Belt Travel
9) Electrical Connections
Chamber: Refer to the wiring diagrams included with your dryer. Several combinations available.
Conveyor: Refer to plug diagrams on the Control page. Conveyors are available in either 120V or 240V
120V, 1 Amp, 50/60Hz 240V, .5 Amp, 50/60Hz
Belt
Alligator Lace
Plastic Flap
Aligner Rail
Front Pulley
Rear Pulley
7) Install the three conveyor belt covers. See supplied document
01-01-014 for installation.