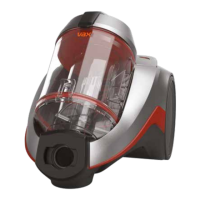
Emptying and cleaning the dirt container
Using your machine Taking care of your machine
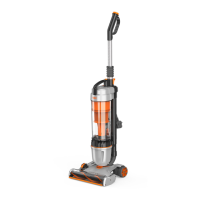
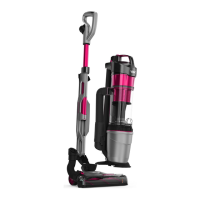
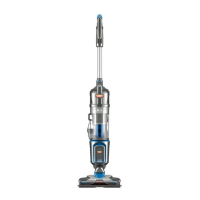
How to use
IMPORTANT: Always switch o and unplug the vacuum cleaner from the electrical socket before assembling, opening
or emptying the dirt container, or before connecting/disconnecting the attachments.
The dirt container should be emptied and cleaned regularly to allow the vacuum to perform at its optimum suction rate.
Using accessories
Press the dirt container
release button to remove
the dirt container.
Fully unwind the power
cord. A yellow mark on
the cord indicates the
recommended cord
length. Do not exceed
the cord beyond the
yellow mark.
Plug in and switch the
unit on by pressing the
power button.
Use the vacuum by moving
the oorhead backwards
and forwards for an
eective clean.
Remove the oorhead
to use the hose in harder
to reach places.
Choose an accessory and push onto the telescopic
extension tube or hose.
TIP
For easier cleaning, follow the
3-Step Clean process located on
the back of the dirt container.
Don’t over ll the dirt container.
Replace the lters every
6-9 months.
IMPORTANT: The motor is equipped with a thermal cut-out. If for any reason the unit should overheat, the
thermostat will automatically turn the unit o.
Remove the clear dust
separator inside the dirt
container by twisting clockwise.
Twist the shroud anti-clockwise
to unlock and remove from the
dirt container.
Tap the shroud against a bin to
remove any dirt or debris. Using
a dry cloth wipe the separator
and shroud clean.
Hold the dirt container over a
bin. Press the dirt release clip
at the bottom of the container.
The dirt release door will open
allowing dirt/debris to fall out.
 Loading...