vax.co.uk
4
assembly
3. How to Assemble
Use a crosshead screwdriver
Components
Assembly
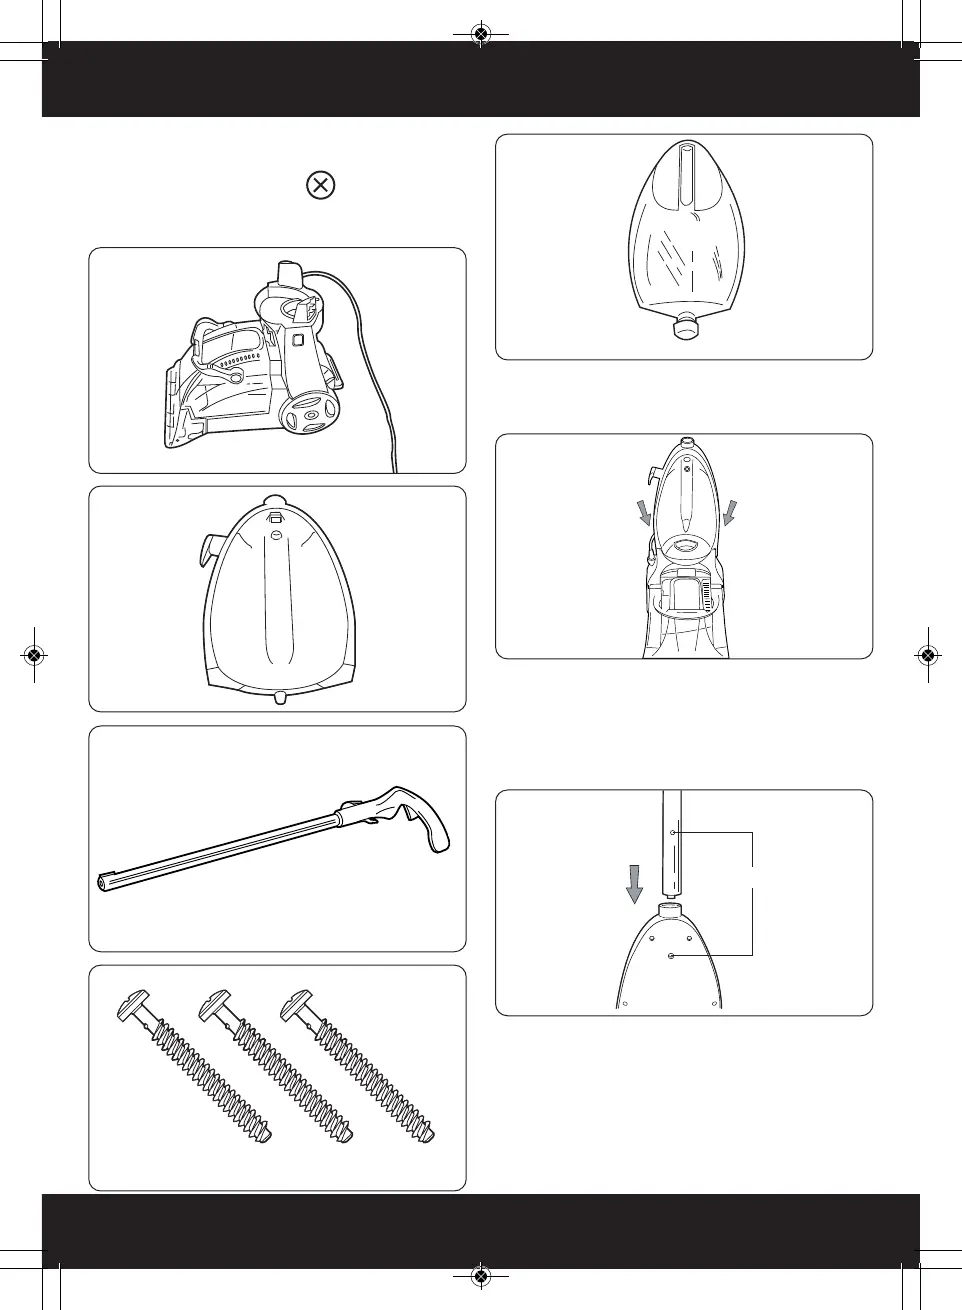
Line up mid-section with base unit and slot into place (Fig
3/6).
Insert handle into mid-section ensuring that the solution
trigger is at the back of the machine and the screw hole
in the handle is lined up with the screw hole in the mid-
section (Fig 3/7).
Insert and tighten (Fig 3/8).
Fig.3/5 - Clean Water Tank
Fig.3/6
Fig.3/7
Fig.3/4 - 3 Screws
Fig.3/3 - Handle
Fig.3/2 - Mid-Section
Fig.3/1 - Base Unit
Align screw holes
WARNING: Always switch off and unplug your
machine from the electrical outlet before filling the
clean water tank, emptying the dirty water tank,
before assembling, opening, before connecting/
disconnecting the attachments, or carrying out
maintenance or troubleshooting checks.

 Loading...